How to Capture Amazing Jpeg Photos & When It’s Time to Shoot Raw (VIDEO)
We’ve spent a lot of time singing the virtues of shooting in the Raw file format, and there are numerous reasons why doing so delivers both optimum image quality and greater versatility during post processing. But in this quick tutorial from the Better Pix YouTube channel you’ll learn the benefits of shooting Jpeg files, along with several helpful tips for creating amazing images.
Our unnamed instructor is an accomplished pro certified by the Professional Photographers of America, and in this six-minute episode he discusses the advantage and disadvantages of Jpeg images and he illustrates his tips with convincing visual examples. It all has to do the situation at hand, how you intend to use the photos you capture, and understanding a few simple techniques that will greatly increase your odds of success.
Most photographers know that Jpegs require far less storage space that their Raw file counterparts, and why they’re all you really need for posting images online. Less well understood is how shooting Jpegs at maximum resolution can deliver perfect exposures with good quality when you take the right approach.

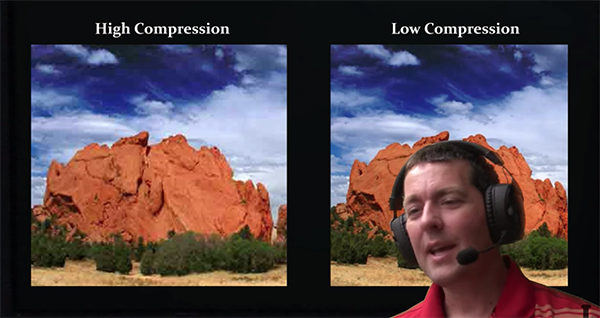
Another key consideration is using the proper settings to achieve correct White Balance in the camera. The concept of image compression is also important to understand. The instructor puts it like this, “With higher compression an image tends to fall apart because we’re losing important details that contributes to sharpness and other aspects of image quality.”
You’ll also want to remember that unlike with Raw files, image quality is lost every time you save, close, and reopen a Jpeg. This practice can take a heavy toll if you’re in the practice of doing this often. Bottom line, Raw files are a much better option if you re-edit your images frequently to experiment with different effects.
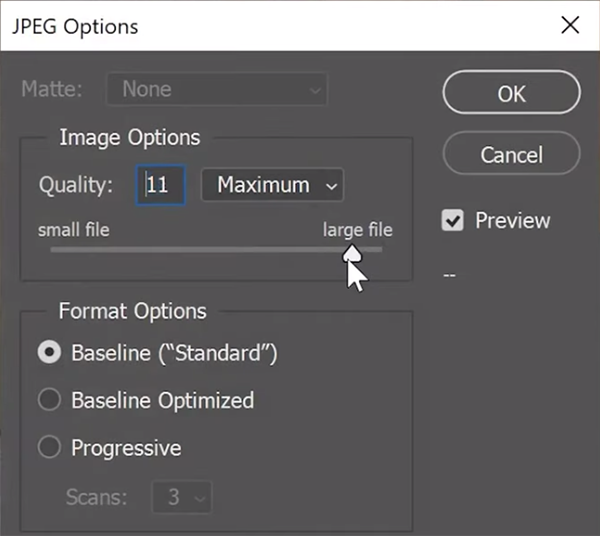
You’ll also learn how under- and overexposing a shot will factor into the equation. Overall, the recommendation for Jpegs is to “use a high file size and a low compression rate” if maximum quality straight out of the camera is the goal.

At this point you’re only halfway through the lesson, and there are more helpful tips for when Jpegs are the name of the game. By the time this video concludes you may ask yourself, “Why NOT shoot Jpegs?”
The Better Pix YouTube channel is a great source of information, especially if you’re a beginner or an inexperienced amateur photographer. So check what’s available that will help you expand your evolving skills.
We also recommend watching another tutorial we featured recently that explains how to use one “essential” lens filter to significantly improve the impact of every photograph you capture in the great outdoors.


