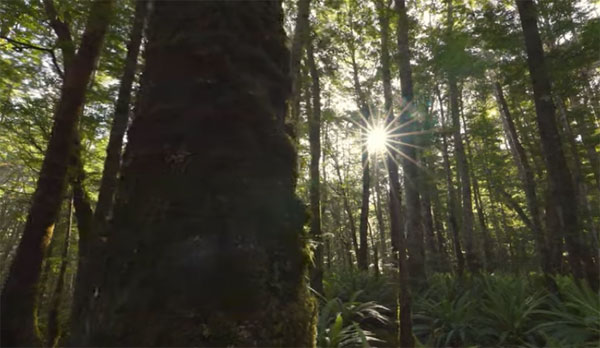
How to Capture SUNSTARS in the Camera: 2-Minute Trick (VIDEO)
We thought we’d start the day with a fun short-and-sweet” technique for embellishing photos with sunstars captured in the camera. So pull up a chair, watch the two-minute video below, and see how it’s done.
Sunstars and nighttime starbursts can add some oft-needed oomph and pizazz to all sorts of photos. It’s like putting a little twinkle in the eye of whatever scene you’re about to shoot.
Perhaps you’ve captured sunstars yourself. But admit it: Did you do so intentionally, or did the affect occur inadvertently? Most photographers (myself included) fall into the latter category when sunstars appear in photos thanks to a lucky confluence of camera settings, the lens in use, and the aperture you choose.

Instructor William Patino is an accomplished landscape photographer based in New Zealand, with a knack for simplifying interesting shooting techniques. In this quick episode he demonstrates a straightforward process for capturing eye-catching sunstars in a predictable way.
The technique boils down to three essential elements, the first of which is the proper source of light. In this regard it’s important to shoot when the sun isn’t diffused by a clouded sky, and camera position relative to the sun may factor into the equation.
Exposure settings are another critical consideration, and here it’s is necessary to choose ISO and shutter speed to arrive at a small aperture which is ultimately the key to capturing sunstars with regularity. Patino says f/11 often works, but he recommends f/16 or f/22 when conditions permit.

The third, and Patino say his most important tips, is to frame the scene in a way that an object (like a tree) partially obscures the sun so that the sunstar “bursts around the object.” Watch how Patino combines these three simple elements to get the job done.
There are many more simple tips and tricks on Patino’s YouTube channel, so take a look and subscribe.
We also suggest you watch the tutorial we posed recently from another pro, explaining how to “shape light” for more dramatic landscape photos.


