
How & Why to Use VIRTUAL COPIES for More Efficient Photo Edits (VIDEO)
This two-minute post-processing tutorial from instructor Mike Wardynski demonstrates a simple technique for creating various edits of a single photo and accelerating the workflow without taking up extra space on your hard drive. The process involves the use of what are known as “virtual copies,” and it’s easy to understand how they work.
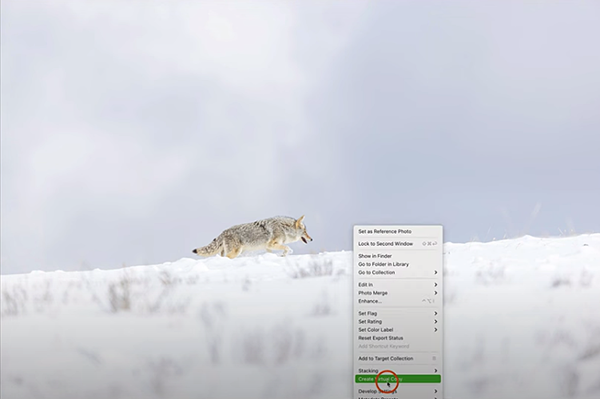
Wardynski is a successful nature photographer who is equally adept behind the computer. He begins the episode with a nice image of a coyote trotting across a ridgeline with a snowy slope in the foreground and a gray sky behind the animal that almost gives the photo a monochromatic look. But watch how quickly and efficiently he can create other interesting effects of the same shot with a few Virtual Copies in Lightroom.
A keyboard shortcut is all it takes to get started; Control-click on a Mac, and Right-click on a PC. You’ll then see a dropdown menu and the option you want is labeled Create Virtual Copy. Making this selection creates a duplicate image in the film strip at the bottom of your screen “without taking up any extra space on the hard drive.”
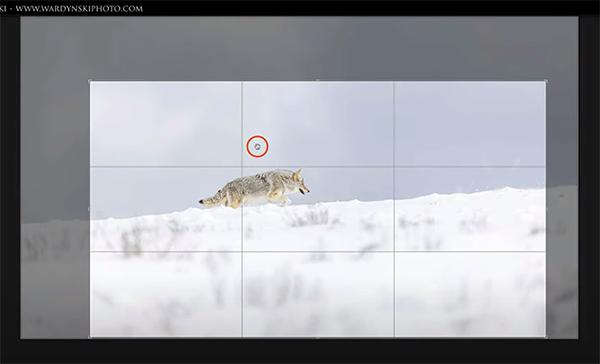
You can make as many of these copies as you wish, and Wardynski says the reason for doing so is simple: “For example, maybe I want to work on a b&w version as well as edit another in color.” But there are other benefits of this approach, like experimenting with different crops, various aspect ratios, and creating both horizontal and vertical images of the same scene
There are a few other tricks to learn and they’re all super easy to employ. By default, Lightroom indicates the various copies in the film strip as Virtual Copy 1, Virtual Copy 2, etc. and it can be difficult to remember which is which when working with several different versions. Wardynski solves this problem by demonstrating how to change the name of each copy.
There’s another great trick for grouping and stacking multiple versions to clean up the filmstrip as per your preference.. Wardynski provides the necessary keyboard shortcuts for stacking and unstacking these groupings while you proceed.
There’s much more great advice for streamlining the editing process on Wardynski’s instructional YouTube channel, so be sure you take a look.
And don’t miss the earlier tutorial we featured with another post-processing expert who explains how to correct White Balance in any photograph every time, with any image-editing software you use.


