INSTANTLY Improve Photos with an Underrated Editing Tool (VIDEO)
Today we’re taking a look at a Lightroom tool that many users overlook or find intimidating. Instructor Jalen Oban puts it like this: “While it may seem complex at first glance, the Calibration panel is incredibly powerful and can significantly enhance your photo-editing process once you know how it works.”
First think about the Lightroom Development panel you use least frequently or know the least about. Oban’s guess is that “the majority of you will name the Calibration panel that resides at the very bottom of the Development module.” His view is that this oft-ignored feature is the most powerful, or at least one of the most powerful, color-grading tools within Lightroom.
Oban’s goal for this episode is to demystify the process, simplify any perceived complications, and explain why you should include Lightroom’s Calibration to your everyday workflow. He does an admirable job in barely 11 minutes, and our guess is that you’ll begin following his advice the next time you pull up a photograph on your computer.

The video begins with a brief overview of this “essential” tool, how it works, and what it was designed for in the first place. In basic terms, it’s used to calibrate your colors based upon the brand of camera you own. Or as Oban says, “every time you take a photo the camera has to go through each pixel and determine what color it’s going to assign for that pixel.” He notes further that every camera has a slightly different threshold for making this determination.
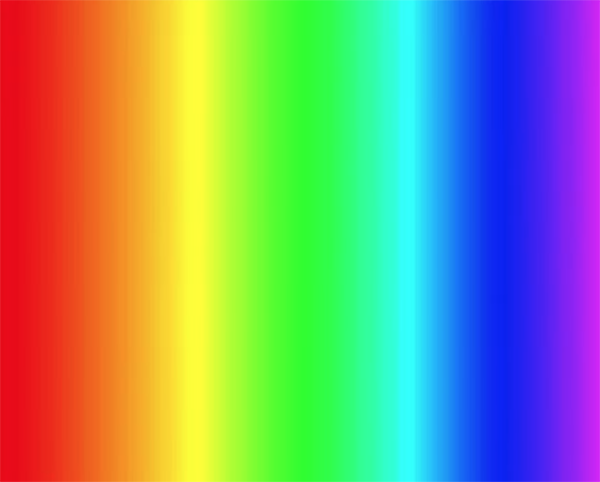
In essence, the Calibration panel enables you fine-tune colors so you can consistently achieve predictable and realistic tones for the specific situation at hand. Oban uses a rainbow gradient to illustrate an interesting point; namely, that one photographer may identify the color green at a specific spot on the graphic, while another may point somewhere else—either a bit to the left or to the right.
With all the theoretical stuff out of the way, Oban turns to what all this means in practical terms. Then he demonstrates how to employ the Calibration Panel to achieve precise results with different types of scenes. It’s not difficult to accomplish and once you get the hang of it the colors in your images will appear better than ever before.

Oban’s instructional YouTube channel is full of practical tips and techniques, so be sure to pay a visit when you have time to explore.
And if the photos you capture are often too dark, check out the tutorial we featured earlier with another accomplished pro who demonstrates an effective method for restoring underexposed images in Lightroom.


