Midtone Contrast: The Secret Sauce for Tasty Nature Photos (VIDEO)
Midtone contrast is often a key ingredient for making impactful outdoor photos, but the technique is often overlooked by inexperienced shooters. As one successful pro likes to say, “it’s the secret sauce that makes many images feel more lifelike” and jump off the screen.
Instructor John Pedersen is a successful nature and landscape photographer based in the Pacific Northwest whose tasty tutorials leverage his many years of experience. Today’s episode reveals why and how he adds midtone contrast to “almost 100 percent of my images.” Why? It’s a simple step that can dramatically increase the drama and impact of a shot.
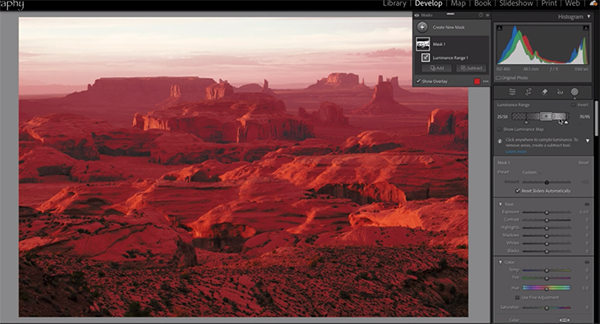
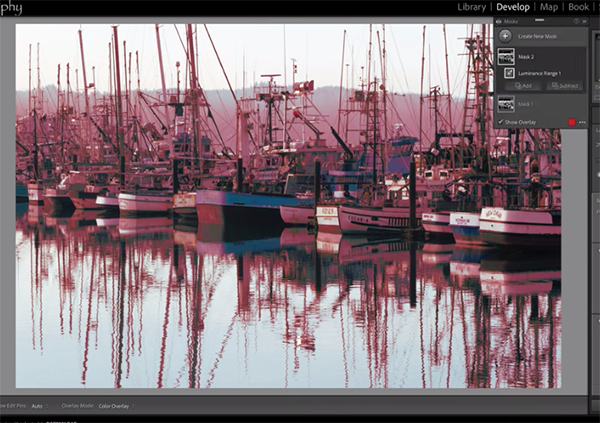
In basic terms, the process works like this: selectively targeting midtones enables you to preserve shadows and highlights while adding more punch to the middle tones in a photo. As a result, images display enhanced depth, dimension, and definition that can guide a viewer’s eye through the frame.

As you’ll see, this post processing technique also helps you target and improve color, saturation, and vibrance in the mid-range of image. Or as Pedersen says, “sometimes when we start playing around with color in the shadows and highlights, things get kind of messed up.” However, by targeting midtones you can introduce more visual interest to the essence of an image.
Pedersen is a strong advocate of edits that deliver a realistic look. So at the risk of taking the analogy too far, there’s another thing to consider: Sitting behind the computer is a bit like working in the kitchen in that you must be careful not to add too much spice—otherwise your presentation will appear overcooked. In other words, be subtle and don’t take midtone contrast adjustments too far.
The step-by-step instructions that Pedersen demonstrates are easy enough for anyone one to accomplish. So watch how it’s done and add this simple trick to your image-editing bag of tricks. There’s more great shooting and post-processing advice on Pedersen’s instructional YouTube channel, so be sure to take a look and dig in.

We also recommend watching the tutorial we featured with another accomplished outdoor photographer who demonstrates how to introduce enhanced colors to landscape photographs captured after the sun drops below the horizon.


