It’s a secret corner of Tuscany virtually unknown outside Italy. Yet the southern province of Grosseto in the Maremma region has so much going for it – not only the mediaeval villages and cedar groves associated with more northerly Chiantishire but wetlands awash in flamingoes, a beautiful coastal park with wild beaches bordered by pine-scented forests, local examples of the fine wine and olive oil for which Tuscany is famed and a world-class archaeological site.
And all so sustainable – in 2024 Grosseto was named European Green Pioneer of Smart Tourism thanks to innovations like miles and miles of bike lanes, hiking trails and protected coastline, not to mention inclusive recreational activities and other slow tourism initiatives; it’s unlikely to remain Italy’s best-kept secret for long.
Grosseto City
Perfectly placed as a base for the coastal highlights of Maremma its capital, Grosseto, is one of only two Tuscan cities endowed with 16th-century Medici-era walls.
They’re thick enough to stroll atop to admire the handsome ramparts, which enclose the old city in a protective hexagon, golden city spires and rooftops.
Not to be missed after visiting the oval, colonnaded Piazza Dante at the heart of the historic centre is the Maremma Archaeological and Art Museum, in which world-class finds from the nearby Roselle site are exquisitely showcased.
Foodies looking for edible souvenirs should check out Il Fiorino, the retail outlet of an award-winning organic family dairy, in a residential neighbourhood.
Where to stay in Grosseto
The Grand Hotel Bastiani sits just inside the city walls, a two-minute stroll from the historic city centre. Comfy rather than grand, its large breakfast room offers a bountiful spread including freshly made eggs and coffee individually made and served by baristas to kick off the day.
Where to eat in Grosseto
Le Mura is a casual, atmospheric restaurant close to the tennis club inside the city walls especially good for seafood. Wash the vongole, cozen and calamari down with Tuscan vermentino, the local white often overlooked in favour of the sangiovese-blend red wines for which the region is renowned.
Locanda dei Medici in a subterranean wine cellar on the Piazza del Popolo is a great place to try beef from the local Maremma longhorn cattle who roam the eponymous coastal park. Active beasts who roam for miles every day, they produce tasty meat which requires long, slow cooking – don’t miss the stracotto, which is just that kind of sumptuous dish, here, or the restaurant’s take on tiramisu using nutty cantucci cookies rather than the sponge fingers usually called. A great place to try one of the best local reds, Morello di Scansano.
Roselle
Just a few miles from Grosseto town, and linked to it by bike trails as well as a highway, sit the remains of an Etruscan town dating back to 700BC and partially built over by the Romans.

Etruscan finds from Roselle archaeological site
Although most of its artefacts have been moved to the archaeological museum in Grosseto it remains a highly evocative place where the remains of houses and temples, original mosaic floors and an ancient amphitheatre can be explored on foot.
Where to eat near Roselle
La Parolaccia is the kind of large Italian family restaurant you particularly enjoy walking into on a Sunday afternoon, when every table is packed with three generations or more enjoying a long, late lunch together. Specialities include great crostini, pici – the short, fat strands which are the locally-preferred form of pasta – chicken cacciatore and delicate latticed tarts with nutty ricotta fillings. Try their own-label Sangiovese with a properly local Maremma Toscana appellation.
Maremma Coastal Park

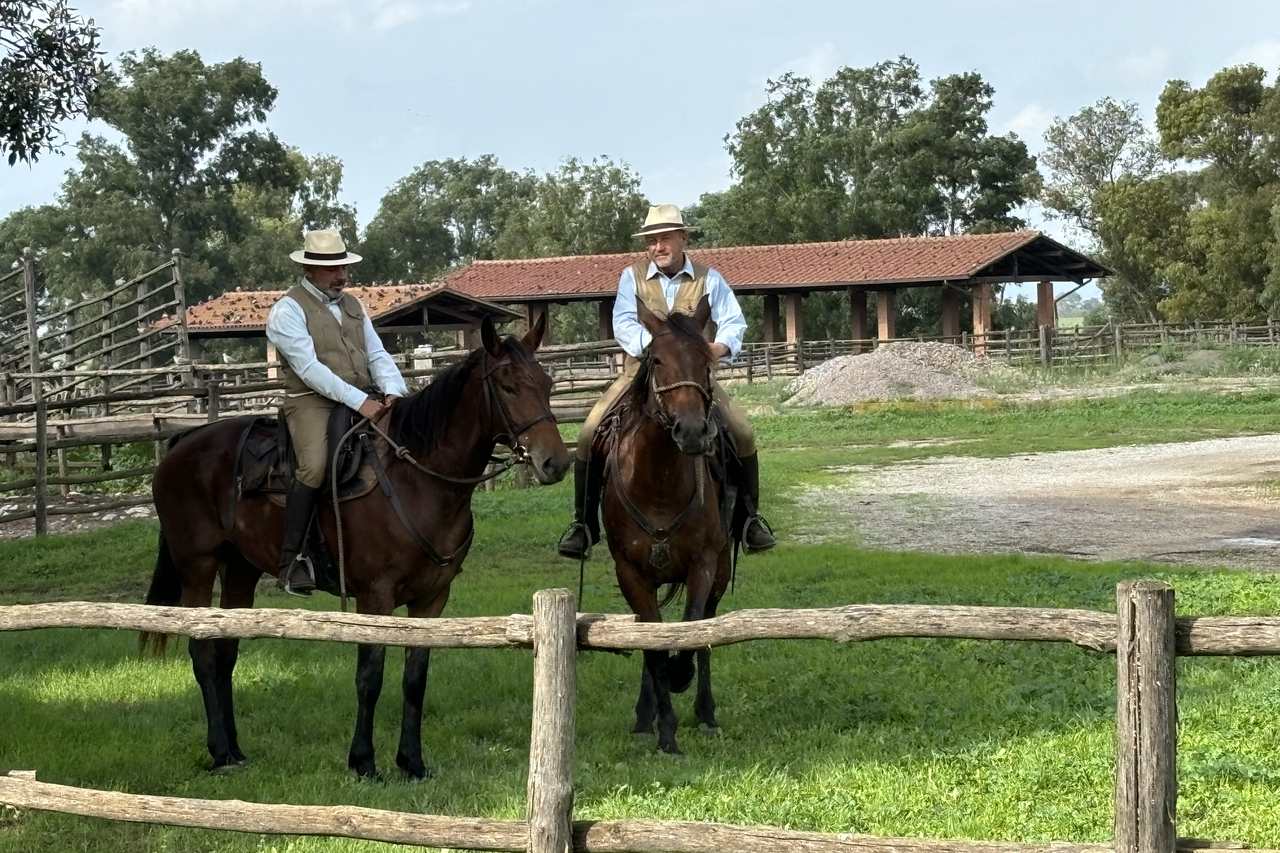
Butteri in Maremma Park
Not only about wild beaches bordered by pine forests in which visitors are asked to walk sotto voce to preserve the peace, but this park is also home to the Alberese Farm where organic beef is produced from the longhorn cattle that roam freely under the supervision of “butteri” – the world’s best-dressed cowboys, who cover miles on horseback every day following the herds. Meet and greet sessions in which they explain their livelihoods are available, along with simple agriturismo lodgings.

Maremma longhorn cattle
Look for the white cows, black bulls, dark brown horses and elegant cowboys on the road leading to Marina di Albanese, one of the best beaches. Carriage tours and horse riding are also available.
Diaccia Bottone Nature Reserve
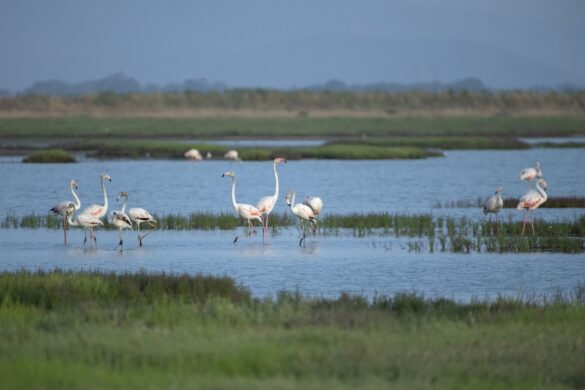
Glorious wetlands home to flamingoes, egret and heron, where osprey are also being re-wilded – flocks of 200 species of resident as well as migratory birds are the living stars of this beautiful reserve. Stop first at the 18th century Casa Rossa, a handsome pink building set up to control water flow in the name of banishing malaria, and now an excellent museum which offers excellent audiovisual interpretation of how the surrounding marshes have been tamed and reclaimed.
Mediaeval villages
Within a hop and skip of Diaccia Botrone sits the coastal resort of Castiglione della Pescaia, whose greatest glory is actually its mediaeval hinterland.

Castiglione della Pescaia house
Climb the hill to admire picturesque houses and churches and enjoy an awesome view of the Med from the top of the town before descending for coffee, lunch and/or a wide choice of retail therapy.
Smaller than Castiglione, with its own gentle hills and mediaeval buildings, Batignano is known for the Church of San Martino with its mediaeval frescoes, some impressive castle ruins and the fine olive oil produced by surrounding farmers. Its authenticity-preserving policies have kept shopfronts at a minimum – while the bars and restaurants are more obvious, clothing, shoes and other staples are sold inside several of the ancient houses. It’s home to a lively olive oil festival in October with live music and spit-fired feasting.
Getting there
Grosseto is on the direct train route between Pisa and Rome, both served from the UK by several airlines.
More info: Visit Tuscany
The post Guide to Grosseto and the Southern Maremma appeared first on The Travel Magazine.


