Ski review: How to slip into the new US style of Switzerland’s Crans-Montana
The resort that is a coming together of two elegant, fashion-store filled villages – Crans and Montana – has long gone its own way. Sitting 1,500m up on a south-facing ridge, unconnected to the region’s other ski areas, it’s a big place with 140km of runs, including Plaine Morte glacier that tops out at almost 3,000m.
This season, however, it finds itself part of a team with its heart in Colorado – in summer Vail Resorts, the world’s biggest resort operator, bought the lift company and is ringing the changes.
What’s happening?
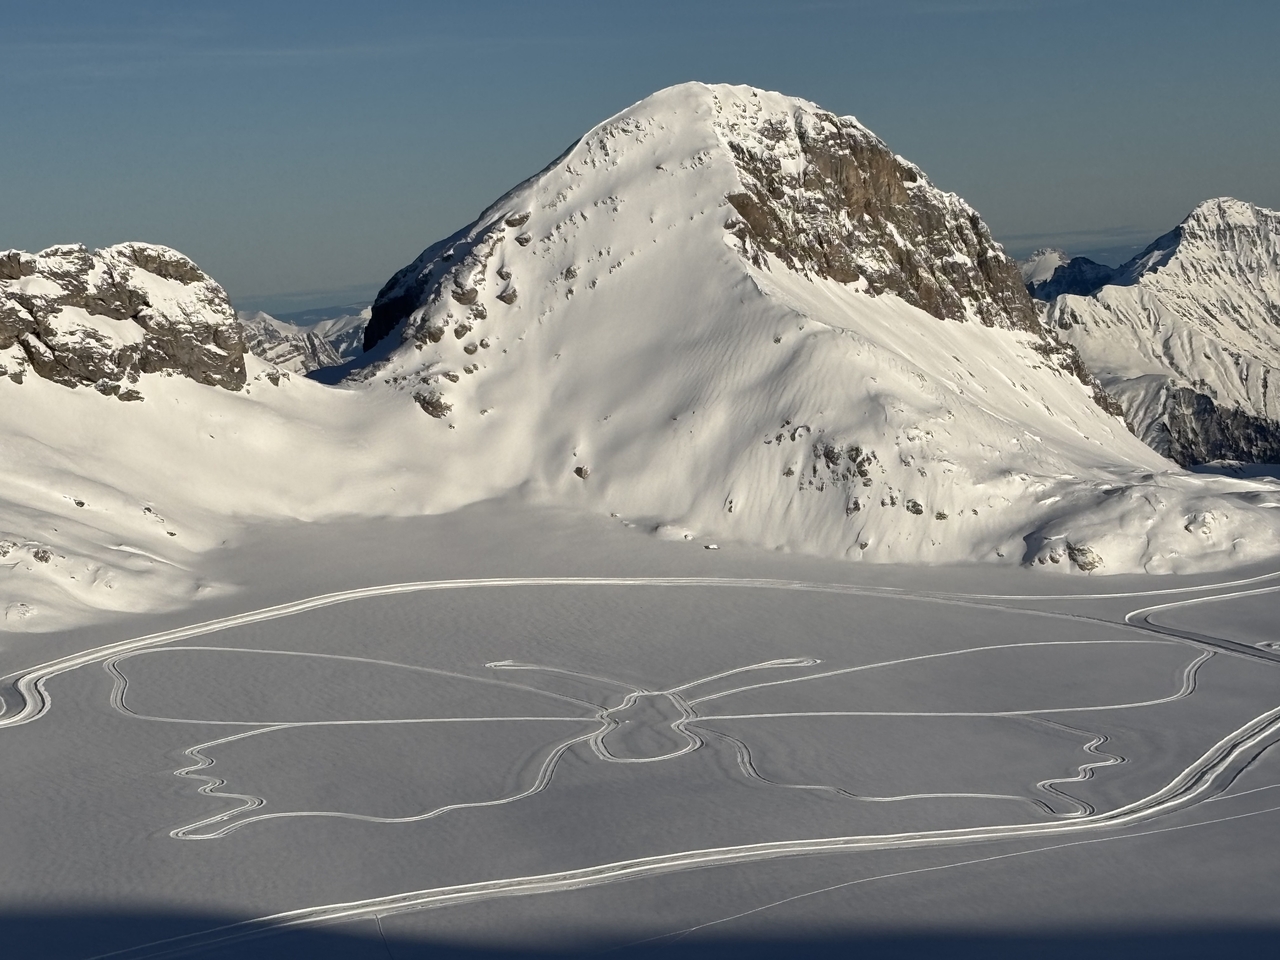
Float like a butterfly… cross-country trail fun on the glacier
Vail Resorts has pledged a £26m investment over five years, which is already kicking in. But it’s not simply the money, it’s the friendly yet focused management that has brought success – the company owns 42 resorts, mostly coast to coast across the US but now reaching into Europe and even Australia.
First off, there’s a big investment in snow-making equipment, particularly to make Crans-Montana’s lower slopes that much more reliable – already 43 snow cannons have been added to the mountain. And money is being dished out to the resort’s 11 mountain restaurants, all part of the Vail Resorts package.
But skiers in early December saw the big change – the Plaine Morte glacier was open. The superb area, featuring lofty views across to the Matterhorn from the one fast run pouring down way above the treeline. It is, however, high-maintenance due to the need for avalanche control.
Pete Petrovski, Vail Resorts VP and now, after a full-time move to Switzerland, Crans-Montana’s general manager, was frustrated because, he says, Plaine Morte was only open several weeks last season. So, despite heavy snow, the glacier was not only open but had perfectly groomed slopes at a time before high season had kicked in. It’s part of Vail Resorts’ dedication to the very best – and Petrovski was formerly in charge of two of Vail’s sister resorts in the Colorado Rockies, Beaver Creek and Keystone, so he knows the game.
The skiing
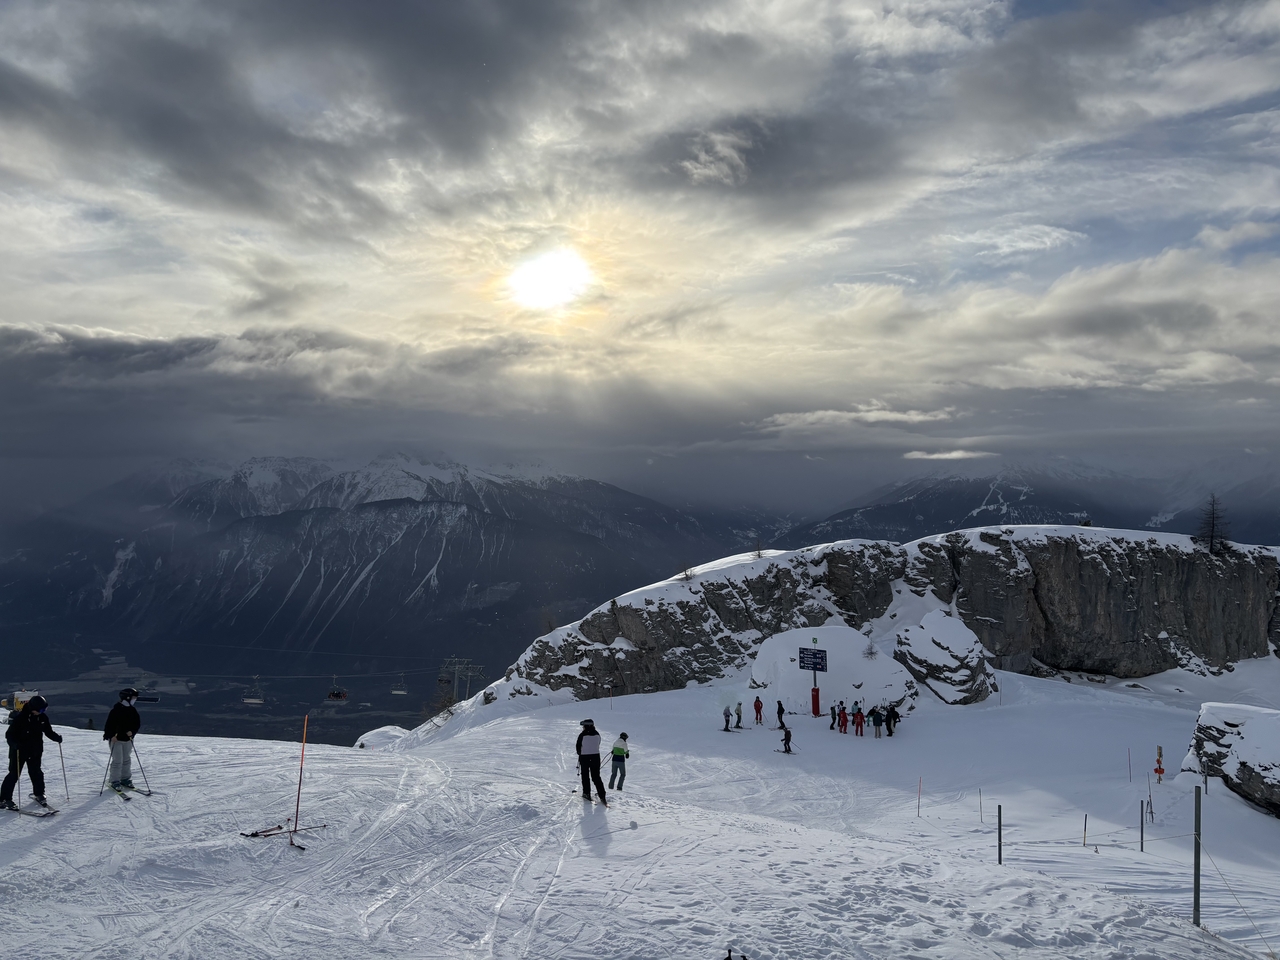
Blooming wonderful… 2,220m up at the top of the Violettes lift
Impressive. Unlike many glacier areas which are self-contained away from the main ski area, Plaine Morte is directly above, meaning a breathtaking black run two-thirds of the way, then red down to the Barzettes base, a drop of 1,500m – and, with two lifts, the Violettes Express and the Plaine Morte Funie, the chance to do it all over again.
There are two main base areas – Barzettes to the right on the outskirts of Montana and, far left, the Crans-Merbe-Cry d’Er gondola. In the middle is the short Arnouva gondola which connects with other lifts to the 2,256m Cry d’Er peak.
One area seriously underused is off to the very right of the ski area, two chairlifts that open several blacks and blues and a bundle of reds, but from which there’s no way back up, even if the chairs are open in the first place; one red snakes across and down to the Barzettes base, another zig-zags lower and ends at a bus stop back to town. Vail Resorts plans to make the area much more widely used and to introduce access from lower down.
Other than that, there are big, open runs from side to side of Crans-Montana, much that’s above treeline, much that darts amongst the forests. Lots of cruising, so good for all levels
What else is new in Crans-Montana
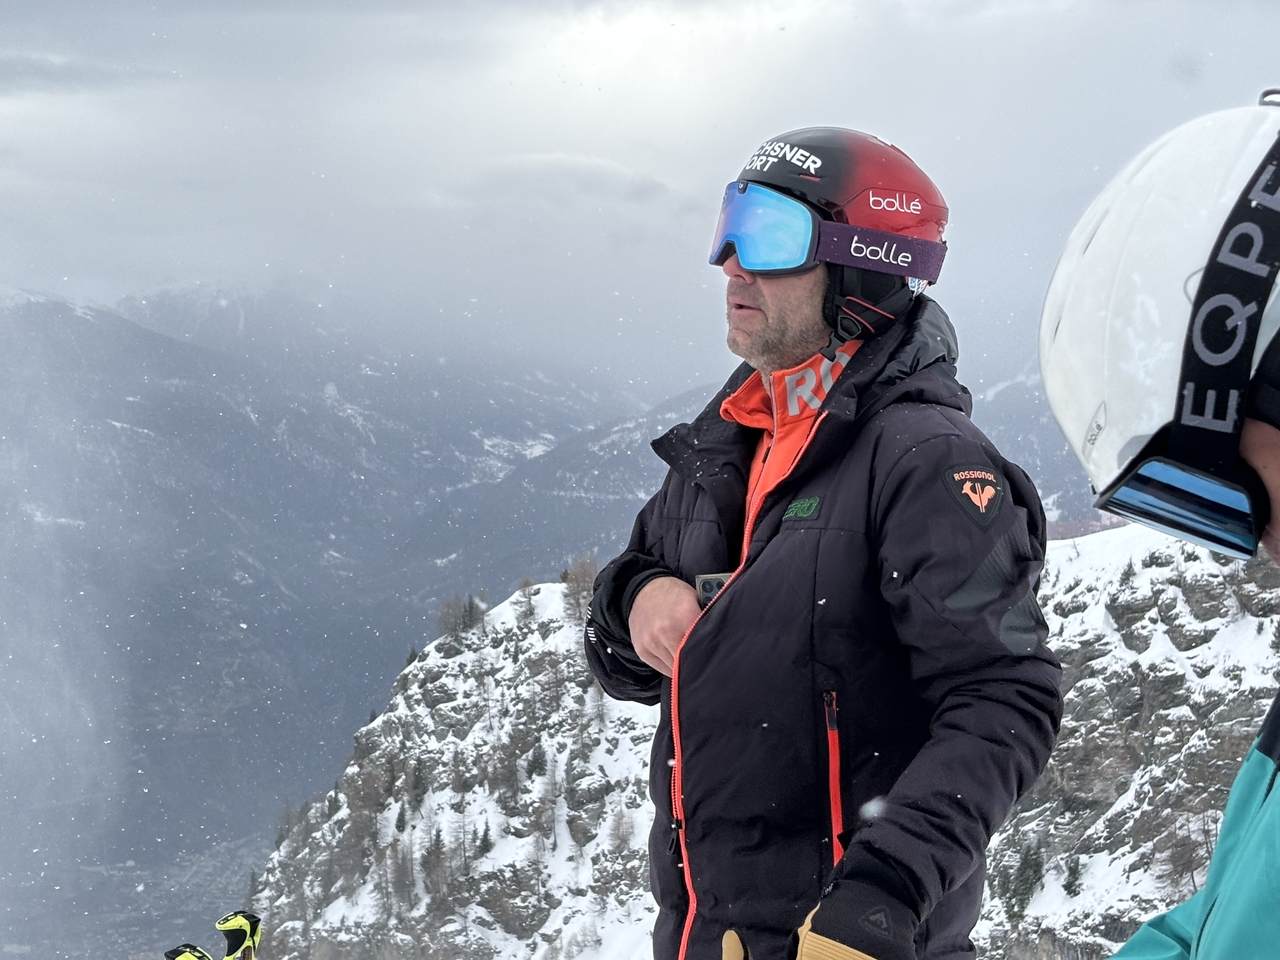
Olympic downhill gold medallist Didier Défago contemplates his new course
Didier Défago, the now retired Swiss ski racer who won the men’s downhill at the 2010 Winter Olympics in Whistler, is an integral part of the Crans-Montana family. He’s designed a new downhill course, Piste Nationale, only opened to the public at the end of 2024, for the 2025 FIS World Cup downhill (February 22-23), the first time Crans-Montana has held the event for 13 years.
The first races will be held February 12-13, the FIS European Cup. The course, from the Bellalui peak involves a spectacular left-hand jump over the ridge at the top of Cry d’Er… try it yourself, but gently.
The Crans-Montana resort
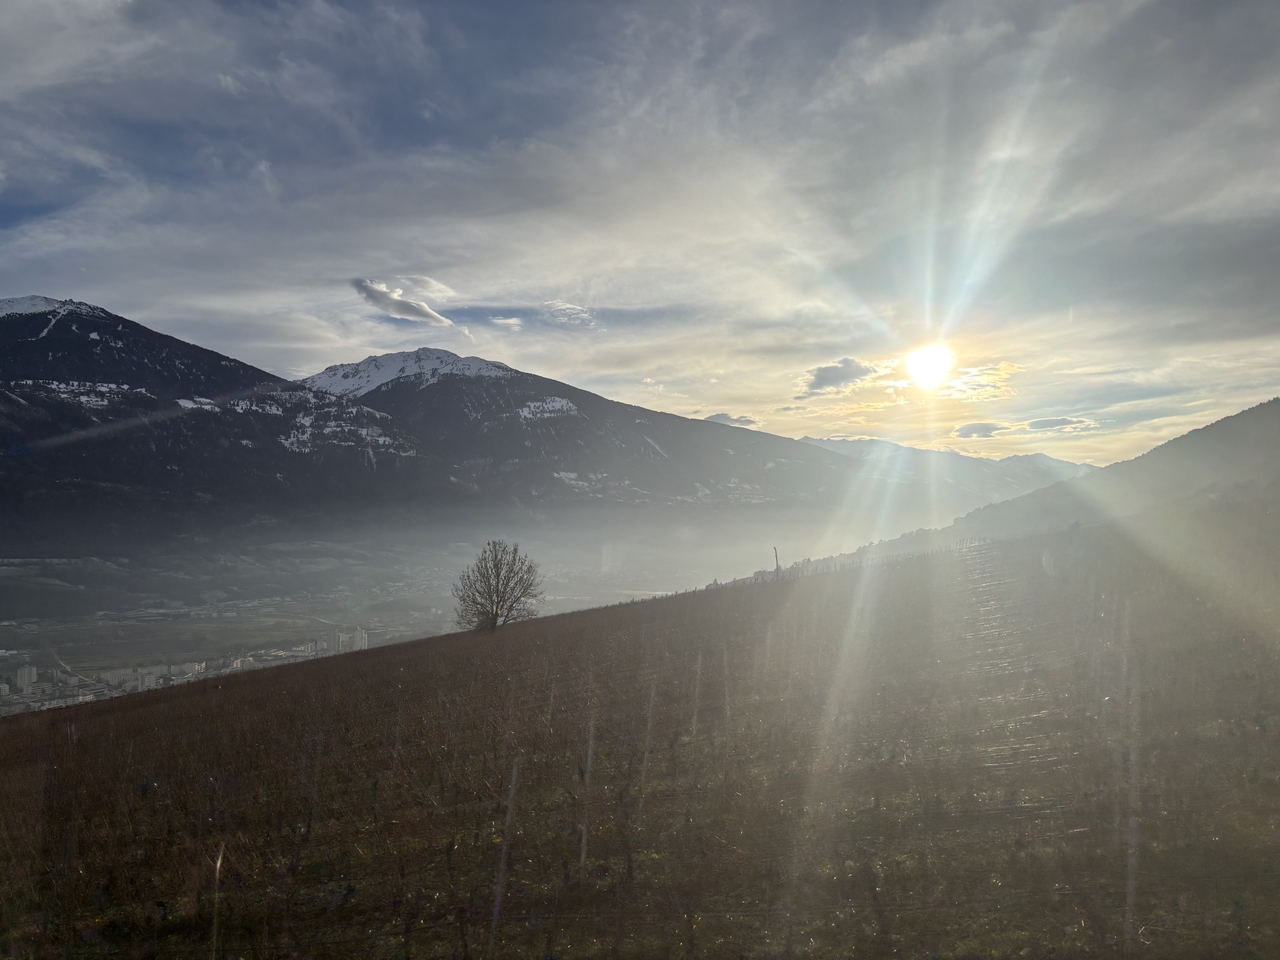
Delightful views from the funicular
Crans-Montana is reached by the 14-minute funicular, ultra-modern trains on a century-old route, the longest in Europe. It cuts through picturesque vineyards and stops at hamlets as it gains 927m in altitude from the Rhone Valley town of Sierre’s station, with its direct services to Geneva airport.
Despite being spread out, Crans-Montana is surprisingly walkable and very pretty. If you’ve got ski boots on, there are plenty of free ski buses. Shops? Plenty of cashmere in plenty of boutiques along with names such as Montcler, Hermes and Chopard.
Where to eat and drink
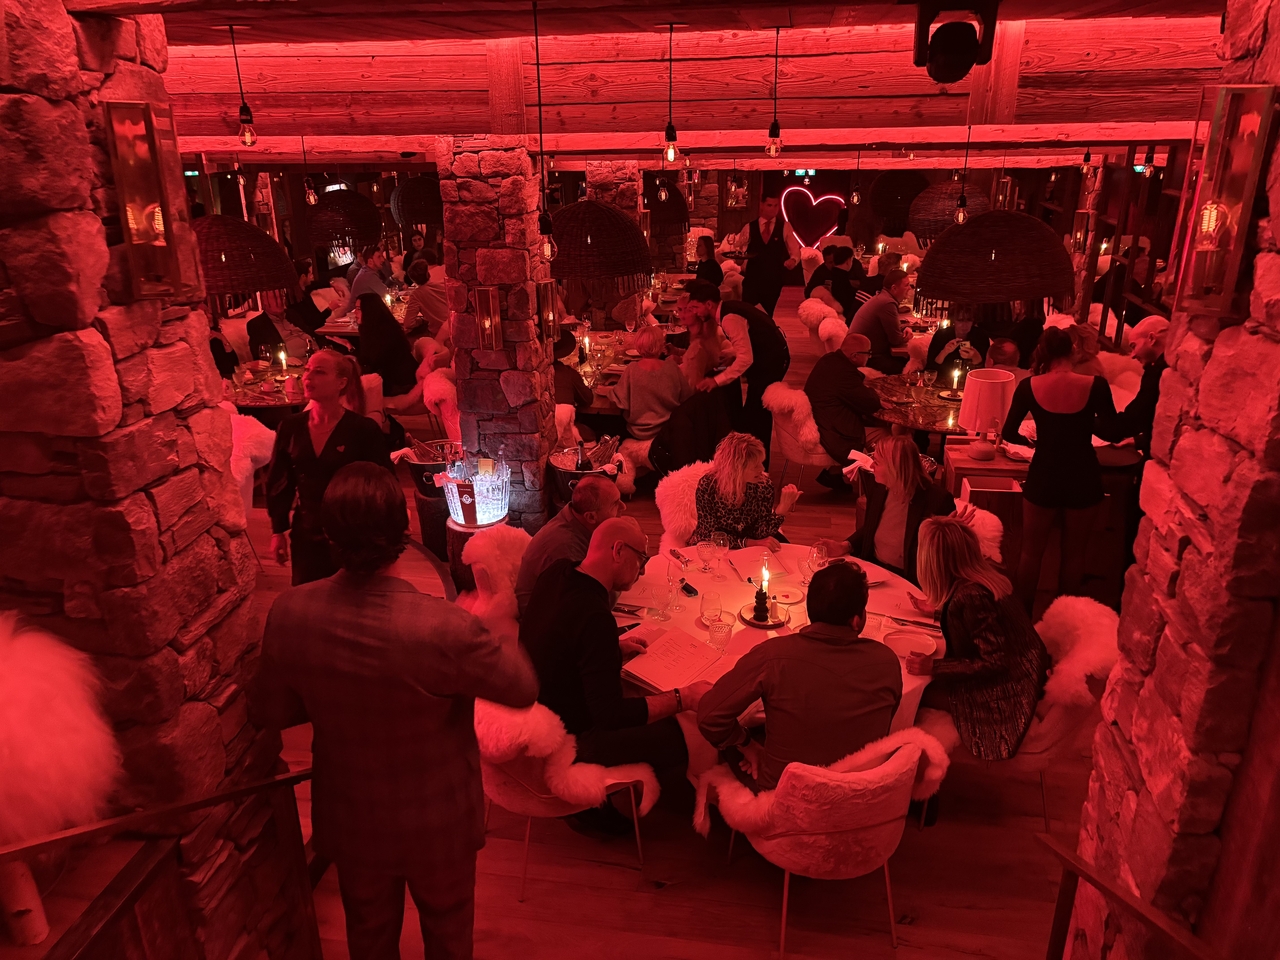
A colourful evening at La Ferme Saint-Amour
La Ferme Saint-Amour (it has sisters in Courchevel, Megeve and Gstaad) opened mid-December, the glitzy new star. Early evening it simply seems to be a high-end restaurant, with food by Michelin-starred chef Éric Frechon, albeit with waitresses in showy, even skimpy, black outfits. On my visit a soulful singer wandered occasionally among the tables but as evening wore on staff started dancing and singing, an atmosphere not unlike the French Folie Douce après-ski haunts. Relaxed yet with a frantic undertow. Not cheap – Swiss cheese fondue with black truffle about £70, and the onion soup starter £25 – but an experience, somewhere between a Hollywood movie and a Netflix sci-fi thriller.
La Cabane des Violettes, small but perfectly formed, a stone hut close to the top of the Violettes lift. Always packed with skiers tucking into rustic fare, particularly cheese, fondue, with Michelin-starred chef Franck Reynaud at the helm. Daytime hours, whenever the Plaine Morte gondola above is open.
Zerodix, the big après-ski spot, a bar at the bottom of the Cry d’Er lift, indoors, under a heated awning and outdoors, rustic and wild with DJs as the lifts close.
What to do
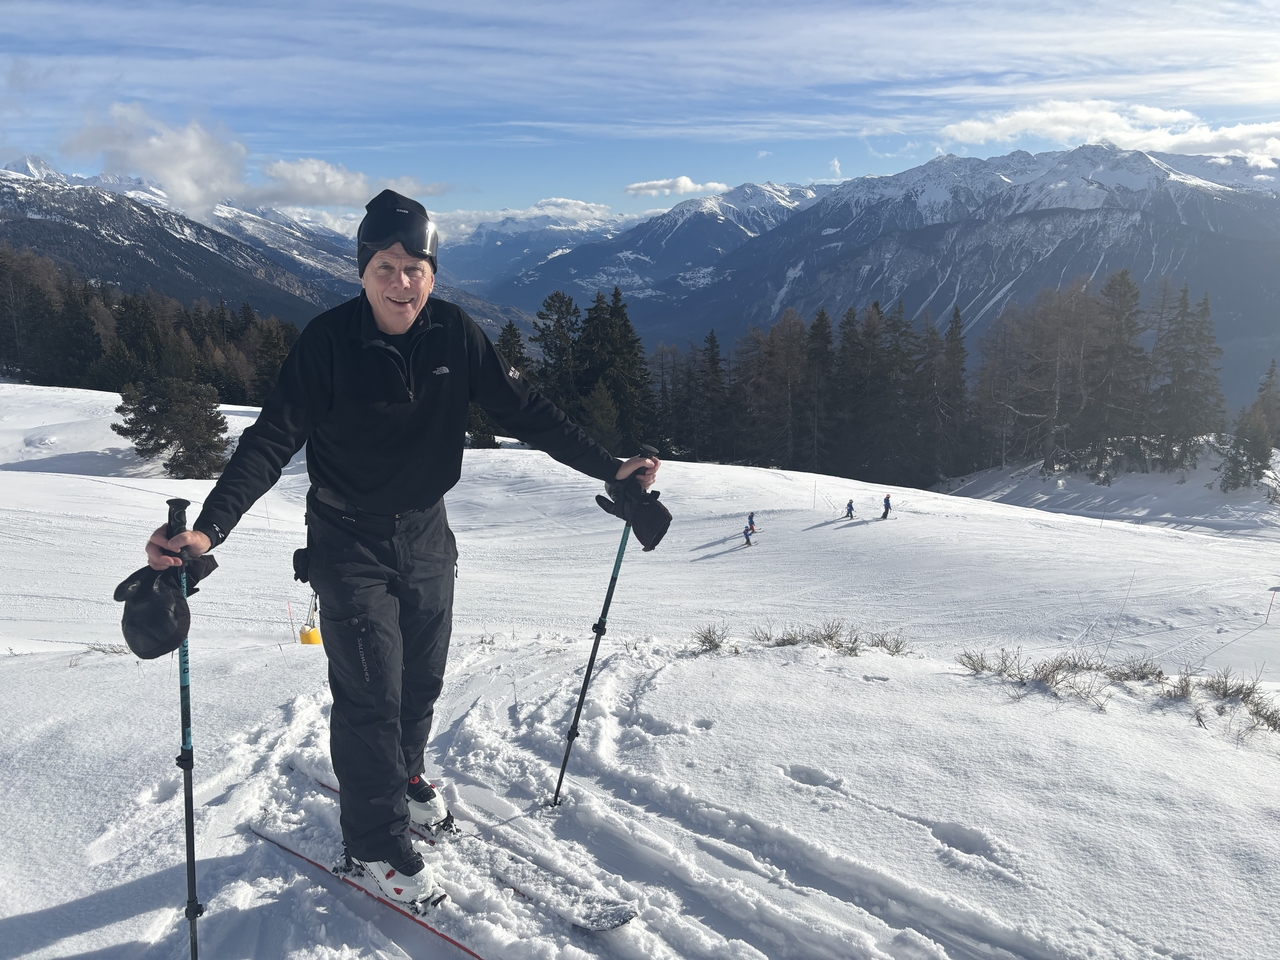
Ski touring… the only way is up
Ski touring – skiing uphill using ‘skins’, removable sheaths when you want to ski down. It’s hard work, but Crans is devoted to it with its 16 routes covering 84km, covering the resort top to bottom, side to side, with its own Rando Parc map . A great place for an exhausting lesson.
Cross-country skiing – the resort and its golf courses and parks are covered with trails
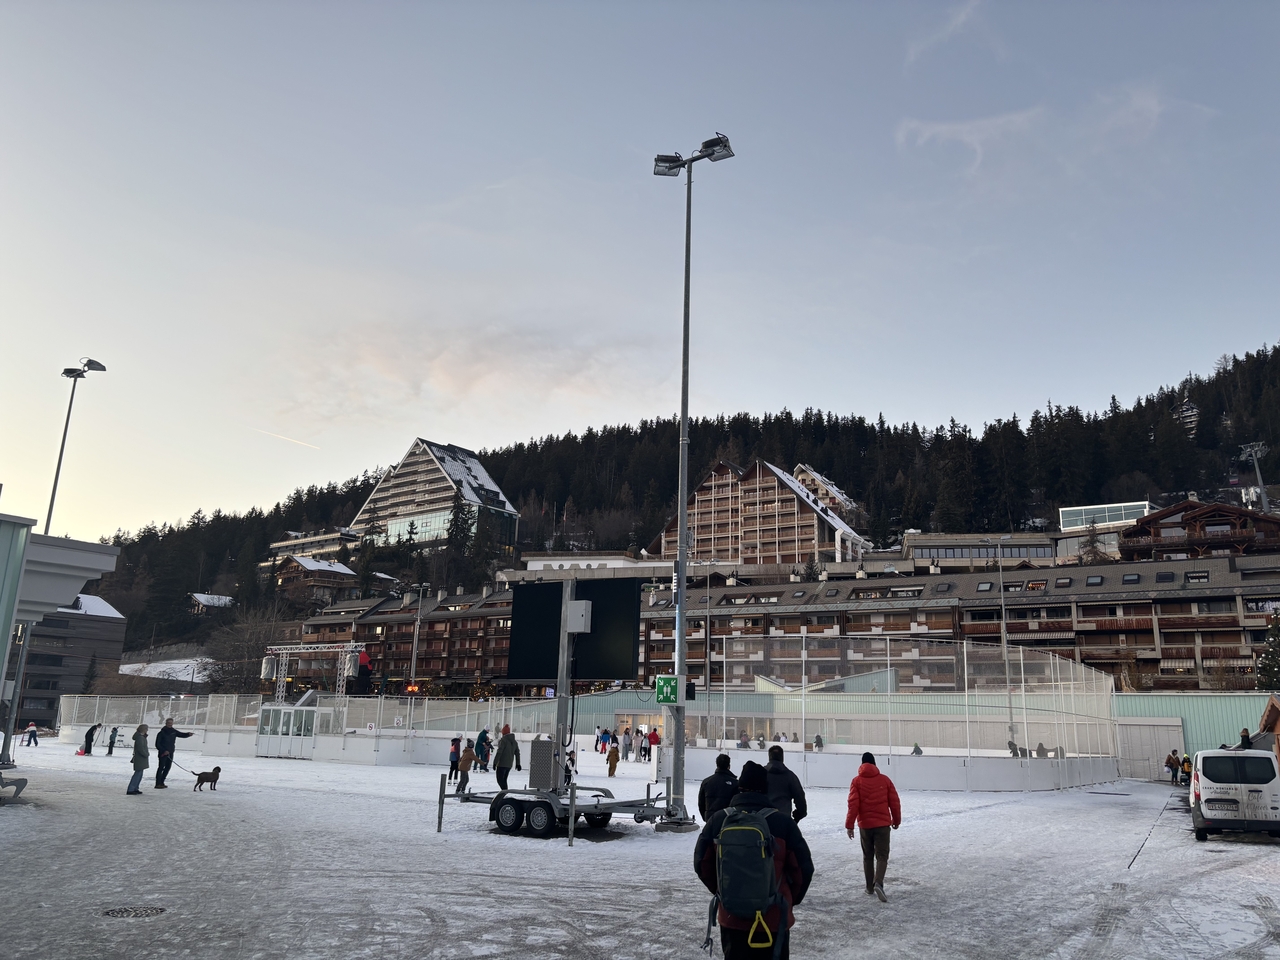
The ice rink is a focal point
Hitting the ice – in the centre of Montana is the Ycoor outdoor ice rink, one of Switzerland’s largest, where you can skate, watch ice-hockey – and even partake of the regular, free ice discos. There’s an indoor café – and a curling hall, where you can take lessons.

Let there be light, and food and drink… the Lantern Path
Lantern Path – a magical, free evening for adults and children alike, from December until early March, a snowy trail snaking through golf course and forest, lit by lanterns, illuminated trees and extravagant light shows with music, hot food, mulled wine and more. Groups can book rustic chalets for gourmet fondue dinners.
City Ski Challenge (formerly City Ski Championships), now celebrating 25 years, March 13-16, is a long weekend of ski races (near the base of Piste Nationale), meals, live music, DJs and celebrities (from former F1 champ Damon Hill to BBC security correspondent Frank Gardner) and partying. Still many teams from city and business but now welcoming individuals who simply like the atmosphere. Book as a package. Organised by Britain’s Momentum Ski company.
Caprices, the electronic dance music festival, celebrates its 23rd year at Crans-Montana over two weekends (April 4-6 and 11-13). Varied stages including one at 2,200m.
Where to stay
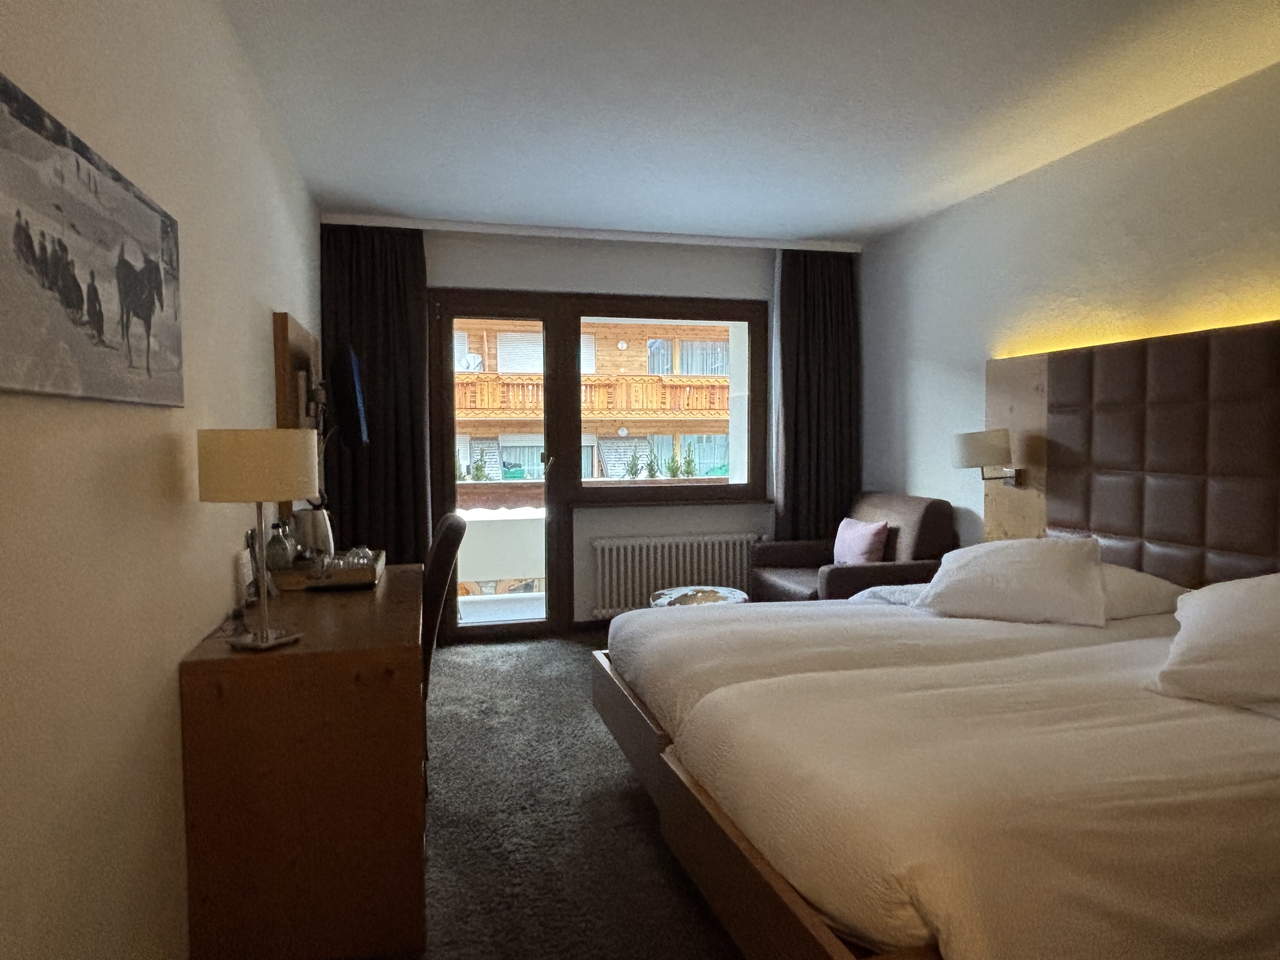
A cool, calm Olympic room with balcony
Hotel Olympic, cosy and friendly hotel in the centre of Montana, surrounded by shops and bars, across the street from the ice rink and several minutes’ walk from the Arnouva gondola. Pleasing rooms with balconies, and with your evening planned out on a snowy day. There’s the Le Mayen Swiss restaurant, all timber tables and check tablecloths, a world of rosti, raclette and fondue with rich choice of cheeses, mains from about £25. And there’s the busy subterranean Bar Amadeus to move on to. CHECK AVAILABILITY
Hotel Valaisia, part of the small Faern proudly Swiss mountain hotel group, sits above town but also close to the Arnouva gondola. Big and smartly modern, it’s mid-range and a place for an evening whether staying here or not – the Eteila Brasserie serves posh Swiss cuisine while the Sewi Bar is named after the word for cave in local dialect, a tribute to the long Swiss section of the wine list. CHECK AVAILABILITY
Six Senses, a stunningly top of the range spa hotel that opened for summer 2023. A new wing has recently arrived, bringing the hotel alongside the Cry d’Er base area while the piste still rushes below the balconies of the splendidly contemporary rooms. Accommodation right the way up to a four bedroom-chalet. Park your skis outside the front door for an après-ski drink in the Wild Cabin bar and brasserie. CHECK AVAILABILITY
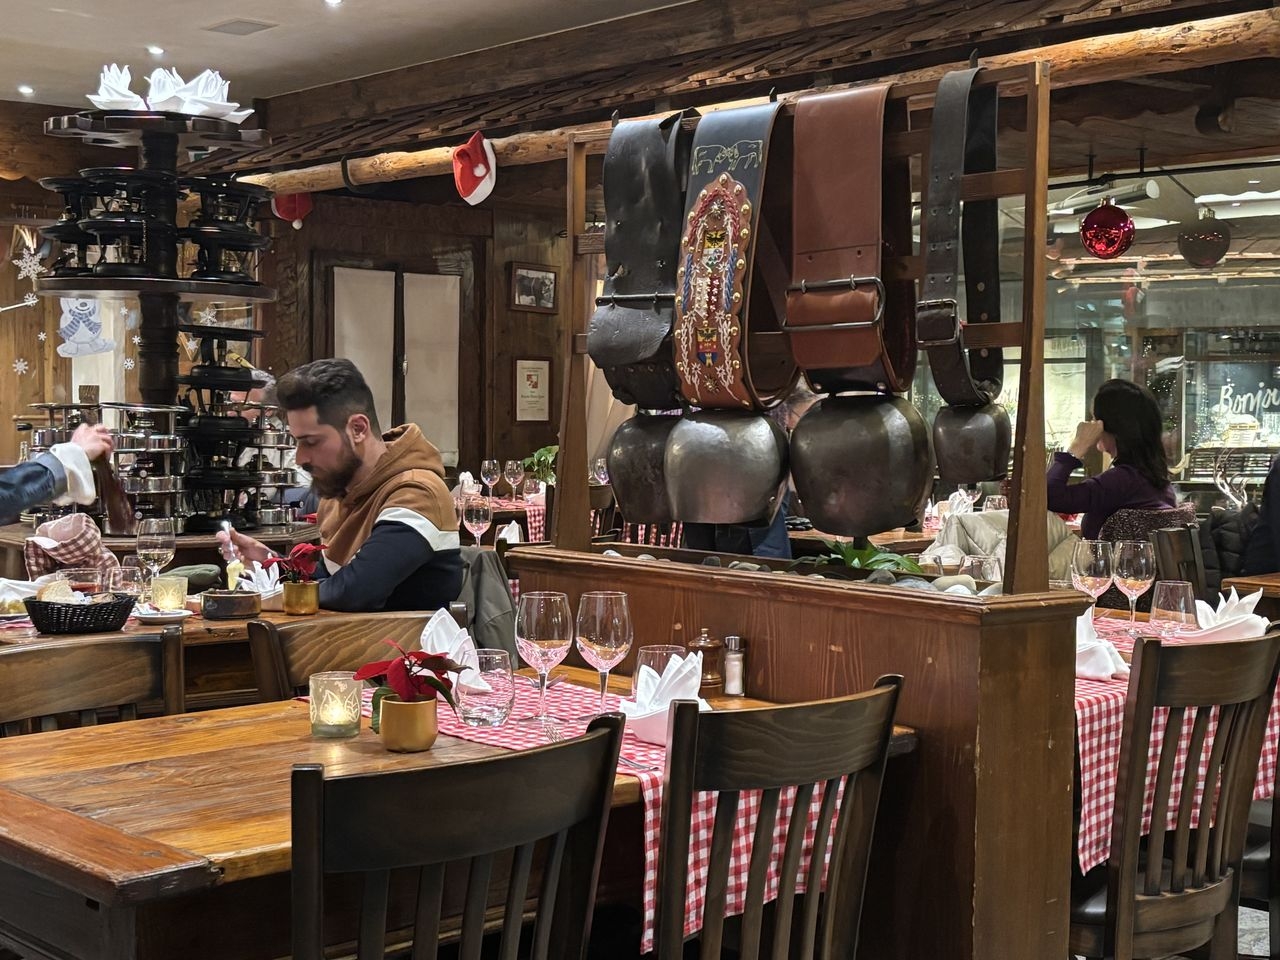
Traditional food and style in Hotel Olympic’s Le Mayen
Verdict
Crans-Montana has long been an impressive ski destination but it’s already made a step up this season, and it won’t stop there. “This isn’t just any resort,” says Petrovski. “We’re trying to meld two worlds together.”
More information: Crans Montana
Also read: How to enjoy a ski break in in Switzerland where you don’t need deep pockets
The post Ski review: How to slip into the new US style of Switzerland’s Crans-Montana appeared first on The Travel Magazine.


