Adobe Photoshop Elements 25 — Top New Features & My 7 Favorite “Old” Features
Exciting AI-powered features added to Adobe Photoshop Elements make version 25 more powerful, more fun and even easier to use. Here’s a recap of the top 5 new features, with before/after examples, plus the 7 preexisting features I find most compelling.
While AI muscles its way into every image editing platform on Earth, Adobe has been exemplary with their carefully metered and responsible deployment of Artificial Intelligence’s immense capabilities.
With the release of Photoshop Elements 25, Adobe has harnessed much of AI’s useful magic to create an image editor that can be enjoyed immediately by raw beginners with zero experience and still appeal strongly to more advanced photographers who want extensive creative controls but do not edit frequently enough to embrace Element’s more costly parent, the full-blown version of Photoshop and the Creative Cloud environment.
The companion video editing app, Adobe Premier Elements 25, has similarly been enhanced with the addition of AI-powered features. Although we are not exploring Premier Elements here, video enthusiasts should. You can buy both Photoshop and Premier Elements 25 in a bundle at a significant cost savings.
Before We Dig Into What’s New
If it’s been a while since you’ve used Photoshop Elements, or if it’s entirely new to you, scroll down to the Photoshop Elements Overview paragraphs below.
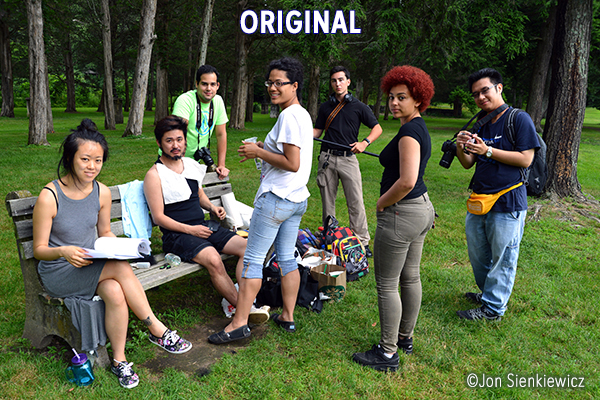
Top 5 New Features
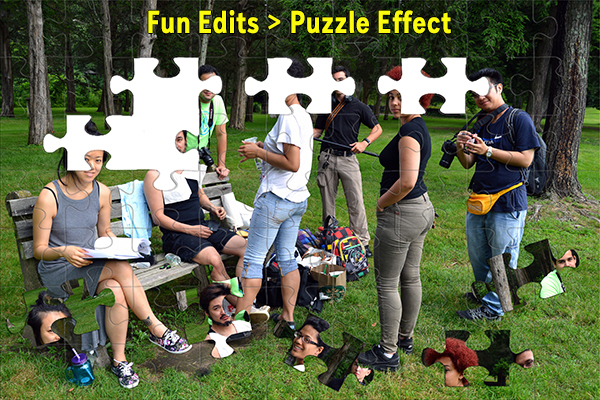
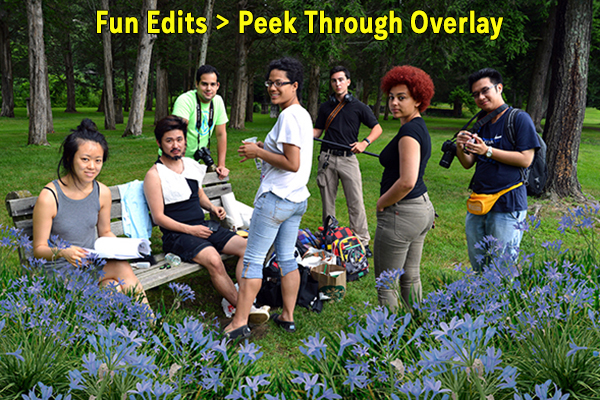
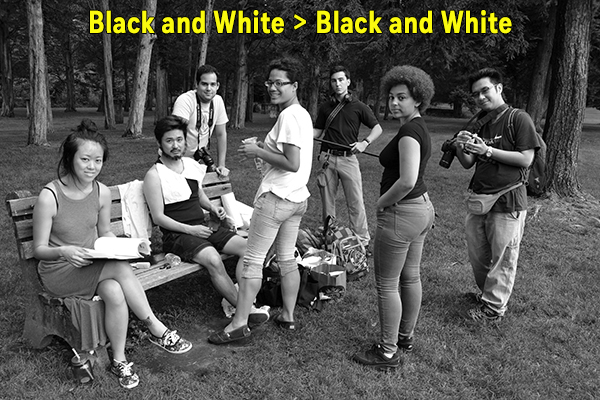
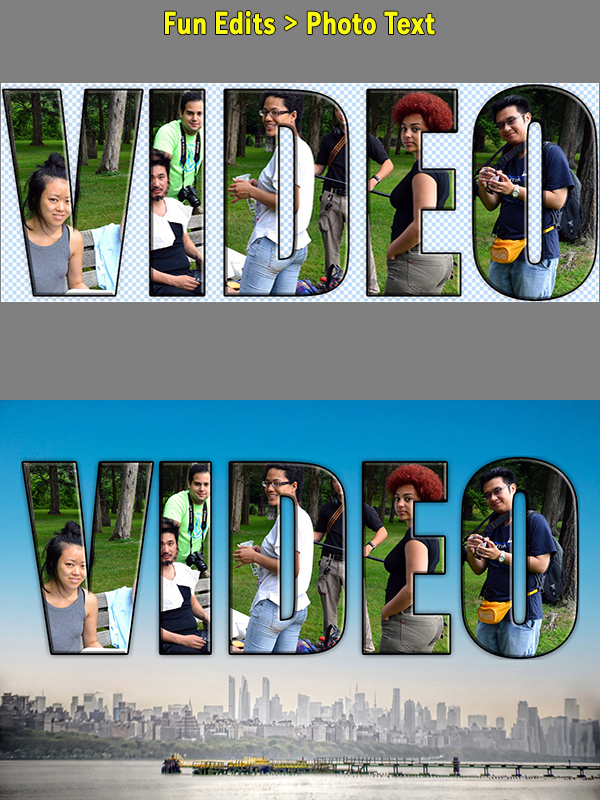
A picture is worth a few thousand words, as they say, so we’re explaining the new features as a series of five before-and-after image sets. I captured the original image (above) more or less by accident at a park in New Jersey in 2014 using a Nikon D800 and 28mm lens.
All five are Guided edits, so even someone who’s a stranger to post-processing can easily perform these modifications in just a couple minutes.
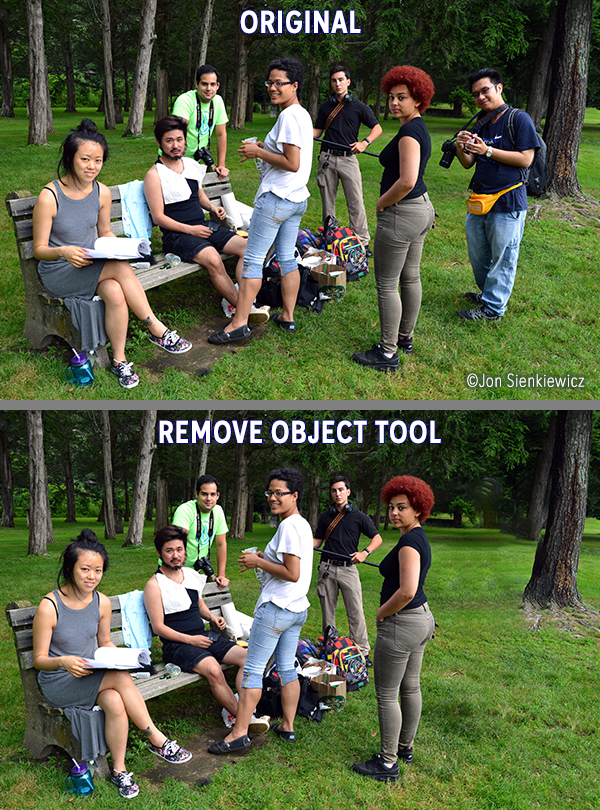
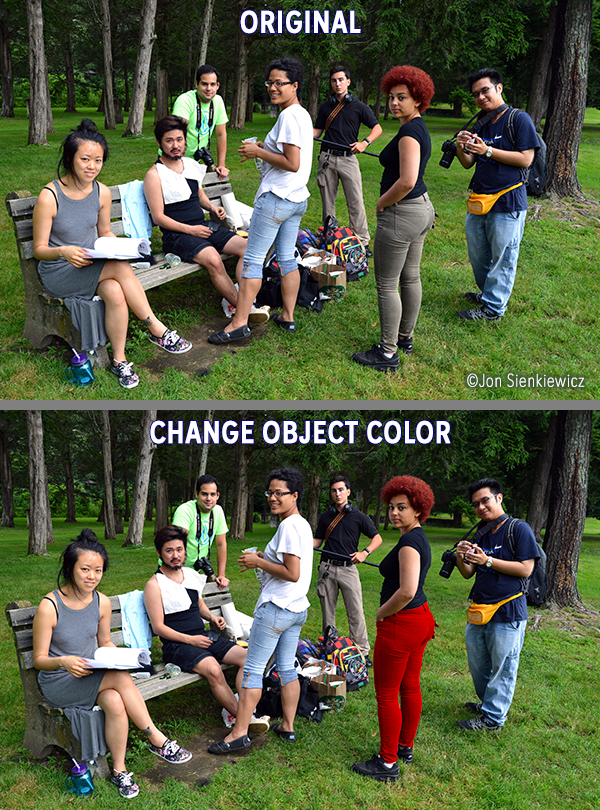
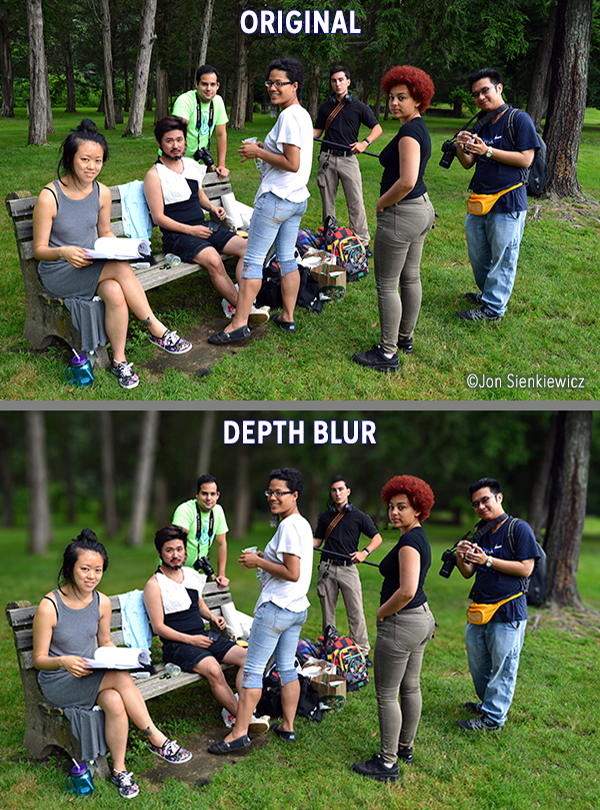
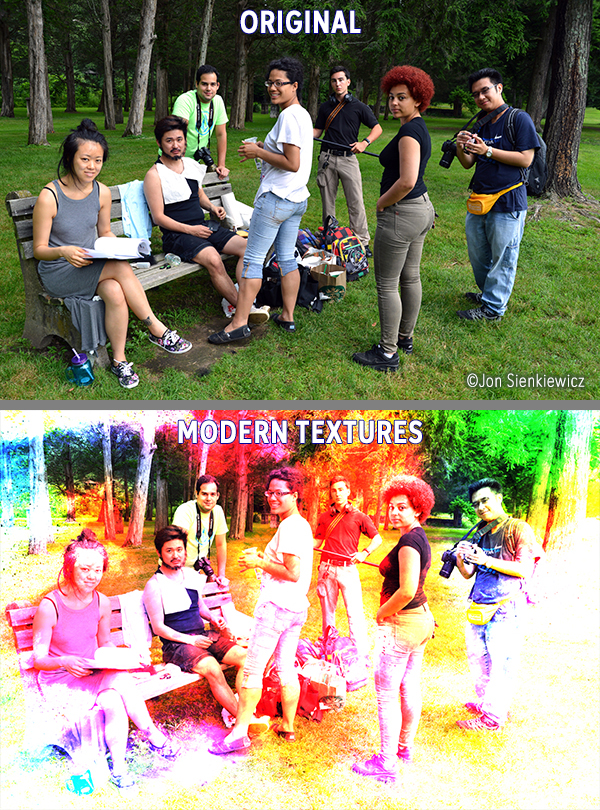
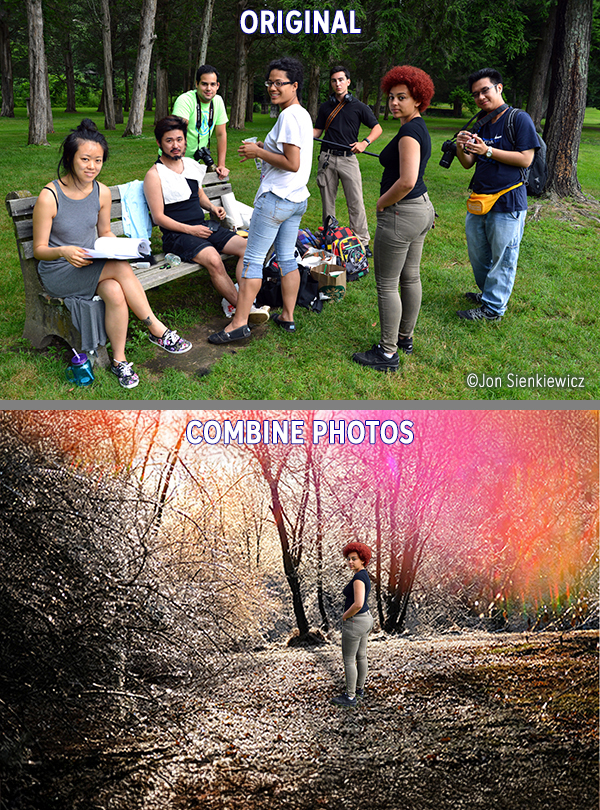
Watch Adobe’s video presentation of Photoshop Elements 25 via this link.
My 7 Personal Favorite “Old” Features
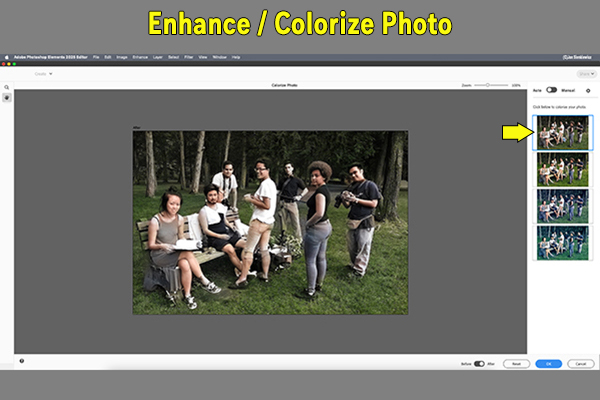
All of the image edits below are Guided activities except for the Colorize function which is accessed from the Enhance tab in either the Quick or Advanced editing module. Once again, no special skill is required to complete these processes — they’re easy, and you can learn a lot whilst expressing your individual creativity.
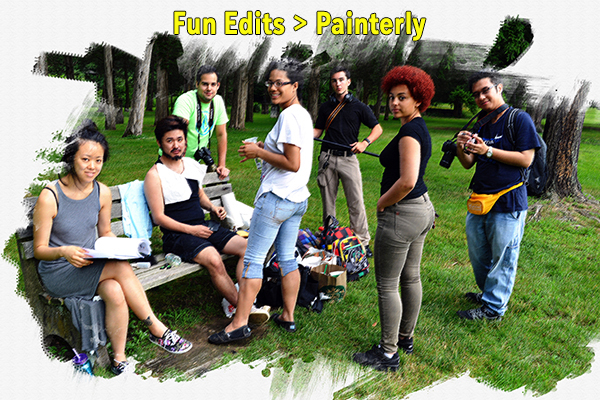
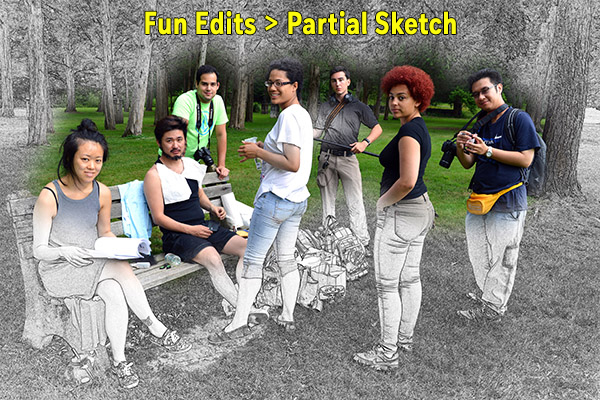
Conclusion
Adobe Photoshop Elements just keeps getting better and better. Version 25 is easy enough for beginners, comprehensive enough for advanced amateurs and, via the Guided activities, empowers all users to complete complex edits straightforwardly.
Without scientific data to back up my speculation, I estimate that at least 70% of all Photoshop users use less than 50% of its powerful features with any regularity. Photoshop Elements 25 provides more than enough editing capabilities for most amateur photographers, smartphone shooters and casual hobbyists. Professionals and ardent enthusiasts will stick to Creative Cloud’s more robust features, greater AI advantages and more opportunities to learn and grow creatively.
Benign disclaimer, I have been using Elements since Version 1.0, around 2001. Shortly thereafter, as a member of Minolta’s senior management team, I helped convince higher-ups to bundle Photoshop Elements with our emerging digital cameras.
Click this link to read my review of Photoshop Elements 24 from last year.
Free 7-Day Trial
Why wait? If you want to take your smartphone pics to a higher level, PSE25 is the ticket.
Download the full version of Photoshop Elements 25 for a 7-day free trial. No credit card required.

Photoshop Elements Overview
Open the Elements home screen and you’re greeted by a user-friendly Graphical User Interface (GUI) that asks you “What would you like to do today?” and offers several suggestions, including an Auto Creations option that accesses your previously uploaded media and creates a few examples for you by itself. Below that are three icons that open the Organizer, Photo Editor (Photoshop Elements) or Video Editor (Premier Elements). If you eventually find this process tiresome, you can cut to the chase and directly open PSE or PE.
Click the Elements Organizer Workspace and you’re invited to add media and explore the content you’ve already created. Every step is very simple and easy to follow. Advanced users may opt to bypass the Organizer altogether and directly open their work projects by launching the editing software and going the File/Open… route, or from outside of the Elements shell by right-clicking the media file and using the “Open with” line on the dropdown menu.

If you’re a beginner or early user, Photoshop Elements and Premier Elements are both very straightforward and intuitive. As stated earlier, the Adobe Elements duo are tri-level platforms that offer Quick, Guided or Advanced operation. The labels are self-explanatory, and users of all skill levels probably find themselves using all three, depending on the project at hand.
To take advantage of the multiple guided projects Adobe has built in, open an image in the workspace and click the Guided tab. Expert users find themselves starting in the Guided space and then refining their creations by switching to the Advanced mode. You can shift modes at any time before saving the file.
Adobe Elements is great for beginners and intermediate users, but it’s also fun and useful for advanced photographers and video makers. I use it to explore colorizing monochrome infrared (IR) images, and especially for inspiration. (Of course I know how to do it in CC Photoshop, but I like to see what PSE suggests.) Elements is a very useful tool for the many creators who are progressing from Beginner to Intermediate, or from Intermediate to Advanced.
System Requirements
For up-to-date system requirements, visit this page at Adobe.com. If you have a modern computer with at least 8GB of RAM running Windows 10 or higher, or macOS 13 or later, you should be good — but check anyway.
Price & Availability
Prices of Adobe Photoshop Elements 2025 and Premier Elements 2025 are the same as the 2024 versions. License term is three years. Full version of either is $99.99 and upgrade price for either is $79.99. As in the past, you can buy both apps bundled for $149.99 (full) or $119.99 (upgrade) — a significant savings. You can order now directly from Adobe.
Be aware that seasonal promotional offers appear from time to time, so check for special sale prices before ordering.
Download the full version of Photoshop Elements 25 for a 7-day free trial. No credit card required.
More questions? You can reach Adobe’s Elements FAQ pages here.
Want to Become a Better Photographer?
Begin by taking more pictures. Carry a camera everywhere you go and shoot even when you’re 100% sure the picture won’t turn out. Review all of your images with a critical eye and share them with others – and that includes posting the best on our Gallery. Subscribe to our newsletter (see sign-up form on our homepage) and bookmark Shutterbug as a Favorite on your browser so you can check back often. We’re in this for the same reason as you – we love photography, and we’re learning more about it every day.
—Jon Sienkiewicz


