Shutterbug’s Creative Holiday Gift Guide for Photographers
The holiday shopping season is upon us, so we’ve created a creative holiday gift guide for photographers! Whether you’re a seasoned professional or a budding enthusiast, we’ve handpicked a selection of unique and innovative gifts that are sure to inspire and delight. From practical tools to spark creativity, to whimsical accessories that add a touch of flair to any photography kit, we have something for every type of shutterbug. So, grab your camera and get ready to explore an array of thoughtful and personalized gift ideas that will elevate your photographic experience during this festive season and beyond.
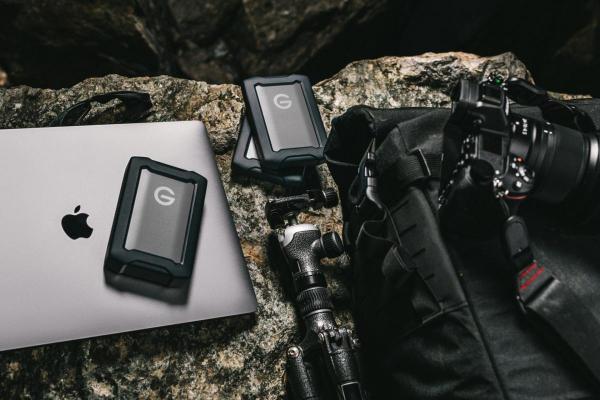
G-DRIVE ArmorATD – 6TB by Western Digital
Rugged durability for reliable backups anywhere. From out in the wild to back in the studio, trust your photos, footage, and important files to a portable hard drive that’s as relentless as you are. The high-capacity G-DRIVE ArmorATD rugged, all-terrain drive gives you pro-grade durability you can feel with a premium, anodized aluminum enclosure, easy-to-grip protective bumper, and IP54 rain/dust resistance4. With transfer rates up to 130MB/s read2, you can quickly back up your content wherever you are.
Every photographer deserves more time with loved ones during the holidays and beyond. This season, give the gift of Aftershoot – the ultimate solution for photographers’ biggest challenges. Aftershoot is an ALL-IN-ONE tool that helps photographers streamline their entire workflow through unlimited culling, editing, and soon-to-be-launched retouching—all for a single flat rate.
With features like “One Click Cull + Edit,” Aftershoot is designed to maximize efficiency, letting photographers spend more time capturing memories or enjoying holiday moments. Take advantage of Aftershoot’s exclusive Black Friday deals and kick off the new year with a faster, more efficient workflow!
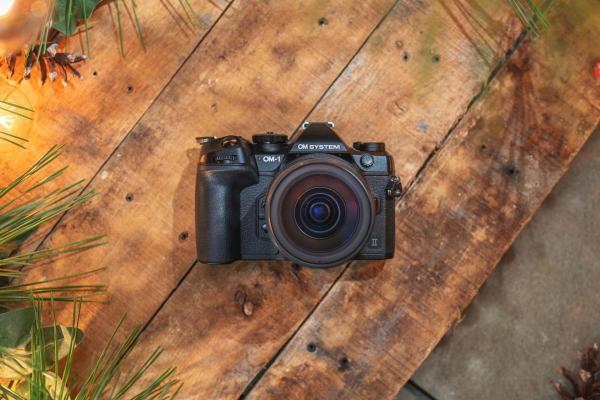
Revolutionize your photography journey with the OM SYSTEM OM-1 Mark II, the ultimate hybrid camera for professionals and enthusiasts alike. Featuring a cutting-edge stacked BSI Live MOS sensor, this powerhouse delivers exceptional image quality with stunning detail and low-light performance. Its lightning-fast TruePic X processor ensures precise autofocus, 120 fps burst shooting, and 4K/60p video recording. Built for adventure, the OM-1 Mark II features an IP53-rated weather-sealed body, advanced image stabilization, and innovative computational photography modes like High-Res Shot, Live ND, and Pro Capture. Lightweight yet durable, it fuels creativity for all your outdoor photography.
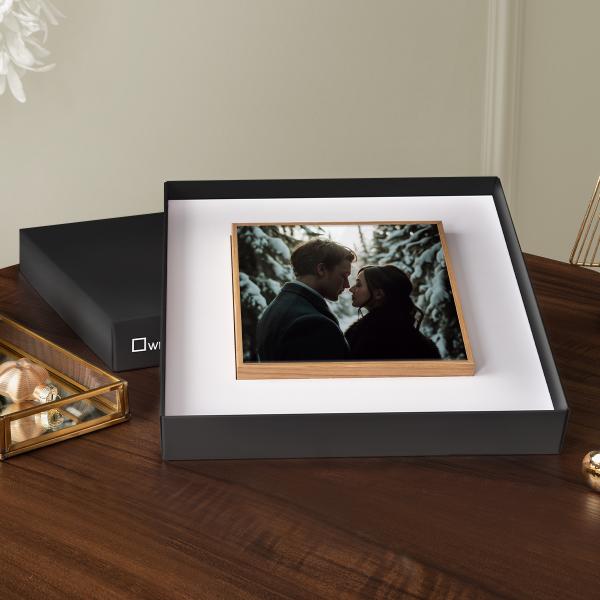
The ArtBox Gift Edition by WhiteWall
The ArtBox Gift Edition is an elegant choice for any occasion, showcasing your photo in a sleek, narrow wooden frame that highlights small images beautifully. The design offers striking depth, turning each photo into a unique décor piece. Your image is printed on Fuji Crystal DP II paper and laminated behind high-quality acrylic glass, available in glossy or matte. The frame’s 1.37-inch depth allows for a freestanding display, while a milled joint on the back makes wall mounting simple. Packaged in a sophisticated gift box perfect for the holidays, the ArtBox is an ideal blend of style and quality for contemporary spaces.
Introducing the SanDisk Desk Drive — a complete desktop backup solution now up to 4x faster than a desktop HDD5. It’s the perfect home base to quickly back up your favorite and important content. An immense capacity of up to 8 TB1 will easily hold your photos, videos, music, and important documents, and read speeds up to 1000 MB/s2 will help you access everything fast. With a compact design that fits naturally into any workspace, this drive helps protect your content — all in one place.
ProMaster’s GaN USB Charger 3-Port 65 Watt
Don’t let its compact size fool you! Small but mighty, the ProMaster GaN Charger has three ports and 65W power output to quickly charge your cameras, laptops, phone, tablets, and other devices that use USB-C or USB-A. This charger utilizes GaN technology to provide more energy in a small, thermally efficient unit so you can safely and rapidly charge up to three devices simultaneously. Folding prongs make it even more compact.
Discover the benefits of GaN technology with this convenient USB charger, perfect for the on-the-go creator who needs their devices charged fast! Available for $39.95 at promaster.com.
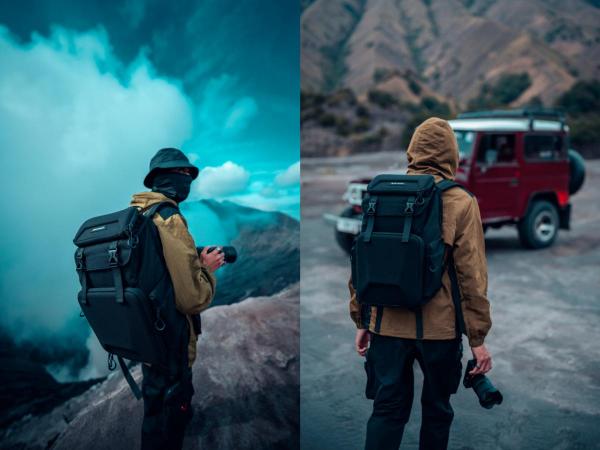
K&F CONCEPT’s Nature Wander Backpack 25L
Give the photographer in your life the ultimate adventure-ready companion with the K&F CONCEPT Camera Backpack 25L. Built to handle every journey, this bag’s got your back with rugged, waterproof material, impact-resistant shells, and perfectly designed compartments for your camera, lenses, clothes, and even a drone. Enjoy the comfort of adjustable, breathable straps, plus the added security of anti-theft buckles and a trolley strap for smooth travel. This holiday season, gift them a bag that inspires—and is ready for—every shot they take.
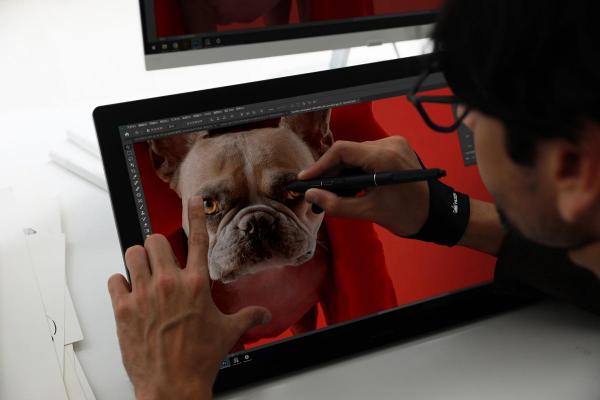
For the Dreamers! Crafted as a portable 18.4-inch display with a 4K UHD resolution, Kamvas Pro 19 boasts groundbreaking Huion PenTech 4.0 technology and incorporates all-new Canvas Glass. This extraordinary combination not only empowers artists to pursue their creative dreams but also efficiently conserves valuable workspace.


