Hotel Review: LOTTE City Hotel Tashkent Palace, Tashkent, Uzbekistan
With a striking façade of imposing pillars, tiled walls and arches, and graceful balconies, LOTTE City Hotel immediately displays its importance as a landmark in the city of Tashkent. Its grandeur harks to its Soviet-era origins as the Tashkent Palace Hotel in the 1950s: you can imagine visiting delegations of party officials mixing with the local intelligentsia in the refined atmosphere at the very heart of the city’s cultural district.
Since those days, the hotel has been refurbished and modernised to confirm it as a place where guests can expect all the conveniences and embellishments of an international brand’s four-star. Whatever its luxuries, however, it is LOTTE’s position within a stone’s throw of the opera house, state museums, and Independence Square which makes it one of the best options for exploring Tashkent.
Who for
LOTTE is large and diverse enough to cater to all kinds of visitors. You will certainly find your share of businessmen and diplomats occupying opulent suites, but with touches such as a children’s buffet and a good swimming pool, this is a place that can provide for everyone, including families. The common feature of all the guests staying here is that they appreciate being within walking distance of almost all the notable attractions of the city.
Accommodation
The 232 rooms of the LOTTE Tashkent come in various configurations and sizes, from deluxe single rooms through doubles, superior, and executive rooms, to three different types of suites. They all have views over the gardens and pool of the hotel courtyard, or over the stunning opera house and elegant avenue with its large shady trees and clipped topiary.
All accommodation at LOTTE is impeccably well-maintained and luxurious. You’ll find that a deep sleep is assured on the ‘He:on’ bedding system; the premium mattress, duvet and linen brand made exclusively for LOTTE hotels. You will also feel pampered by the high-end facilities in the ensuite bathroom, complete with comfortable touches such as slippers and robes. If an evening of easy relaxation is your thing, then make use of the 32-inch HD TV.
Food and drink
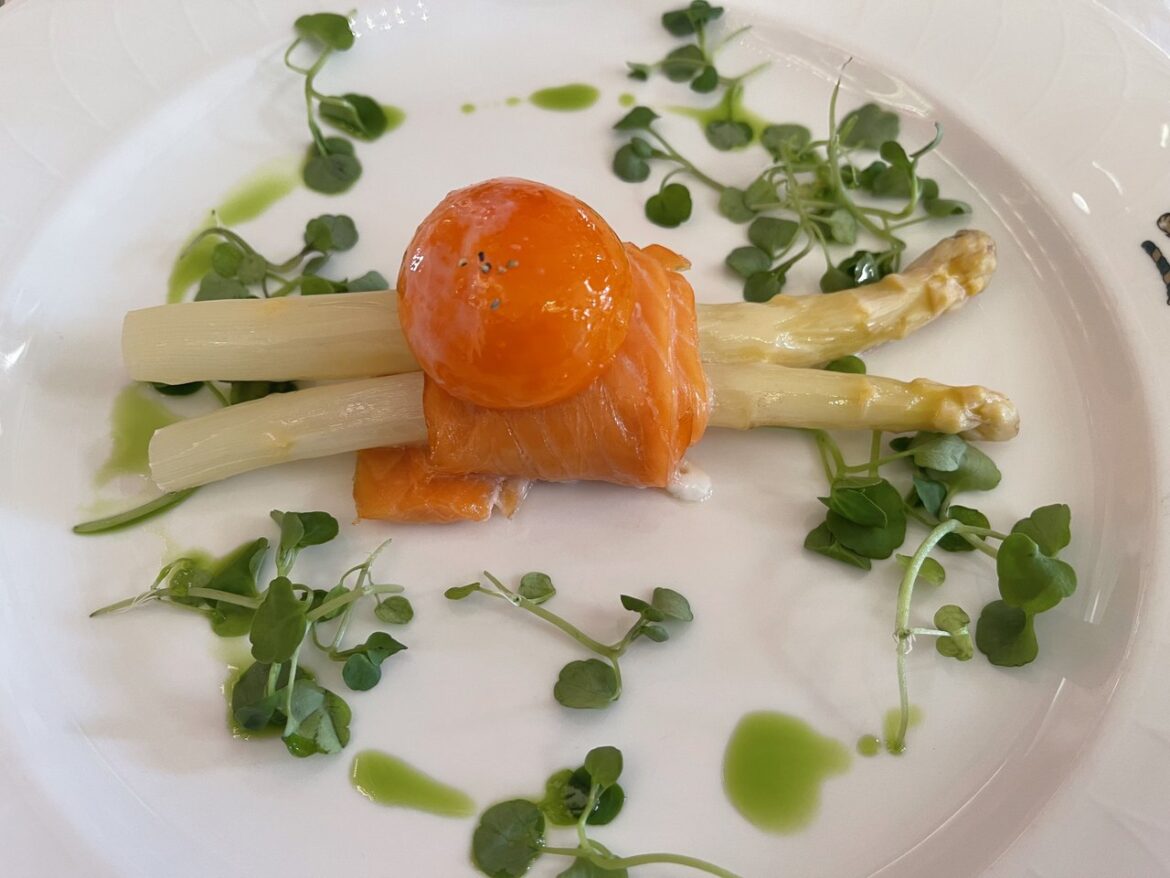
For breakfast, lunch, and dinner, the hotel’s refined yet relaxed dining venue is Bella Notte Restaurant. It’s a place to enjoy the extensive breakfast buffet, to be energised by an Italian lunch, or to indulge in an evening meal celebrating the fusion of gastronomic cultures of Tashkent. You can eat in an elegant atmosphere of marble, striking indoor plants and chandeliers, or you can opt to sit on the terrace of the courtyard.
Our recommendation for an evening meal is to head to the spacious and modern 6th Floor Grill and Bar: an alfresco experience giving diners the unforgettable experience of nighttime views over the city. For a pre- or post-dinner drink, check out the hotel’s classy piano bar, where you will frequently find Uzbekistan’s best jazz musicians performing. With the opera and ballet theatre just opposite the hotel, the piano bar is a popular venue with Tashkent cultural elite, many of whom pop by before or after a show.
Facilities
After a day of exploring Tashkent, you will appreciate a dip in LOTTE’s large outdoor pool, surrounded by peaceful courtyard gardens. There’s also a fitness and health club on the ground floor, complete with sauna, beauty and massage treatments, comfortable changing rooms and good showers.
For those who need business facilities, the hotel has three conference and corporate rooms that each accommodate up to 25 people.
How much?
A standard double room starts at £130 per night, including breakfast.
CHECK AVAILABILITY
What’s nearby?
LOTTE could not be better located for exploring Tashkent. It is only 500m from the Mustakillik Maydoni Metro Station, but you’ll find plenty to do without even having to venture as far as that. Right opposite the hotel is the stunning Alisher Navoi Opera and Ballet Theatre, rising behind its elegant plaza and fountain. The other notable neighbouring attraction is the impressive State Museum of the History of Uzbekistan, a treasure trove formerly known as the Lenin Museum, which houses over 250,000 exhibits.
I also recommend strolling along Sailgokh Street (known popularly as Broadway) for its rich collection of cafes and local artists selling their paintings on the streets. For monuments, fountains and a blend of all the intertwined facets to create Uzbekistan’s history, head to Independence Square, then to Amir Temur Square and the adjacent State Museum of Timurid History.
Verdict
For elegance and grandeur, its range of accommodation options, and its convenient location for visiting the cultural and historic sites of Tashkent, LOTTE City Hotel Tashkent Palace is an ideal choice for travellers who want to stay in luxurious surroundings in the heart of Uzbekistan’s capital.
You may also like: 24 hours in Tashkent
The post Hotel Review: LOTTE City Hotel Tashkent Palace, Tashkent, Uzbekistan appeared first on The Travel Magazine.


