10-Point Audit: Neurapix AI Plugin for LR Classic
Ever wish you could wave a magic mouse and edit a large batch of Raw images in Lightroom Classic—in your own personal style—in just a minute or two? Meet Neurapix AI plugin for Adobe Lightroom Classic.
1. What Does it Do?
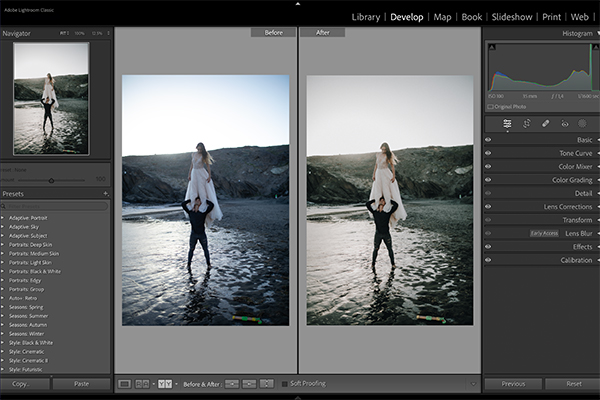
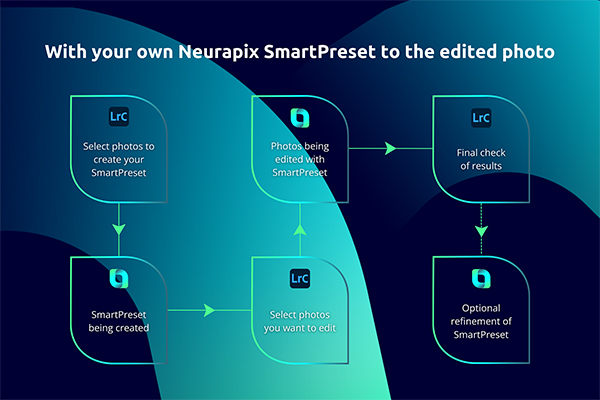
The Neurapix AI plugin for Adobe Lightroom Classic analyzes Raw images you’ve edited and learns your style and technique. After training (on as few as 20 images) Neurapix AI can edit hundreds of your photos in just minutes, applying your personal method and taste with consistent and excellent results. This process creates a Neurapix LRC SmartPreset you can use in perpetuity. You can also buy professionally-created and fully adjustable SmartPresets and apply a style you like instantly. Use the preset as-is or modify it to better suit your distinctive flair and make it your own. Sell your presets on Neurapix’s SmartPreset store.

2. Why Do I Need it?
If you earn money with your camera, you know that postprocessing is the most time-consuming step in the transaction. Neurapix AI automates the editing using your individual style.
You gain more efficient and faster workflow because a) Neurapix AI is integrated into Light Room Classic, and b) images are processed in batches—and very, very quickly.
Low learning curve. Extremely fast ramp-up time; needs as few as 20 images to begin.
Apply consistent results across every image; you can tweak all edits, of course, and may want to refine the machine-made alterations.
Neurapix AI is very affordable, especially the pay-per-picture fee option. Process images for as little as 3¢ each. High-volume plans also available.
The overall operation is faster than any human could ever match—up to 1000 images per minute. Spend more time with your camera and less with your computer. Save an estimated 90% of editing time. Maybe more.
Your images are protected via European Data Security, the most strict protocol around.
3. Is it Easy to Use?
If you can use Lightroom Classic, you already know how to use Neurapix AI. Watch this YouTube video to learn how the Kickstart features get you up and running in minutes.
4. Performance
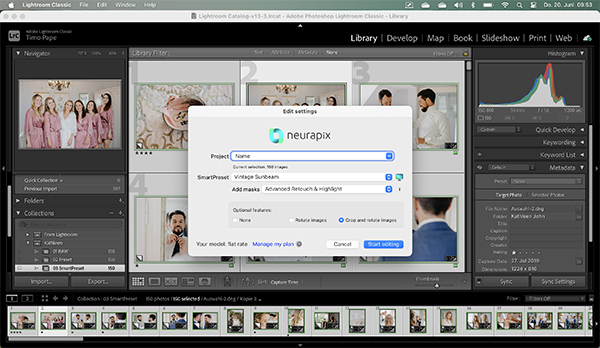
Neurapix AI does an amazing job based on your initial batch of 20 Raw images. But for finer results, training with 500 edited images makes your SmartPresets even better. It’s ready after just two hours for server editing and after two days for local editing.
At the end of the day, editing accuracy, consistency and speed are the key. Neurapix AI works exclusively as a Lightroom Classic plugin to deliver all three—at blinding speed of up to 1000 images per minute when using the pay-per-picture option and potentially even faster when using a flat rate subscription plan.

5. Drawbacks & Downsides
If you are not a Lightroom Classic user, you’re out luck. On a different tack, occasionally it’s necessary to override Neurapix AI’s edits either for personal taste or because infrequently, AI gets it wrong. The missteps are very few and far between, and besides—don’t we all go back sometimes and revise our initial edits?
6. What Platforms Are Compatible?
Essentially, any computer that successfully runs Adobe Lightroom Classic version 9.0 or higher.
Windows PC
Processor: At least 2 GHz Intel or AMD processor with SSE 4.2 or higher, 64-bit support. Operating system: Windows 10 (version 20H2 or higher) or Windows 11 (version 21H1 or higher). RAM: At least 8 GB, recommended 16 GB or more. Disk space: At least 4 GB free hard disk space, additional space required for installation.
Mac
Processor: At least 2 GHz Intel multi-core processor with SSE 4.2 or higher, 64-bit support, or Apple Silicon processor. Operating system: MacOS Big Sur (version 11.0) or higher. RAM: At least 8 GB, recommended 16 GB or more. Disk space: At least 4 GB free hard disk space, additional space required for installation.

7. How Do I Get it?
Download directly from Neurapix.

8. How Much Does it Cost?
The popular pay-per-picture plan starts at 3¢ per photo. Optional features, regardless of which and how many are selected, always cost an additional 1¢ cent per photo. Edits are performed on Neurapix’s servers under the pay-per-pic model.
Under the flat rate plan, editing is local and all upgrades and add-ons are included. If you edit 3000 or more images per month, the Neurapix AI flat rate plan is for you. It’s available in two flavors, $49.95 per month as an annual plan, or $79.95 on a month-to-month basis.
There are other features differences; visit Neurapix’s website for full details.
You can also edit 1,000 images free of charge before you decide to commit to the faster, more robust Flat Rate Plan. You simply cannot lose.
9. Can I Try it First?
Yes. Here’s the link to access a free trial of Neurapix AI.
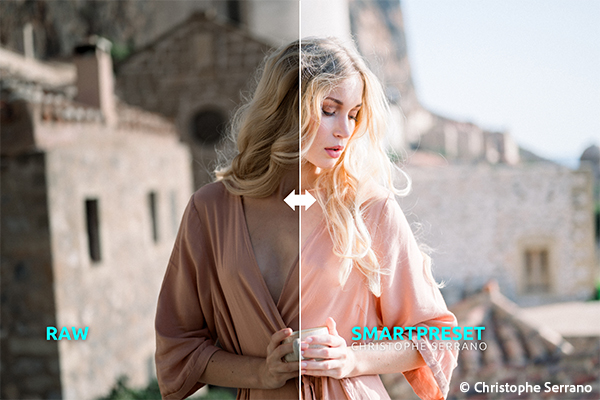
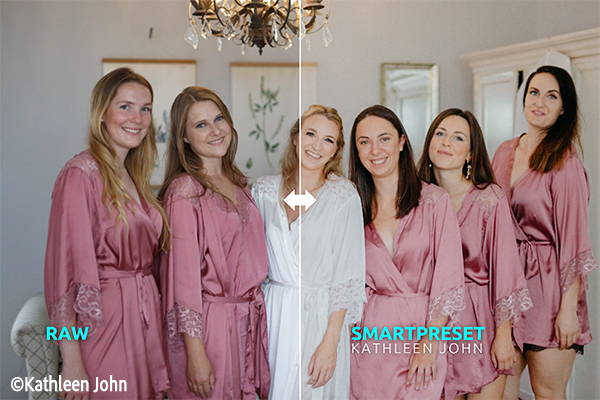
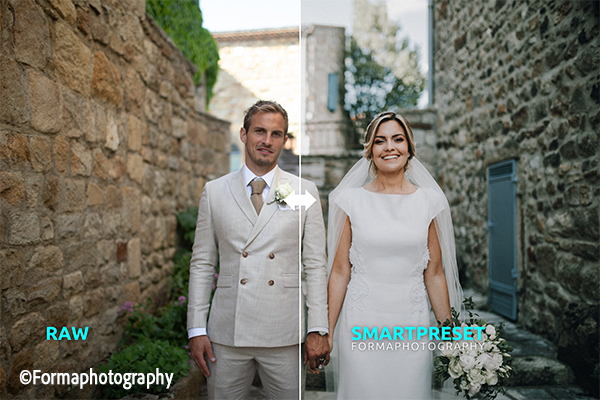
10. Before/After Examples
Become a Member of the Shutterbug Community
Register for a free account. Sign up for our newsletter. Spend five minutes (or less) uploading your best shots once every week or so. Potentially become a Shutterbug Photo of the Day winner. Enjoy viewing the fantastic work being done by thousands of photographers all over the world—and add your images to the enduring collection.
—Jon Sienkiewicz


