Show your best images to the world by posting in the Shutterbug Photo of the Day gallery. Here’s the quick and easy procedure along with some tips to help you navigate to the right place, and even some advice about composition and subject matter.
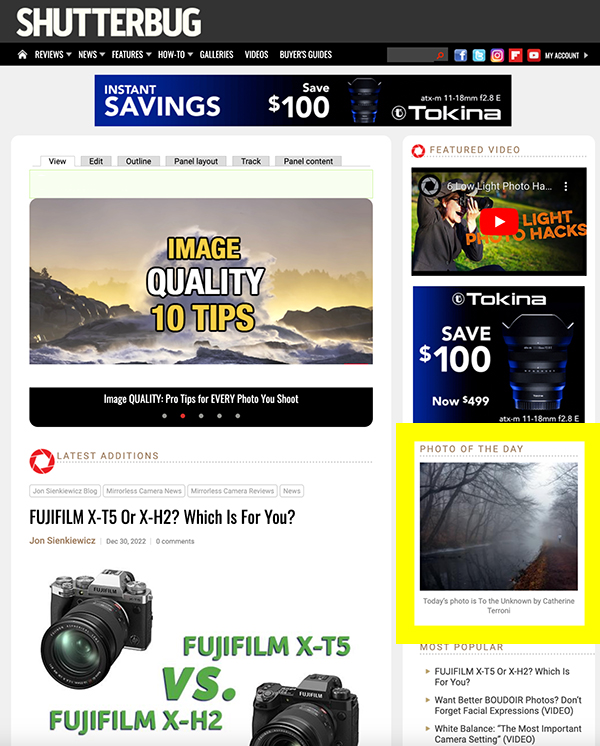
When you post to our Photo of the Day Gallery there’s a chance that your image may be featured on our homepage for all to see. The internet reaches even the most remote corners of our planet and endures essentially forever. You may even hear from friends you haven’t seen in years, after they see your photo on Shutterbug.

Get Started
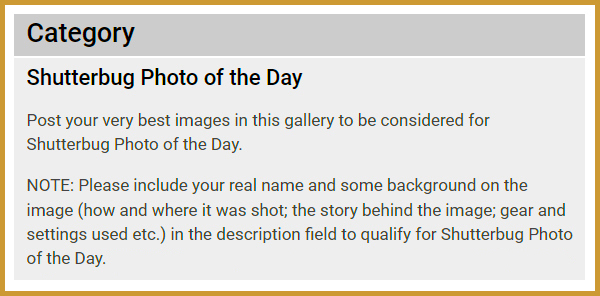
It all begins with a Shutterbug account. Registering is FREE and fast, and we do not misuse your contact information. Once registered, log in and navigate to the GALLERIES tab. From there select Shutterbug Photo of the Day.

Go Directly To Upload
If you are logged into your account and want to go directly to the upload section, click on this Go To Upload link. Bookmark it so in the future you’ll be able to connect in seconds. Just remember you must be logged in to your Shutterbug account for the link to work.
You can create a persistent login (“Remember me”) event so you don’t have to log in fresh every time you visit our website. If you see the warning “You are not authorized to access this page” it means you’re not logged in.
After uploading, check and confirm that the image is visible in the gallery. If you see an entry that reads, “0kb,” something went wrong. Try again.
Specifications
Each day, one image from our Photo of the Day Gallery is featured on our homepage as a thumbnail that links to the larger version. The aspect ratio of the thumbnail image window is 16×9. If your image doesn’t match, the system will automatically crop it to make it fit. It’s not something we do; our software crops without our guidance.

The full, uncropped image is still available in the gallery, but the thumbnail that attracts viewers to click may be altered unless you make aspect ratio adjustments before you post.
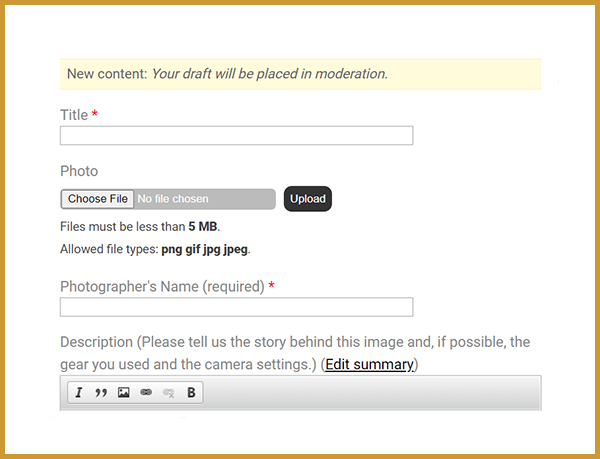
Maximum file size is 5 megabytes. That’s plenty big for web viewing. Sometimes we see posts that have 0kb files size indicated. That usually means the poster tried to upload a file that was too large.

Please include explanatory details about how and where the picture was taken. Please list camera, lens, f/stop, shutter speed and ISO setting so that our readers can learn from your experience. Details about the location are always good, and if you shot on film and scanned, or used a smart phone, everyone wants to know stuff like that, too.
Common sense tells you to not reveal the name or any personal identification information about people in the picture. And while we are on that subject, we strongly emphasize that by submitting a photo that contains recognizable people, you confirm that you have unrestricted permission from the subject(s).

All Images are Reviewed
All submitted images are carefully reviewed before they are published. No advertising is allowed. And needless to say, we’re not interested in receiving any NSFW images.
Generally, the images you upload are published to the gallery after review the next day, usually before 7am Eastern. But the special Photo of the Day badge might take a little longer. The image you submit might appear as the Photo of the Day a few days after you submit it, if it’s received on the same day as a more compelling picture. So even if you upload a great shot on Monday and it’s not selected as Tuesday’s PoD, it may still be chosen later.

Inspiration & Tips
Take a look at our Photo of the Day gallery to see some truly inspiring work that covers a wide range of subjects. Bird photography is always a favorite, and we see many outstanding photos of our feathered friends. Night scenes and landscapes are likewise prominent.
Here are some valuable tips from our readers and staff.
Express yourself in color or monochrome—it’s all up to you. Show off your photo editing skills, too, and if you use a certain plug-in, be sure to tell everyone what you used.

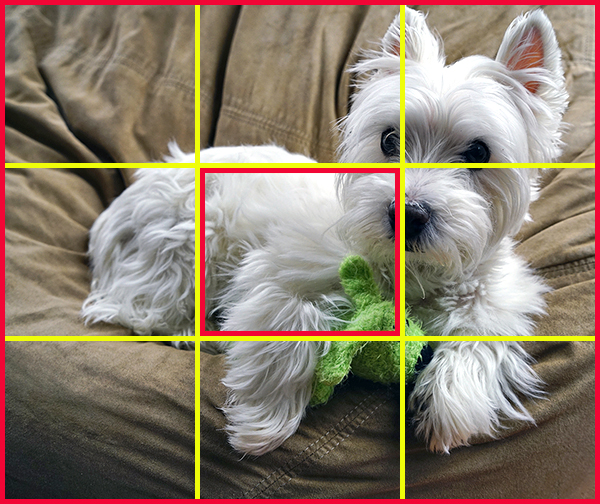
Avoid centering the subject if you can. Feel free to break this rule when in-the-middle is the layout you prefer, but normally a photo becomes stronger when the subject is artfully positioned in the frame. Cameras tend to focus on what’s in the center, but photographers don’t have to.
Keep in mind that image thumbnail is presented small and at relatively low resolution. Use discretion when considering images that contain important details that are too tiny to identify.
Exercise your creative spirit. There are no “bad” photos aside from those that are corrupted technically (under/over exposed, blank, unintentionally grainy, blurry or out-of-focus). Share your creativity with everyone.
Try something new. Shoot monochrome, high contrast black & white, streaking lights, Cross Processed images—whatever you can imagine. Especially, experiment with any creative or special effects features built into your camera.

Photo of the Day Celebrity Linn Smith
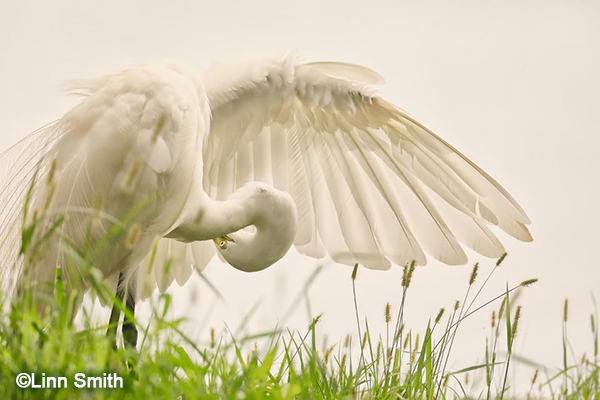
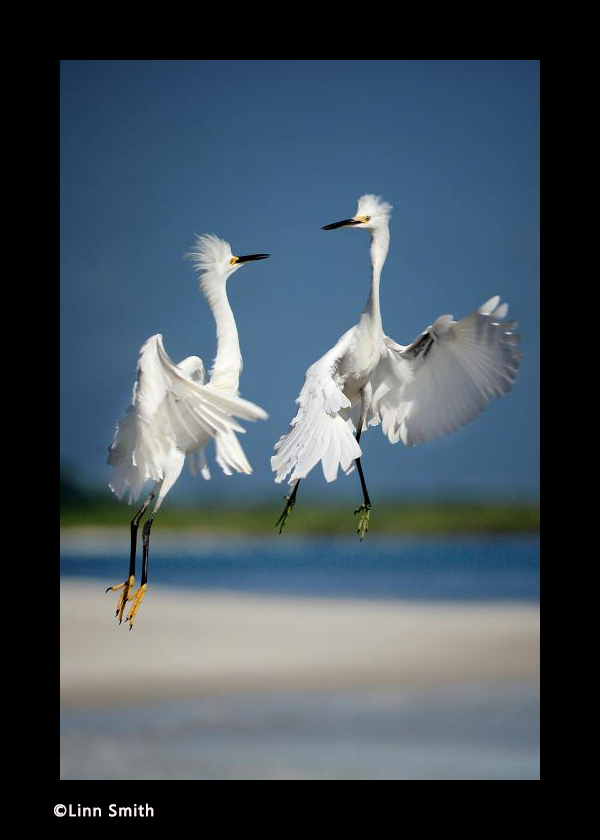
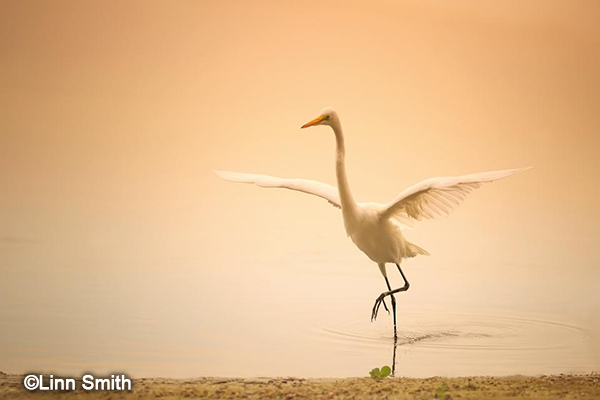
Photographer Linn Smith has been uploading to Shutterbug’s Photo of the Day gallery for a very long time. Virtually every visitor to our website has had the pleasure of viewing at least one of Linn’s magnificent bird images. You can enjoy the same authority and attract your own followers by posting your best images.

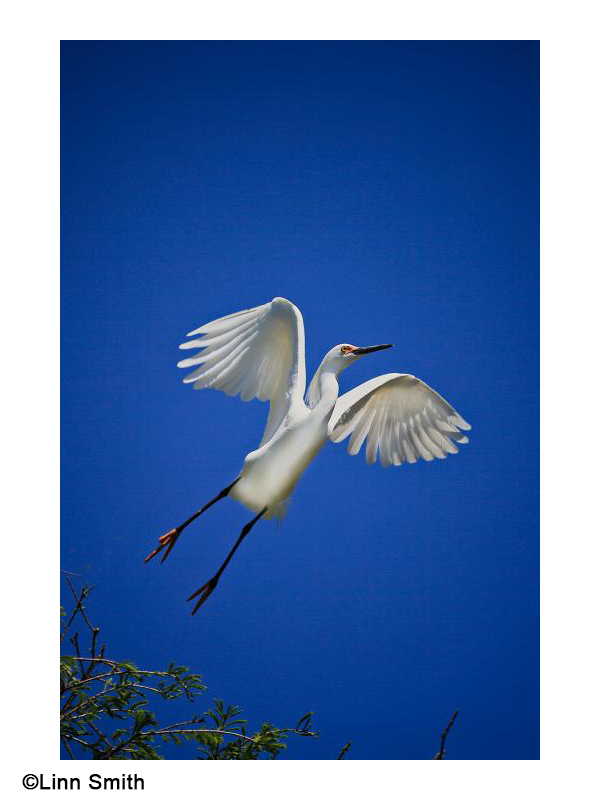
The photo at the top of this article was submitted by Linn Smith and is used with permission. This is an image anyone would be proud to hang on their wall.
Here again is the DIRECT LINK to upload your photos. To access the upload area via this link you must have an account and be logged in. You can create a persistent login so you do not have to log in fresh every time you visit our website.
Become a Member of the Shutterbug Community
Register for a free account. Sign up for our newsletter. Spend five minutes (or less) uploading your best shots once every week or so. Potentially become a Shutterbug Photo of the Day winner. Enjoy viewing the fantastic work being done by thousands of photographers all over the world—and add your images to the enduring collection.
– Shutterbug Staff


