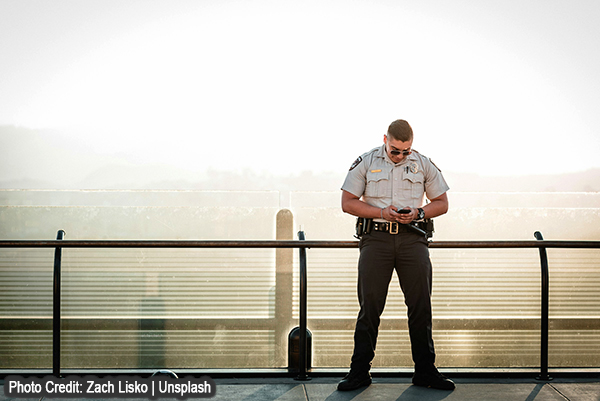
Photographic models come in all sizes, genders, ages, ethnicities, education levels and personalities. Whether you’re a cute as four-week-old chipmunk or as peculiar as a blobfish, your chances of success improve immeasurably when you prepare thoroughly. The modeling game, so I am told, is very slow right now, and AI is certain to make it worse. So what? There’s no one quite like you. Go for it.

1. Avoid 4-alarm chili, undercooked squid and/or tequila shooters the night before.
Unless that’s your normal daily diet, that is. The point: avoid anything that might cause a growling tummy, bloodshot eyes or bad demeaner.
2. Be prepared to start early.
Most photographers like to start early, before the sun gets too high in the sky. Some like to work around the so-called Golden Hour much later in the day. Every photographer is different, so confirm the schedule well in advance, especially if the location requires some driving time for you or for them.

3. Don’t be alarmed if the photographer hopes for overcast weather.
Shadows are not your friend. Photographers can use reflectors, fill-flash or careful posing to sidestep high contrast lighting, but most agree that Open Shade or an overcast day is primo.
4. Makeup — DIY or pay a pro?
The flu pandemic had negative impact on the world of traveling makeup artists, at least that’s been my experience. If you must use a professional beautician, it will probably be one with a shop, and will likely be the day before the shoot. Plan accordingly.
Most amateur models do their own makeup. I state this without scientific data; this is what I have observed. If using a pro makes you feel more confident, by all means, don’t hesitate. It’s likely, however, that the face you wear every day is more than adequate. And of course, you can also do without cosmetics altogether.
Yes, photographers can use Photoshop to banish a blemish and even remove age lines if requested. But will they? Editing takes time and time is money. And there is a point at which flattering editing becomes artful deception—but that’s your business, not mine.

5. Clarify the terms, deliverables, Model Release requirements and time involved.
Don’t be shy about clarifying and confirming who pays for what and who owns the work product. The abbreviation “TFP” means “Time For Prints” or “Trade For Photos” or other phrases with a similar meaning: the photographer neither charges you nor pays you, but you get some pictures in return. Even so, find out whether you’re going to receive printed images (unlikely) or a Google link to a stash of JPEG files.
Other variables to clarify: How many images (approximately)? Edited or SFC (Straight From Camera)? File format—JPEG or Raw? Are you able to do anything with Raw images?
Model Releases are contracts that should clarify significant details and protect both the photographer and the model. If the photographer does not require a release, you can request one from them, just to safeguard your interests. If a Model Release is to be part of the deal, ask for it in advance and read it carefully. Add any language that’s important to you; for example, “Photographer agrees that the work product(s) will never be sold to stock agencies” or “The Talent’s name will not be added to the image file metadata.”
How much of your (or their) time is expected? 90 minutes is a decent starting point. Some headshot sessions can be wrapped up in a half-hour or so. Work all day if everyone wants to. The important thing is to make sure the time period to be invested is consistent with everyone’s expectations.
6. If it’s your dime, plan the shots you’re looking for and find examples.
Search the web or magazines to find examples of the “look” you’re after and share them with the photo crew as early as possible.

7. If it’s their dime, confirm exactly what the photographer is hoping to achieve.
If you are being paid for the shoot (either with image files or hard dollars) verify exactly what the photographer is expecting in terms of scenes, sets or looks, well beforehand. Needless to say, if there is anything that makes you even the least bit uncomfortable, make it known to all and (most likely) find a new photographer.

8. Wardrobe and accessories mean all the world.
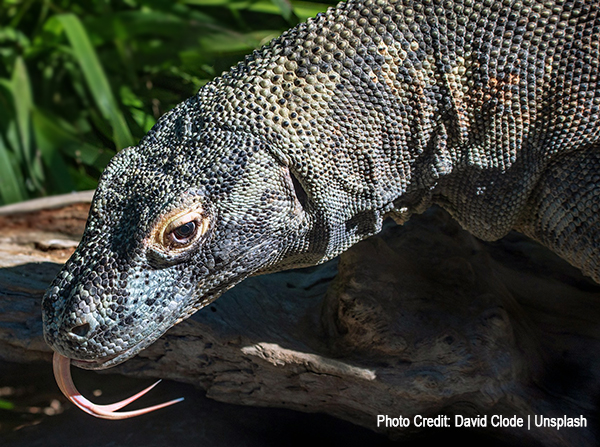
No one wants five or six superb shots of themselves wearing exactly the same outfit. Even adding a hat or visor can add make a big difference. Other accessories, like a bouquet of fresh flowers, umbrella, smartphone, golf club, tennis racket or a ferocious Komodo Dragon are likewise useful. A jacket, hoodie, sweater, neck scarf or other dominant feature can help differentiate shot, even if it doesn’t match the current season.
How many wardrobe changes? It varies, and of course it depends on the time scheduled, but as a rule, no more than three. If you plan to fully change clothes, confirm the venue has a suitable facility.

9. In your long-term planning, avoid online model-search websites.
Avoid them in the short-term planning, too. I won’t name names, but there are a few out there that are total scams and some are purported to be dangerous. Instead, call a legit modeling agency. If they are not looking for new talent, ask them kindly to refer a photographer you can trust, preferably one they work with regularly. Some photographers are willing to work with new talent in exchange for usage rights to the images. (Yes, I know that technically the photographer owns the copyrights, but in the real world, everyone deserves a clear understanding and fair treatment concerning the ultimate publication of the photos.)

10. Bring a friend or bodyguard?
It’s up to the people involved, but don’t necessarily be alarmed if the photographer says, “no way.” If you’re nervous about your safely, don’t pursue the shoot. If you’re just a tad bit queasy, make sure the venue is a public place like a park. In fact, that’s a good rule to follow until and unless you know the photographer is bonafide. If you’re meeting the photographer for the first time, convene a Zoom conference beforehand. And remember, there’s no place like a busy Starbucks for the initial introductions. Order me a Flat White with a double shot of espresso, no sugar. Make it Venti.
That’s a wrap.
As stated in the opening paragraph, the modeling game, I am led to believe, is very slow right now. Unbridled use of AI is certain to make it worse. So what? There’s no one quite like you. Go for it.
Did You Enjoy This Article?
Click here to choose from more than 500 reviews, how-to articles, quizzes, attempts at humor and other alleged insight into the world of photography written by yours truly. Bookmark the link—I post every week.
Become a Member of the Shutterbug Community
Register for a free account. Sign up for our newsletter. Spend five minutes (or less) uploading your best shots once every week or so. Potentially become a Shutterbug Photo of the Day winner. Enjoy viewing the fantastic work being done by thousands of photographers all over the world—and add your images to the enduring collection.
—Jon Sienkiewicz


