Gifts for photographers? We have some suggestions—20 of them. And don’t forget to treat yourself—you deserve it. You what?! Oh well, treat yourself anyway.
We offer these suggestions because, like you, we love photography and the gear we use to pursue that passion. We appreciate value and quality, innovation and durability. And we have direct firsthand, personal knowledge of everything listed here.
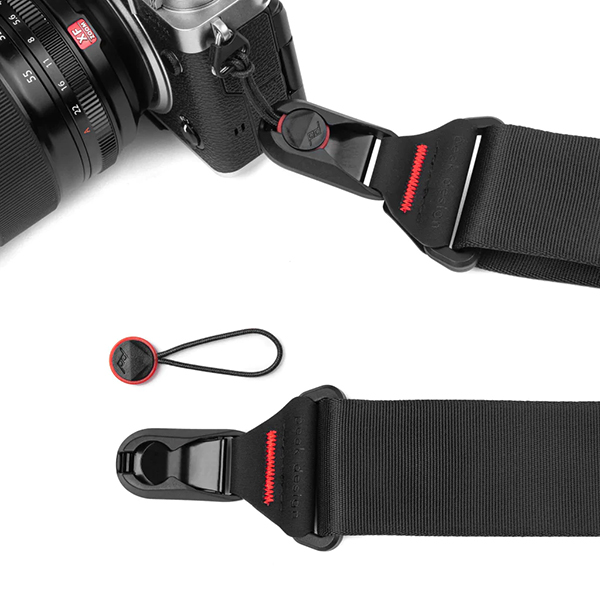
Anything from Peak Design
Seriously—we rarely meet a photographer who doesn’t rave about a Peak Design something-or-other. Peak Design inarguably makes the most innovative camera straps in the world, and we said so in this review. They also offer some of the most popular photo backpacks, sling bags, gear organizers, camera clips and one incredible travel tripod in aluminum or carbon fiber. Lesser known but equally useful, Pead Design also manufactures a full line of smartphone mounts and accessories.
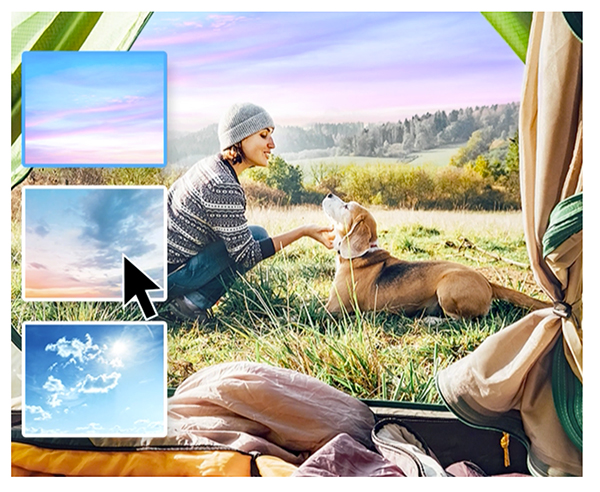
Adobe Photoshop Elements & Premier Elements
Ideal for beginning as well as advanced photographers and film makers—or you may want to help your cellphone-photographer friend’s talents soar to new heights with this duo from Adobe. Photoshop Elements, for post processing still images, is easy to use but enormously powerful. It’s built on the same engine as the professional version of Photoshop and it has a strong assortment of Guided Edits for newbies to learn. For video shooters, Premier Elements allows them to turn their jumbled collection of video clips into a masterpiece quickly, easily and affordably. Buy both directly from Adobe (now at a special price) and save 40% .
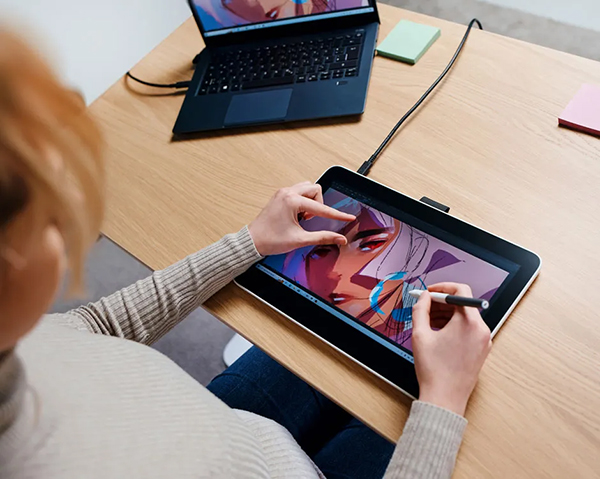
Wacom One Graphic Tablets
You may be fearful that all graphics tablets are beyond your budget; after all, they are widely used by professional graphic artists and designers. So they’re assumed to be expensive, no? But the 11.6-inch Wacom One 12 and 13.3-inch Wacom 13 are affordable and full-featured. Both allow you to edit directly on the tablet’s screen—just like the $1000+ tablets. Check them out on Wacom’s website—they’re amazing.
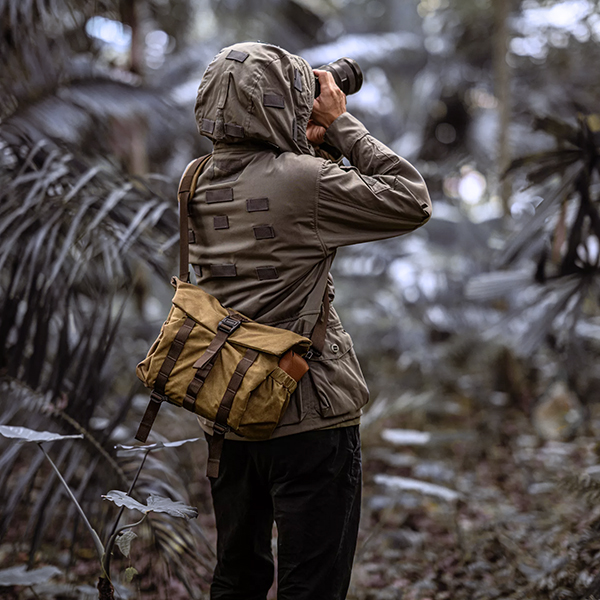
WotanCraft Pilot 7L Shoulder Bag
Clearly one of the most gorgeous and functional shoulder bags we’ve ever used, the WotanCraft Pilot 7L is my personal favorite. Check out our review of the update version where we wrote, “When we reviewed the WotanCraft Pilot 7 Travel Photo Bag last year, we called it, ‘stylish, protective and durable.’ Without any doubt, it was our favorite camera bag for everyday carry, and the 7-Liter capacity was just right for our needs. Thankfully, WotanCraft left in all the good stuff when they added the enhancements to the current upgraded model. For a nuts-and-bolts analysis of the original Pilot 7, check out our detailed review.”
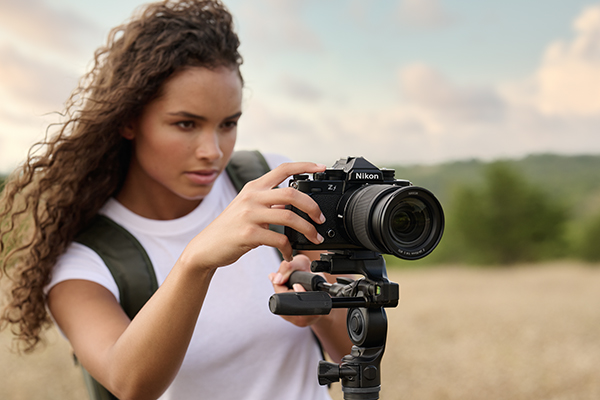
Nikon Z fc, Retro-Styled Mirrorless Z-System Nikon
With a price tag hovering around the $1000 mark (or less) the Nikon Z fc is the ultimate step up from a smartphone or point-and-shoot. Great for young newbies and lots of fun for seasoned veteran photographers, the Nikon Z fc begs to be taken everywhere, and stands ready to tackle nearly any task. We fell in love when we reviewed it, and although it’s targeted toward entry-level photographers, its light weight, compact size and marvelous performance makes it appealing to passionate photographers of all types. Additionally, the Nikon Z fc is offered in a total of eight unique colors, including the newer Black/Black and the one-of-kind Natural Grey.
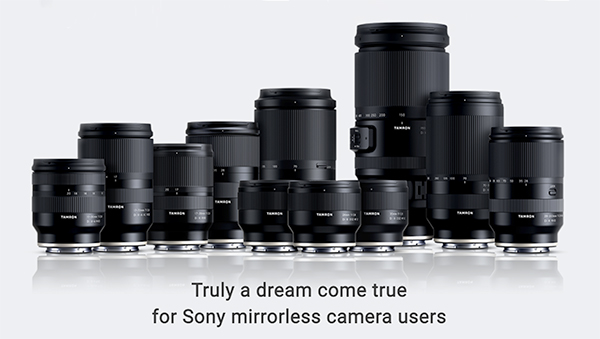
Tamron 20-40, 70-180 or 11-22
Tamron has been making premium lenses for more than 70 years. As the indisputable pioneer in the “All in one” category, Tamron has made an indelible mark on photographers of all ilk with their innovative designs, groundbreaking features and outstanding optical quality. For a closer look and sample images, find our reviews of the 20-40, 70-180 and 11-22.
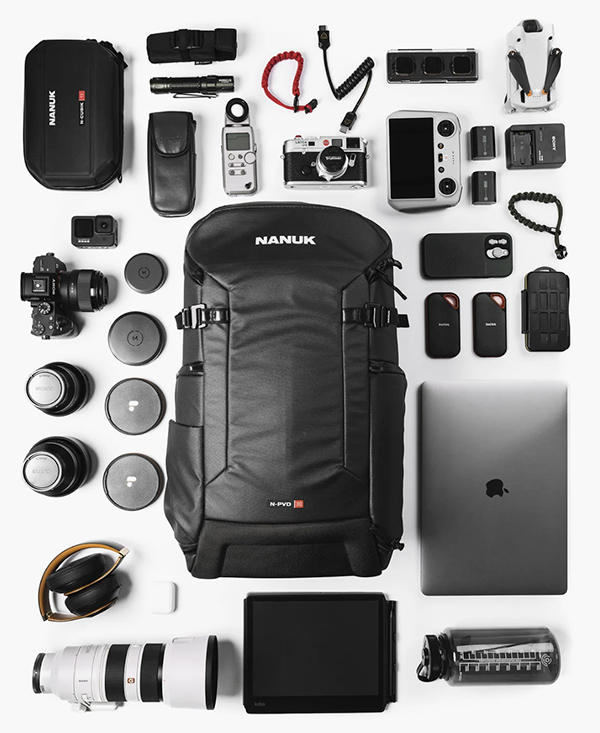
Nanuk N-PVD 30L Photo Backpack
Made from recycled polyester fabrics and measuring 22.4 x 11.8 x 8.6 inches (57 x 30 x 22 cm), this Nanuk N-PVD 30L (30-liter) photo backpack holds an astounding amount of equipment, yet feels compact and maneuverable when worn. It weighs just 4.4 pounds (2 kg) empty and is easily configurable, highly durable and comfortable to use. It looks good, too. Nanuk made their bones selling hard-shell cases for photographers and outdoors sportsmen, and they’ve put their accumulated expertise into the creation of the N-PVD 30L. Also available in 18, 35 and 40-liter sizes, plus they offer a matching N-PVD-15L messenger bag.

Vanguard Photo Accessories
Vanguard is one of our favorite photo accessory manufacturers. For 2023 they have a wide assortment of products that appeal to photographers of all skill levels. Why do we favor Vanguard? In addition to their impeccable high quality, Vanguard creates and supervises the concept, design, manufacturing, distribution, marketing and sales of every product they sell—unlike many other camera gear wholesalers. This means the price you pay at your local photo retailer or when you order directly from Vanguard tends to be below market—saving you money and delivering greater value. So look to them for tripods, binoculars, camera straps, and especially their Crossbody Bags and Tech Packs. You can read our roundup review of Vanguard photo accessories here.

Bergen County Camera (NJ-NY-CT)
If your photographer friend lives near the NYC Metro Area, nothing could be more appreciated than a never-expiring Gift Card in any amount from Bergen County Camera. In addition to being a fully-stocked, traditional camera shop (like those found during the Golden Age of Camera Shops), BCC sponsors events, workshops and classes, and has a nice assortment of used cameras and lenses as well. Widely known for their expert knowledge of Leica cameras, BCC supports all major brands. Best part? You can handle the gear before you make a purchase. Hey, now there’s a good idea — instead of buying from a faceless, impersonal website.
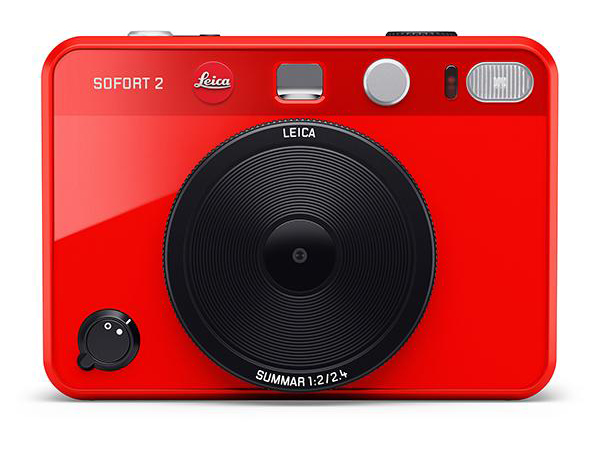
Leica SOFORT 2
A real Leica for under $400? Yes Virginia, there is a Santa Claus. The Leica SOFORT 2 is an instant print camera, a 5-megapixel digital camera, and if you use Leica’s FOTOS app, it’s a digital image printer. And it looks amazing, especially the drop-dead gorgeous red model (also comes in boring white or traditional black). Like we wrote when we broke the SOFORT 2 announcement as a news story, “A Leica digital camera with big-camera creative features for under $400? Sign us up!”
Pause. Recoffee.
Well, that’s the first 10 gift ideas—not in any particular order. We know we’ve left some great stuff out, and we may kick ourselves later; nonetheless, there should be something among these 20 that stimulates you to find the perfect holiday gift.
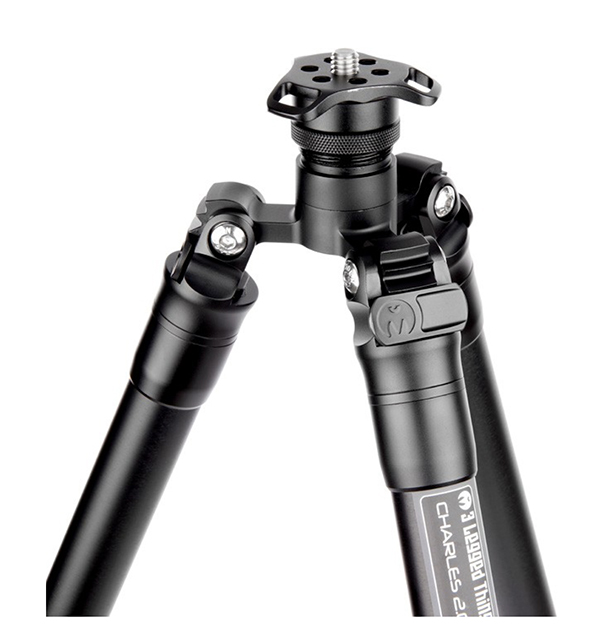
3 Legged Thing Pro Range Charles 2.0 Tripod
3 Legged Thing (3LT) is a unique tripod, camera bracket, monopod and camera bag manufacturer that does most of its thinking outside the box—in fact, one might say there’s no box big enough to hold them. I mean, what other company has their headquarters in a converted chicken coup? Over the years we’ve reviewed numerous examples of their wares, including this recent look at the 3LT Taylor 2.0 monopod. When we reviewed the 3LT Charles 2.0 back in May we were duly impressed. It’s an affordable model in their Pro Range and an outstanding value for any photographer or video film maker.
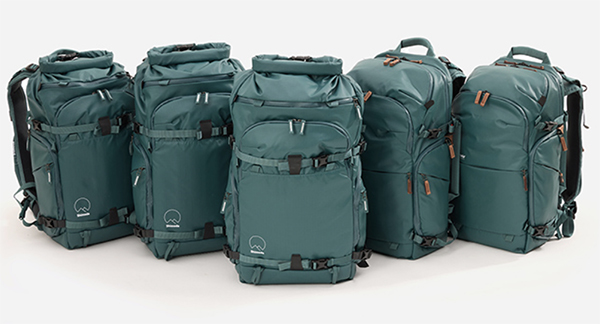
Shimoda Female-Tailored Photo Backpack
Shimoda knows there’s an anatomical difference between male and female photographers and consequently has developed a line of photo backpacks that better fit the fairer sex. Respectfully named the Shimoda Women’s Collection, the series consists of female-friendly designs based on the popular Shimoda Explorer V2 and Shimoda Action X V2 models. Check ’em out, ladies.
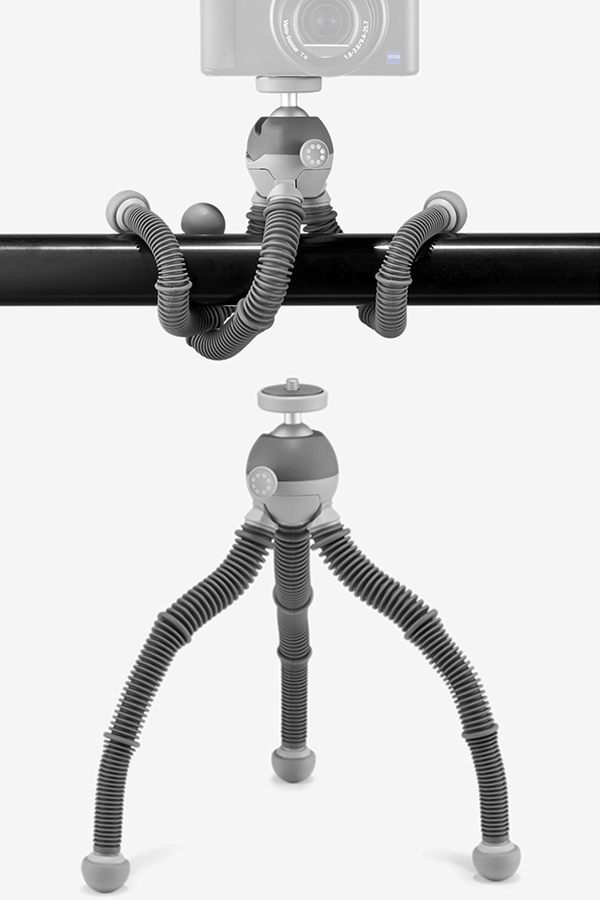
JOBY PodZilla
A table top tripod with flexible legs that you might wind up using every day, the JOBY PodZilla comes in two sizes. The medium-size ‘Zilla supports up to 2.2 pounds (1 kg) and features the GripTight 360 phone grip when purchased as a kit. It clasps onto smartphones between 2.6 and 3.5 inches wide and has a pair of cold shoes that can hold a Lume Cube or other small LED lamp, or a light-weight shoe mount microphone. Also highly recommended, the JOBY GorillaPod 3K Kit with ball head is ideal for heavier loads. It supports up to six pounds (3 kg) and is made of durable medical-grade aluminum, stainless steel, ABS plastic and TPE (Thermoplastic Elastomers).
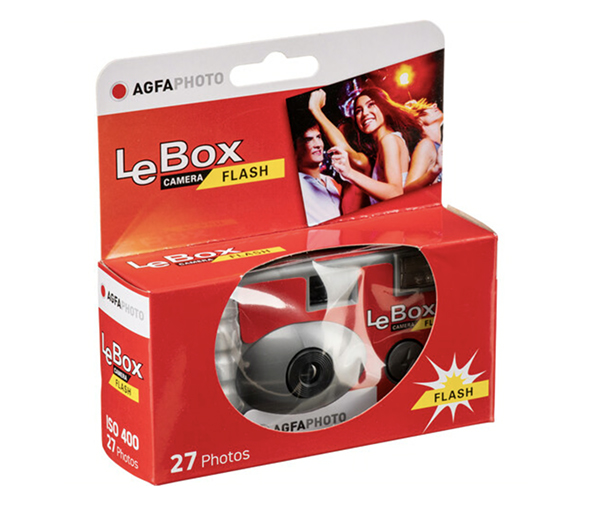
Single-Use 35mm Film Camera
B&H Photo currently offer an even dozen single-use cameras from big names like Agfa, Ilford and Kodak, plus the complete Amber lineup. Prices begin at $12.36 for an AgfaPhoto LeBox flash camera pre-loaded with 27 exposures of ISO 400 color film. Single-use cameras are available from various other sources as well, including (no doubt) your local camera shop (if you’re fortunate enough to have one near your town). Give someone the gift of 35mm film photography for little money.
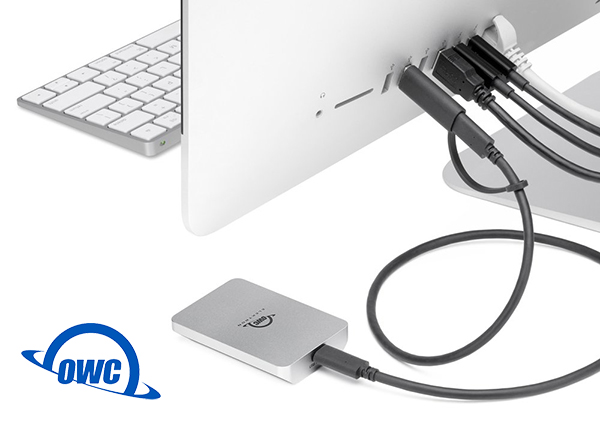
OWC Envoy Pro Elektron 1TB External Drive
The Envoy Pro Elektron external drive from OWC (review here) is very small—just 3.0 x 2.0 x 0.5 inches W x L x H (5.2 x 7.6 x 1.2 cm)—and weighs but 85 grams, or 3 ounces. It’s a Solid State Drive (SSD) so there’s no spinning media, and it’s bus-powered (does not require an external power supply). It’s available in 1TB and 2TB capacities and is the perfect platform to perform backup in the field, at the office or on the go. The OWC Envoy Pro Elektron 1TB size will store about 41 hours of GoPro 4k video, for example. Of course, you can store other files, like 250,000 standard quality songs (38,000 high-quality songs) or roughly 200 high-def movies.

Synology DiskStation 1522+ NAS Drive
If you’re not familiar with NAS drives, start here: Network Attached Storage (NAS) Drives: Overview & Why You Need One. In a nutshell, a NAS drive is a box containing hard drives and it’s attached to your network by a regular Ethernet cable. You can access the contents from any computer in your home—or offsite—to which you have given permission. And you can share specific files with others while maintaining strict, secure control over what they can and cannot access. More specifically, the Synology DiskStation 1522+ offers high quality, ease of use, simple setup, expandability and other amazing features. Technically speaking, it features a 2.6 GHz AMD Ryzen R1600 Dual-Core central processing unit, 8GB of DDR4 RAM (max 32GB), two built-in M.2 NVMe SSD cache slots, two USB 3.2 Gen 1 Type-A ports and two eSATA ports, four gigabit Ethernet ports and the very powerful Synology DiskStation Manager operating system. It can be configured a number of different ways including RAID 0, 1, 5, 6, 10, Basic, Hybrid and JBOD (Just a Bunch Of Disks).
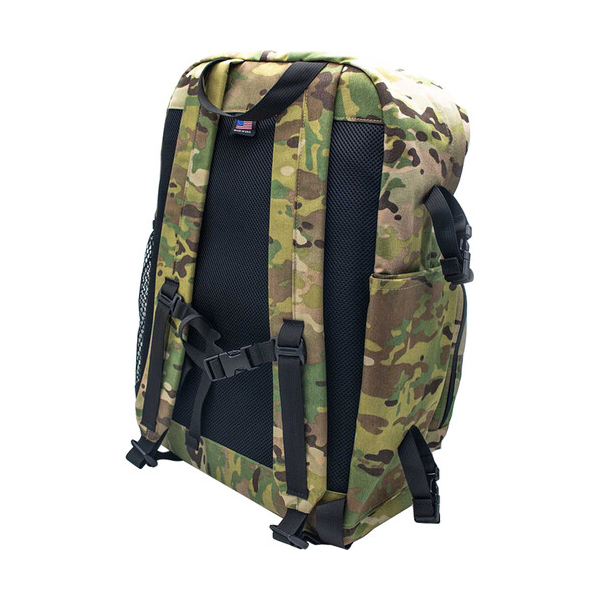
Domke Everyday Photo Backpack
When you think of Domke, the first image that comes to mind could be the legendary tan canvas F-2 model. That’s not surprising because that original bag is still the most popular bag for many pros. It’s heavy on function and light on protection, but the Original Domke F-2 design is both iconic and practical. We recently wrote about some popular Domke gadget bags in a story you can read here: 3 Photo Shoulder Bags From Domke That You Should Know About and reported on Domke’s line of denim-colored photo bags in this article. Also, take a look at this story, How to Buy a Gadget Bag, for a checklist of things to consider when camera bag shopping. A tough, roomy Made-in-USA Domke Everyday Backpack in camo, brown or black can ordered directly from the Domke homepage.
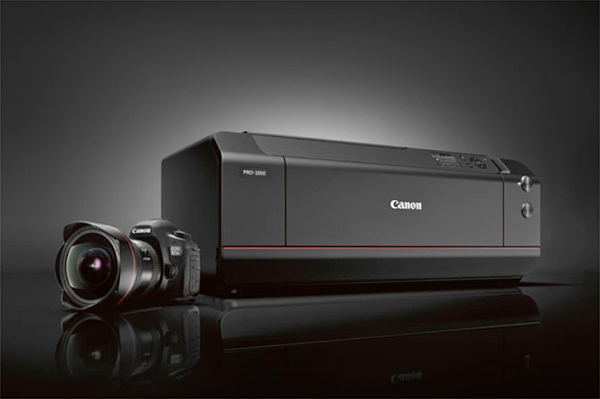
Canon imagePROGRAF PRO-1000 Photo Printer
Canon’s imagePROGRAF PRO-1000 is a Wi-Fi enabled, 17-inch wide-format professional printer that utilizes 11 ink colors plus Canon’s renowned Chroma Optimizer. Canon acknowledges it as “…one of the best printers we’ve ever engineered” and differentiates it with a bold red line near the bottom of the front. Truly, it’s a professional photo printer and arguably the best printer a photographer can buy. Your images can look every bit as good on your wall as they do on your monitor when you control the final creative output and use the right equipment.
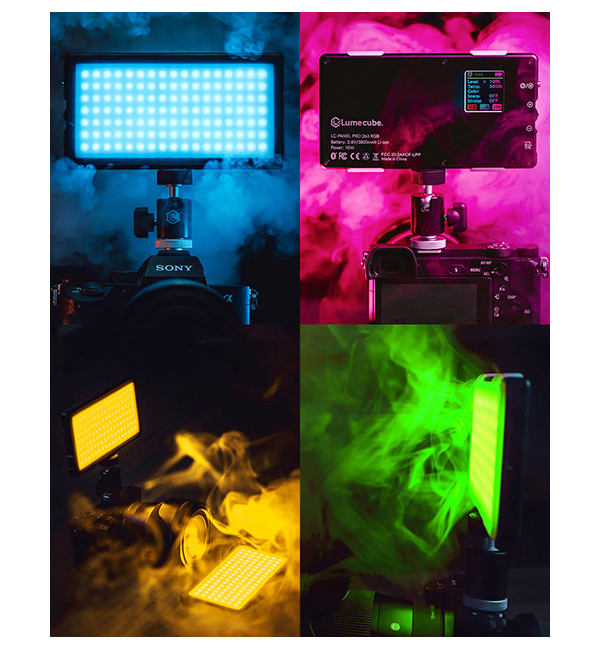
Lume Cube Panel Pro 2.0
Delivering the full range of RGB colors and a whopping 595 Lumen output, the tiny (6 x 3.1 x .43 inches) Lume Cube RGB Panel Pro 2.0 can be attached to your camera’s hot shoe or strategically located outside the scene for primary light, fill light or just to add some color effects. The CRI (Color Rendering Index) is 96+ so you’re assured lifelike colors. The Panel Pro 2.0 is intuitively controlled via your smartphone and the Lume Control app, a marvelous piece of software that features a color-picker option and Photo Eyedropper tool to enable accurate color match instantly. The RGB Panel Pro 2.0 is available directly from Lume Cube and other sources. If you plan to order from a different store, confirm that you’re buying version 2.0 of Panel Pro — we’ve noticed some ambiguous ads.
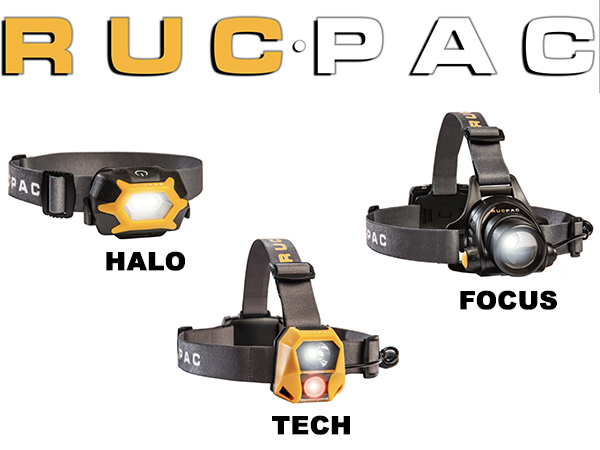
RucPac Focus, Tech or Halo Professional Headlamp
Three styles of high-quality, impact and weather-resistant headlamps from RucPac, the Focus model has a maximum output of 1000 lumens and features a focusable beam. It runs on 4 AA-size batteries for 6 to 24 hours depending on use. It tips the scale at 200 grams (7 ounces). The RucPac Tech model headlamp delivers 300 lumens and includes a red light to preserve night vision. It operates on 3 AAA-size batteries and weighs just 100 grams (3.5 ounces). The light-weight Halo pushes out 200 lumens and weights but 50 grams (1.8 ounces). If you ever have to change a tire in the dark, you’ll be very happy you keep a Halo in your car.
∞ Shutterbug Staff


