A short French fix to the coastal towns of Montreuil-sur-Mer and Boulogne, France
Surrounded by rolling countryside dotted with small villages, Montreuil-sur-Mer has long been one of my favourite places for a quick injection of French food and lifestyle. Just don’t expect to walk beside the blue waters of the Opal Coast. Around 45 miles south of Calais, this fortified hilltop town lies 10 miles inland on the Canche river, one of seven rivers that together make up the enchanting Vallées d’Opale region of Pas-de-Calais, the nearest French département to England’s south coast.
Montreuil is packed with history
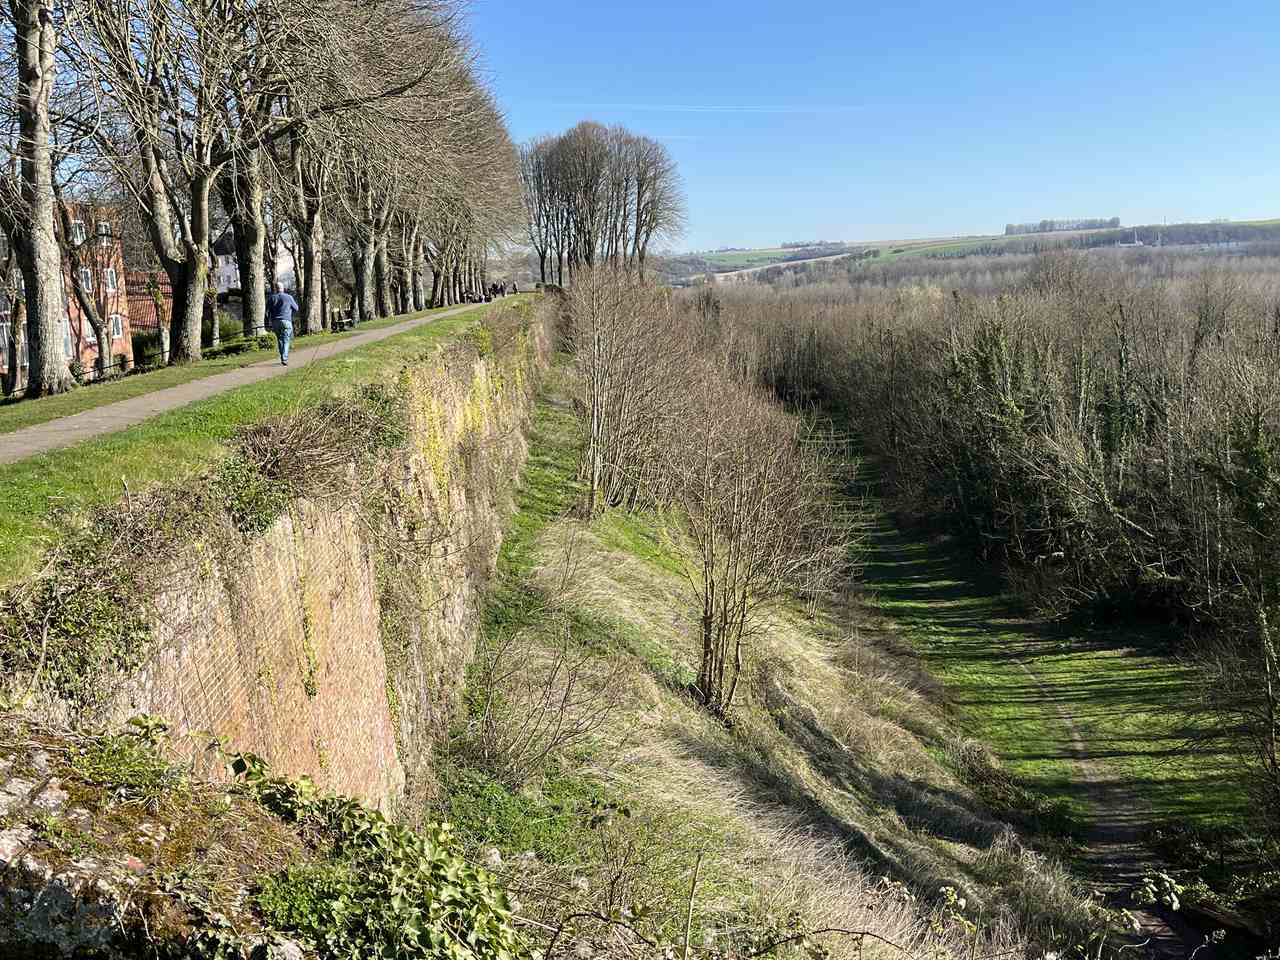
Montreuil rampart walk
Built on a hill and surrounded by lofty ramparts, Montreuil is a delight from any angle. Small enough to feel at home, large enough to provide plenty of interest for a short break or as part of a touring holiday by car. Follow the rampart walk; visit the citadel, refortified under Louis XIV; and wander the cobbled streets lined with historic properties, large and small. So impressed was writer Victor Hugo when he stayed overnight here that he gave the town a starring role in Les Misérables.
Foodie heaven
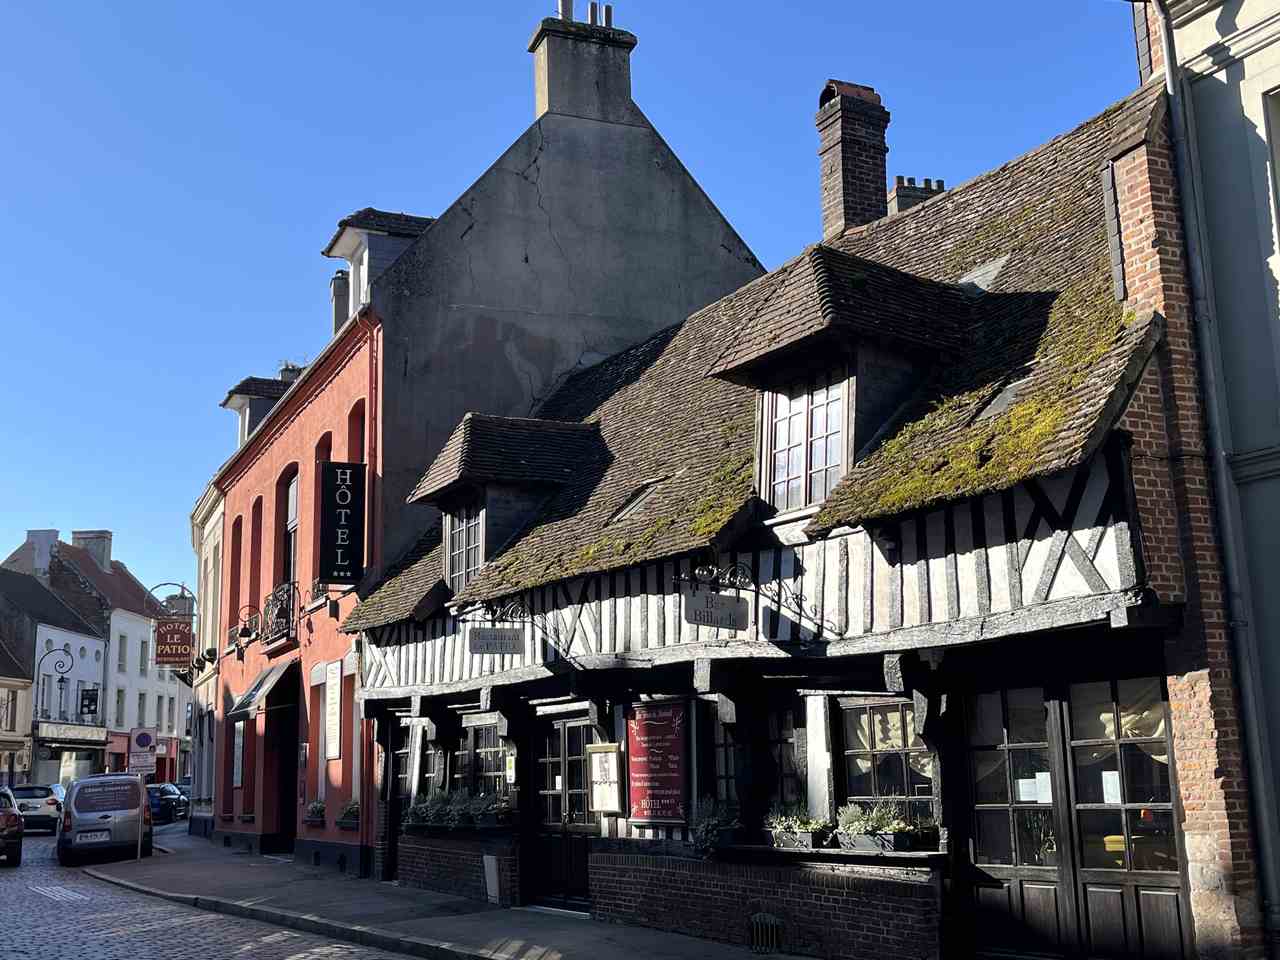
Les Hauts de Montreuil and, right, Le Patio
Montreuil has established an enviable reputation amongst foodies, thanks to several quality restaurants that include two fine dining restaurants and a café led by Michelin-starred chef Alexandre Gauthier.
Staying over? I made a welcome return to Les Hauts de Montreuil, part of the reliable Logis de France network, which ticks all my boxes with its cosy atmosphere, warm welcome and excellent food at Le Patio restaurant, all just moments from the ramparts and main square.
If you are self-catering or simply buying a picnic, Montreuil is also home to some specialist food and drink retailers from bakers and patisseries to wine merchants, cheese shops and butchers. Enjoy an insider’s view on Friday mornings with Opal Coast Food Tours, run by British ex-pats Paddy and Sarah Daly. Discover the best gastronomic shops and pick up culinary tips over tastings, finishing off with a lunch of authentic regional fare in a local restaurant.
Discover the Global Ocean

Giant manta ray, Nausicaa
Heading back towards Calais, I stayed overnight in Boulogne, home to France’s largest fishing port, but also to the wonderful Nausicaa, France’s National Sea Life Centre. Established in 1991 to improve public awareness of the world’s marine environments, Nausicaa now boats Europe’s largest aquarium, as well as many smaller ones featuring sea creatures from around the world.
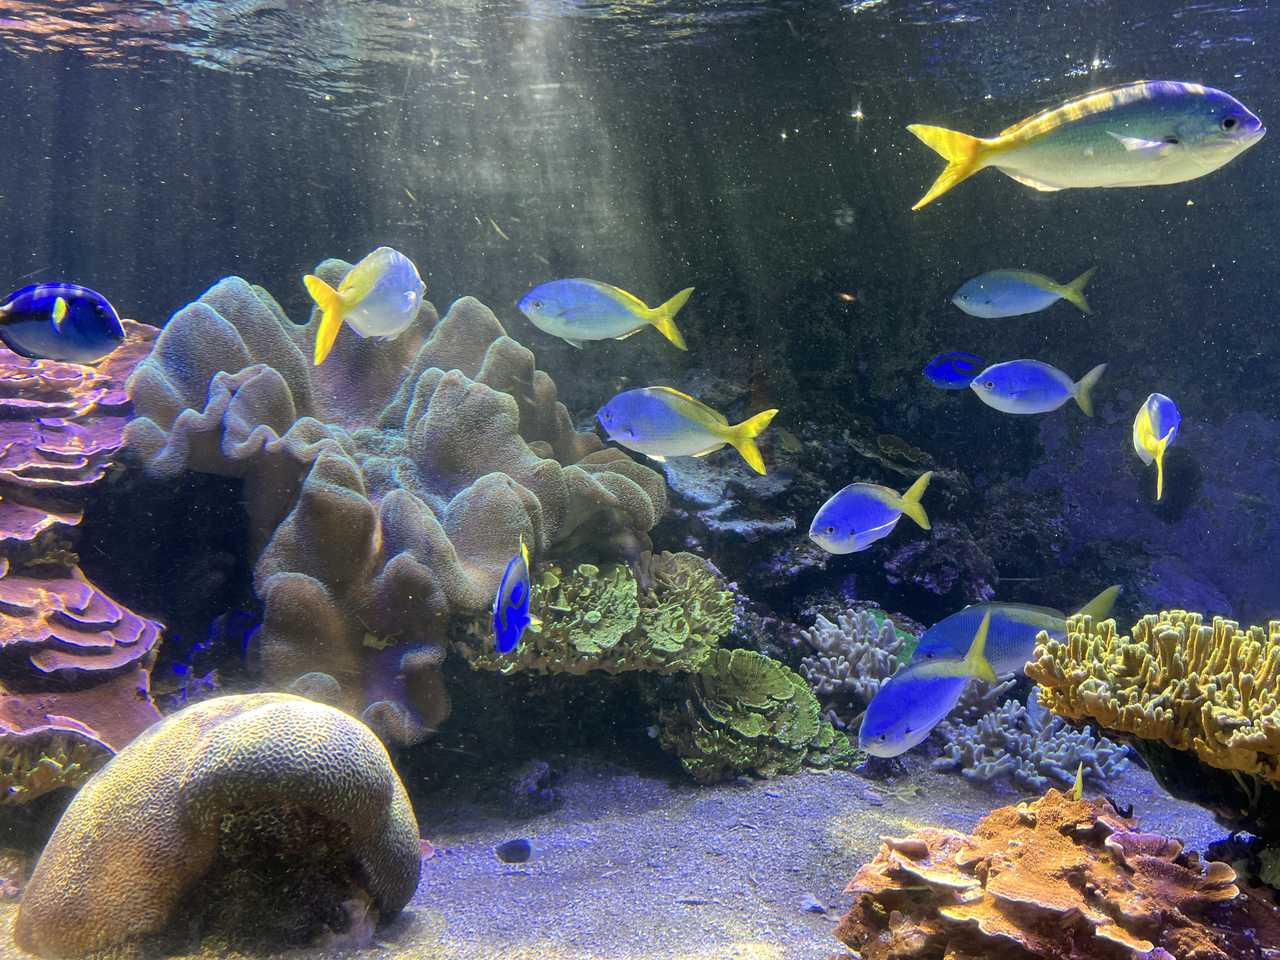
Tropical fish, Nausicaa
Divided into three zones covering tropical waters, climate change, and life beside the global ocean, Nausicaa appeals to all ages and every level of interest with plenty of interactive fun. Enjoy a front row view of manta rays and grey sharks, tiny starfish and huge crabs, jewel-coloured tropical fish and delicate sea anemones as you discover their importance to our planet. My three-hour visit passed in a flash.
Explore Boulogne’s Old Town
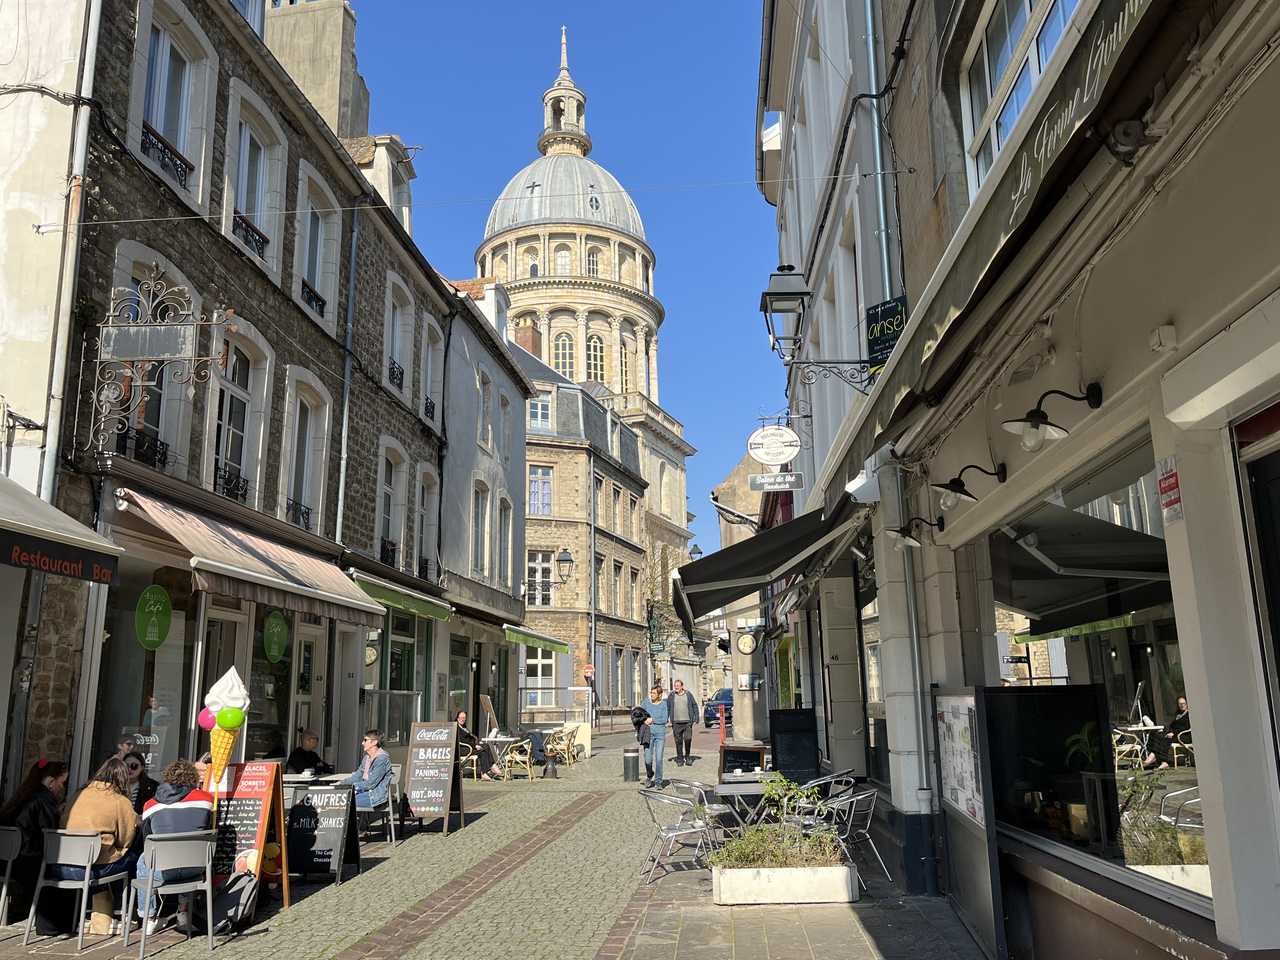
Boulogne Old Town
Turn your back on Nausicaa and the seafront to wander through the town centre and uphill to Vieux Boulogne, dominated by the soaring dome of Notre-Dame Basilica. Take time out to look up inside the dome and go underground to the newly restored crypt. Then head to the old chateau, now an absorbing museum with eclectic collections including paintings, Roman sculptures, and Egyptian artefacts collected by local archaeologist August Mariette who was instrumental in founding Cairo’s museum of antiquities as well as the collection currently held by The Louvre.
Boulogne for Foodies
Like Montreuil, Boulogne satisfies both body and soul with a wide choice of accommodation, restaurants and food shops. Pop into Philippe Olivier’s renowned cheese shop with a cool bag to stock up for your next dinner party or maybe browse the quayside stalls for fresh fish and shellfish.
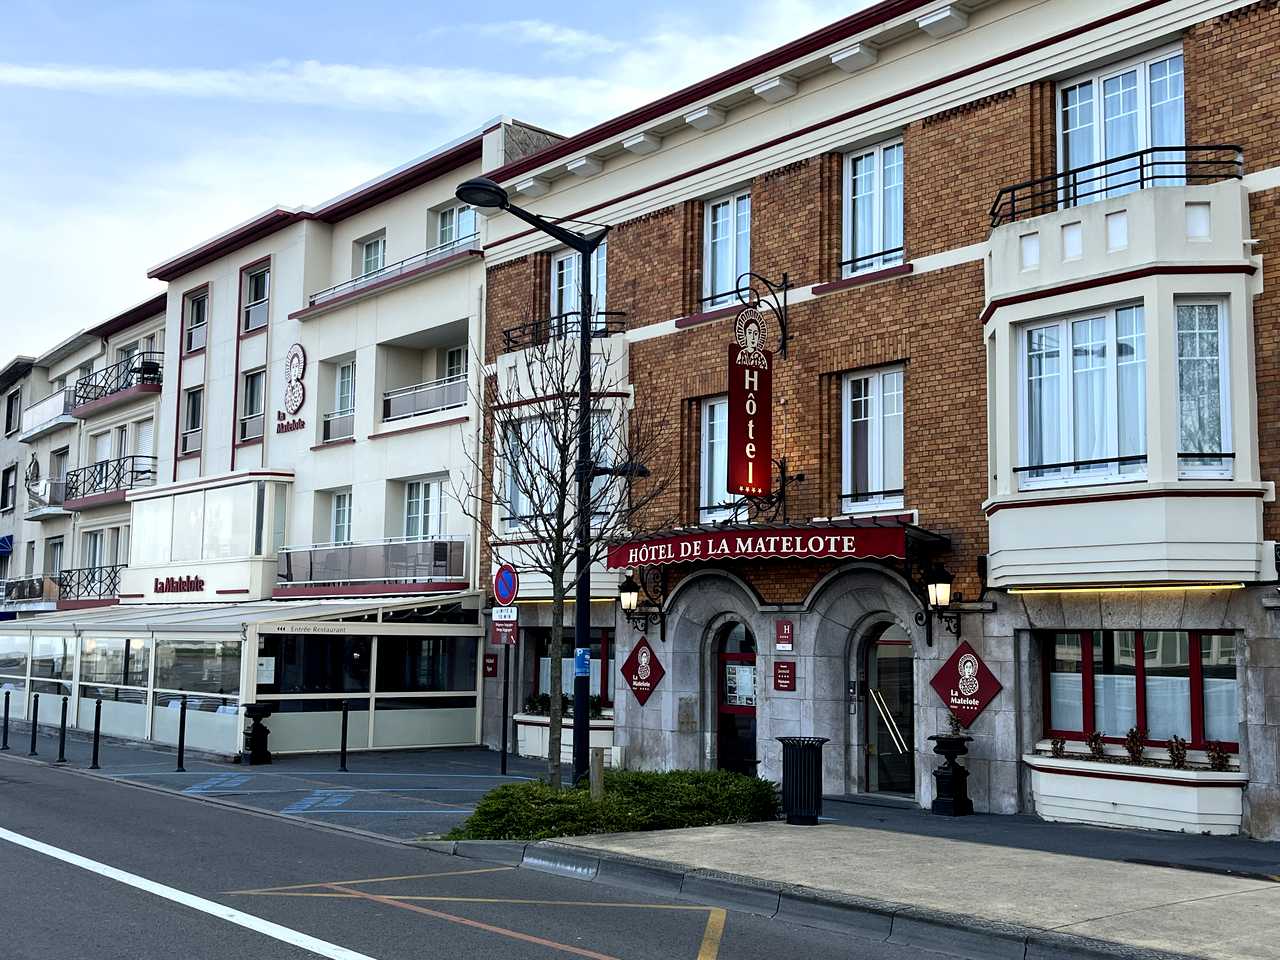
Hotel La Matelote, Boulogne
For a fish supper to remember – other dishes also available – book a table or overnight stay at La Matelote opposite Nausicaa. Named after a traditional Boulonnais fishwife, the relaxed ambience and top class food have made this family-run hotel into a favourite for more than 40 years.
Take the coast road
The quick route back to Calais crosses rolling farmland with distant views of the sea, but for a last treat, take the coast road and stop to stroll along the shore at Ambleteuse with its 17th century seaside fort or the peaceful fishing village of neighbouring Audresselles.
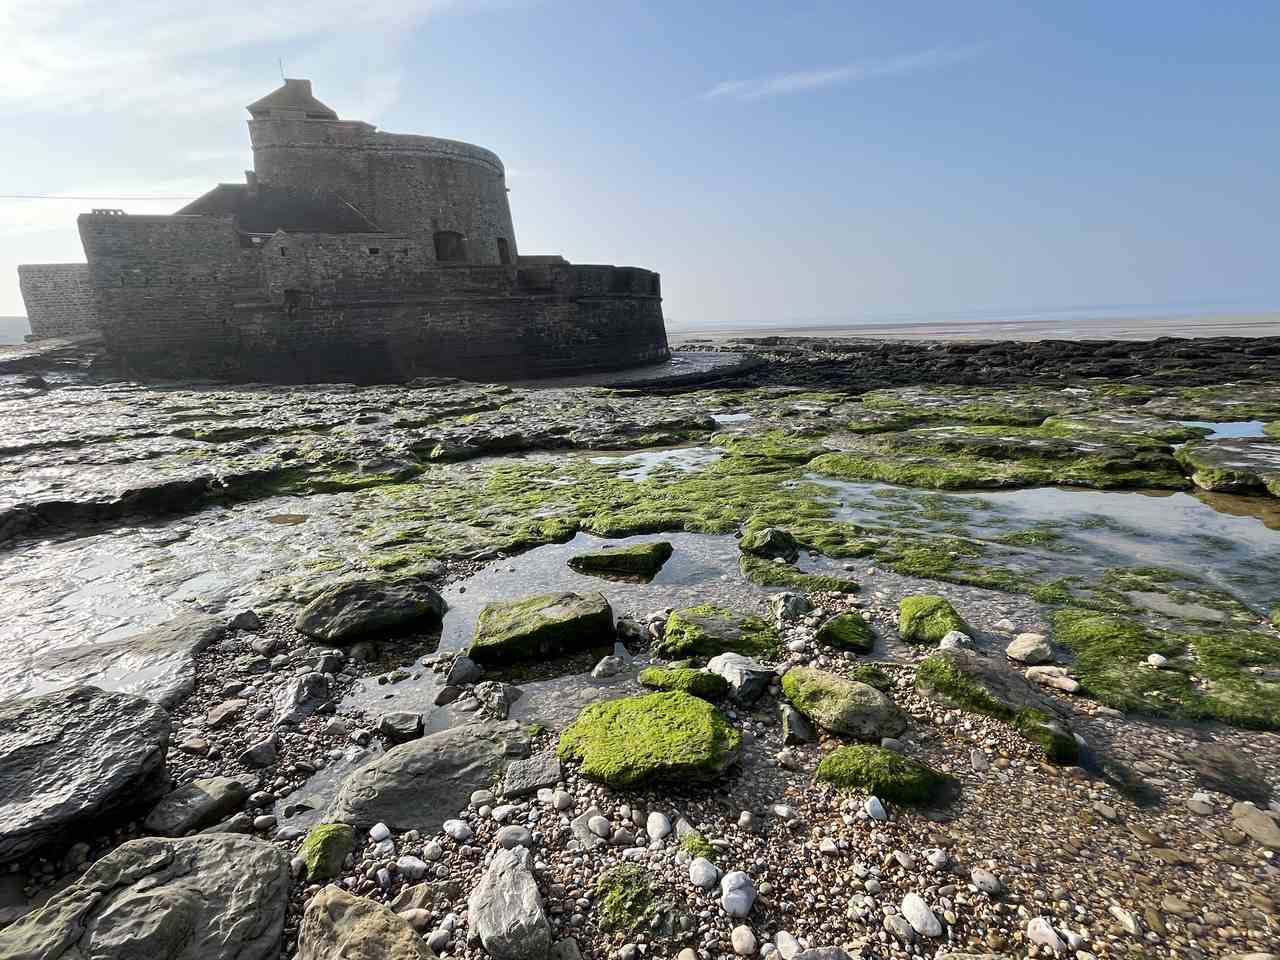
Ambleteuse
The road passes the Site des Deux Caps, classified Grand Site de France for the natural environment of the twin headlands, Cap Gris Nez and Cap Blanc Nez. Perfect for a leg stretch and panoramic views. ‘Grey Nose’ is the nearest point to Britain and on a clear day, the English coast is easily visible 20 miles away. So near but oh so very different!
Fact File
GET THERE: Gillian took her car on board LeShuttle rail service for the 35-minute undersea journey from Folkestone to Calais. Drive direct to Boulogne in roughly 30 minutes, a further half-hour to Montreuil-sur-Mer. www.leshuttle.com
STAY AND DO
MORE TOURIST INFORMATION: www.visitpasdecalais.com
The post A short French fix to the coastal towns of Montreuil-sur-Mer and Boulogne, France appeared first on The Travel Magazine.


