When I first picked up a camera, I thought great travel photography was about being in the right place at the right time. I believed if I traveled far enough or waited long enough, the perfect images would eventually reveal themselves.
Twenty years later, I’ve learned it’s really about learning how to see — how to slow down, pay attention, and notice the moments most people walk right past. The lessons that shaped my work didn’t come from perfect conditions or bucket-list destinations, but from missed shots, quiet moments, and the long road of experience in between.
For as long as I can remember, travel and photography have been inseparable parts of my life. What began as curiosity — wandering with a camera and trying to make sense of the world through images — slowly became a lifelong practice of storytelling. And over two decades behind the lens, that practice has taught me far more than any guidebook ever could.
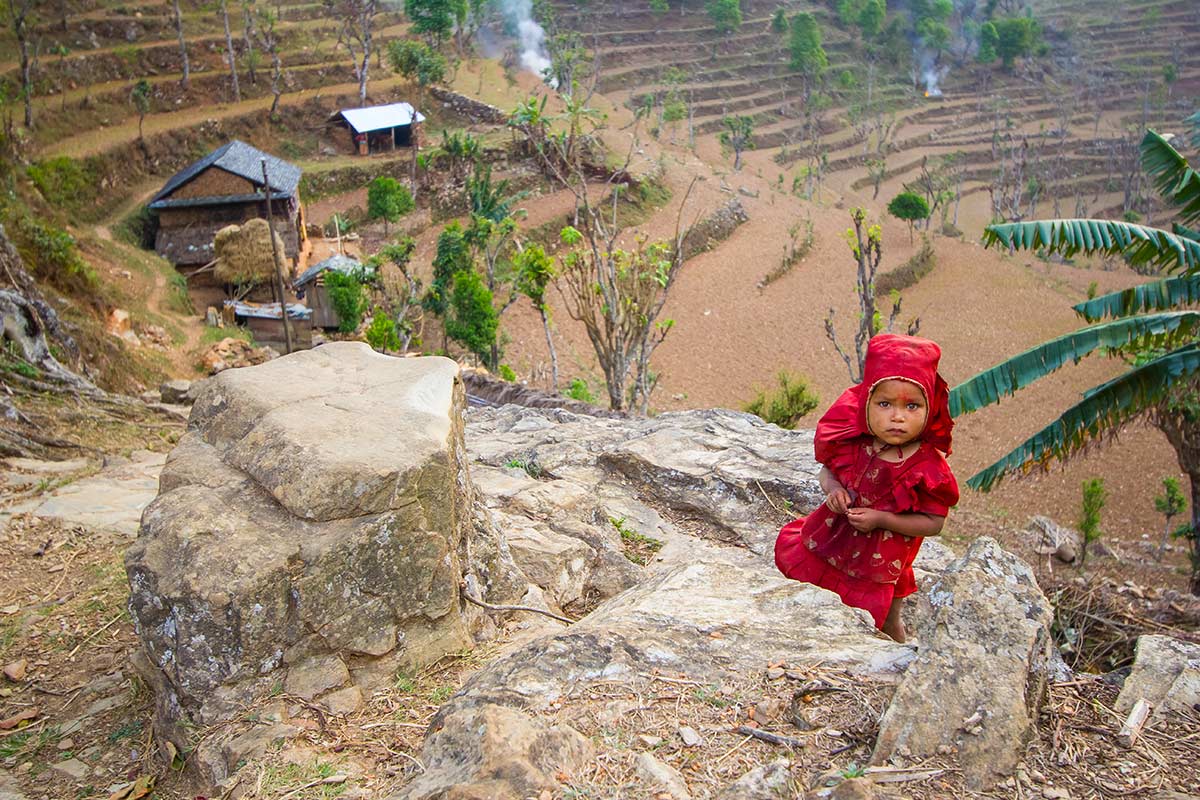
After more than twenty years of photographing destinations around the world, I’ve learned that the most meaningful photographs aren’t always the most dramatic or technically perfect. They’re the ones that make you feel something. The ones that make you pause; that remind you of a moment, a place, or even a version of yourself.
That belief is what inspired me to write my book, Capturing the Soul of a Destination.
This Isn’t A Typical Photography Book
This book isn’t about chasing the next epic shot or copying what’s trending on social media. It’s about learning how to see — how to slow down, observe, and photograph with intention.
Inside the book, I share the approach I’ve developed over years of travel:
- How to move beyond postcard images
- Why patience often matters more than gear
- How light, timing, and composition serve a story
- Ways to photograph people and places with respect and honesty
- How personal experiences shape your visual voice
Every chapter is designed to help you create images that reflect the true essence of a destination, not just what it looks like on the surface.
Lessons From The Road
The stories and lessons in this book come directly from my own experiences — moments of awe, frustration, missed shots, and unexpected magic. From racing storms and fleeting light to quiet, unscripted moments that unfolded only because I stayed still long enough to notice them.
Travel photography doesn’t always go as planned. Sometimes you have minutes instead of hours. Sometimes the weather changes everything. Sometimes the photo you imagined never happens — but something better does. Learning to adapt, stay flexible, and remain present has shaped not only my photography, but how I experience the world.
Who This Book Is For
Capturing the Soul of a Destination is for:
- Travelers who want their photos to reflect how a place felt, not just how it looked
- Photographers looking to develop a stronger, more personal visual voice
- Creatives who feel stuck chasing perfection instead of meaning
- Anyone who believes photography is a form of connection, not consumption
You don’t need to travel far or own the latest gear. This approach works whether you’re exploring a remote destination or walking through your own neighborhood.
Why I Hope You’ll Read It
Photography has given me so much — connection, purpose, and a way to make sense of the world. Through this book, my hope is to offer encouragement, guidance, and reassurance that your perspective matters.
When we create with intention, we’re not just documenting places. We’re preserving memories, honoring cultures, and reminding ourselves that beauty exists — even in fleeting, imperfect moments.
If you’ve ever felt drawn to photography as a way to understand a place more deeply, Capturing the Soul of a Destination is an extension of that journey. It brings together the lessons, missteps, and moments that shaped my approach to travel photography over the past twenty years — and offers a framework for creating images that feel meaningful, honest, and personal.
If you’re ready to slow down, look closer, and tell deeper stories through your photos, I hope this book finds its way into your hands.
Read more: How to Choose the Best Travel Camera
Pin for later!
The post What 20 Years As A Travel Photographer Has Taught Me appeared first on Ordinary Traveler.


 nylon with a breathable, moisture wicking HYDRI-FUSE


