")


Shoot Great Landscape Photos in HARSH Light with These 3 Ideas (VIDEO)
All landscape shooters know that the quality of light can make or break a photo. In fact, sometimes an uninspiring scene photographed with spectacular illumination has more impact than an epic scene shot during harsh, midday sun.
But what about those times when you’re traveling to a destination, the sun is high in the sky, and you come across a vista that simply can’t be ignored? In the interesting tutorial below from the Haitowerix YouTube channel you’ll discover simple ideas for making the most of such situations to capture eye-catching photos.
Instructor Aitor Alegre Celaa is an accomplished German photographer with plenty of success in making beautiful images what the light isn’t right. In this quick episode he provides simple advice for getting the job done, by changing up your approach when shooting the field. It’s pretty much a matter of doing things a bit differently with the gear you already own.
Celaa calls his tips “gamechangers,” and they’re particularly helpful this time of year when the sun rises really early, and sunset is really late—meaning you can’t always be in a perfect location to capture the fleeting moments of Golden Hour. He says, “sometimes I feel like a zombie if I awake early enough to shoot the sunrise.”
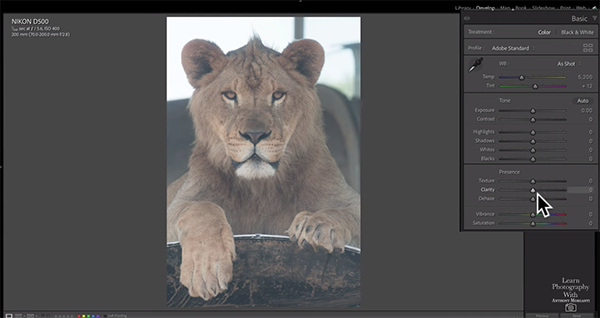
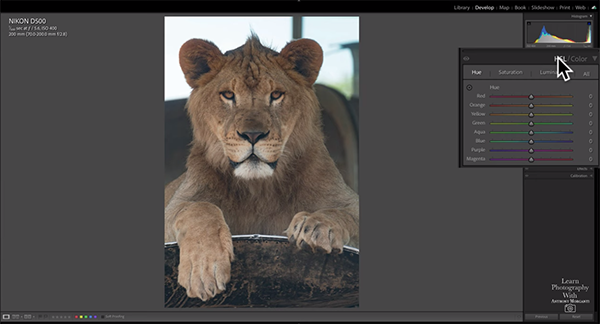
His first idea for making the most of harsh light is a simple matter of shooting in b&w. While midday tones often ruin the effect of color images, that’s not true with monochrome photos. Celaa explains why harsh light can create deep shadows and bright highlights that “add a dramatic touch to your photos,” if you follow his advice for handling intense light.
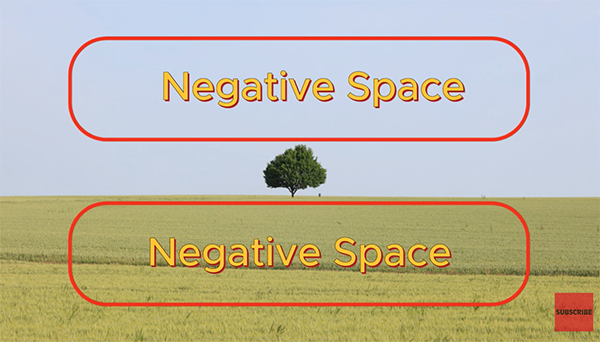
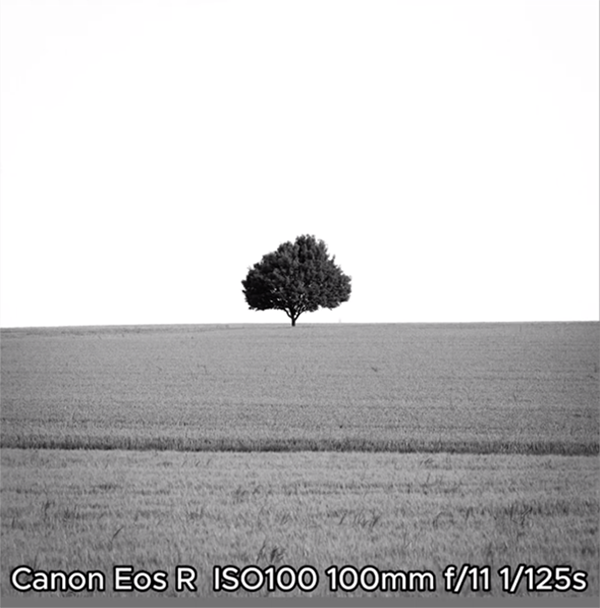
In most cases the striking contrast under these conditions is just what you need when shooting in b&w. He demonstrates how to use negative space for simple compositions when taking this approach. You’ll also learn the camera settings Celaa prefers for maximizing the appearance of images with a clean, minimalist style.
Another idea that works really well is shooting tight shots of brightly lit flowers. The trick here is carefully composing the scene in a way that the background is in the shadows. By exposing for brightly lit flowers in such situations, the background will almost go black, thereby making your main subject really stand out. This immediately directs a viewer’s eye to exactly where you want it to go.
Celaa calls his third tip “the most important idea.” You’ve likely heard this one before, but it’s definitely worth repeating. Bottom line: with a quick change in tactics, you’ll be able to capture money shots any time of day.
The Haitowerix YouTube channel was created as a haven for outdoor photographers who wish to expand their skills, so take a close look for more tips and tricks.
We also encourage you to watch the tutorial we posted on a similar topic, with another pro’s approach to landscape photography when you can shoot at Golden Hour.