The Lensbury Resort is located in Teddington, a part of London with quiet charm that’s easy to fall for. Leafy, low-key and brushed by the Thames, it is one of those elegant London neighbourhoods frequently voted “best place to live” by glossy magazines.
You’ll find joggers along the river, dog-walkers spilling out of Bushy Park and families picnicking on long stretches of green. The High Street, lined with independent boutiques, cafes, and restaurants, still has such a vintage village charm that it is difficult to believe you’re still in London.
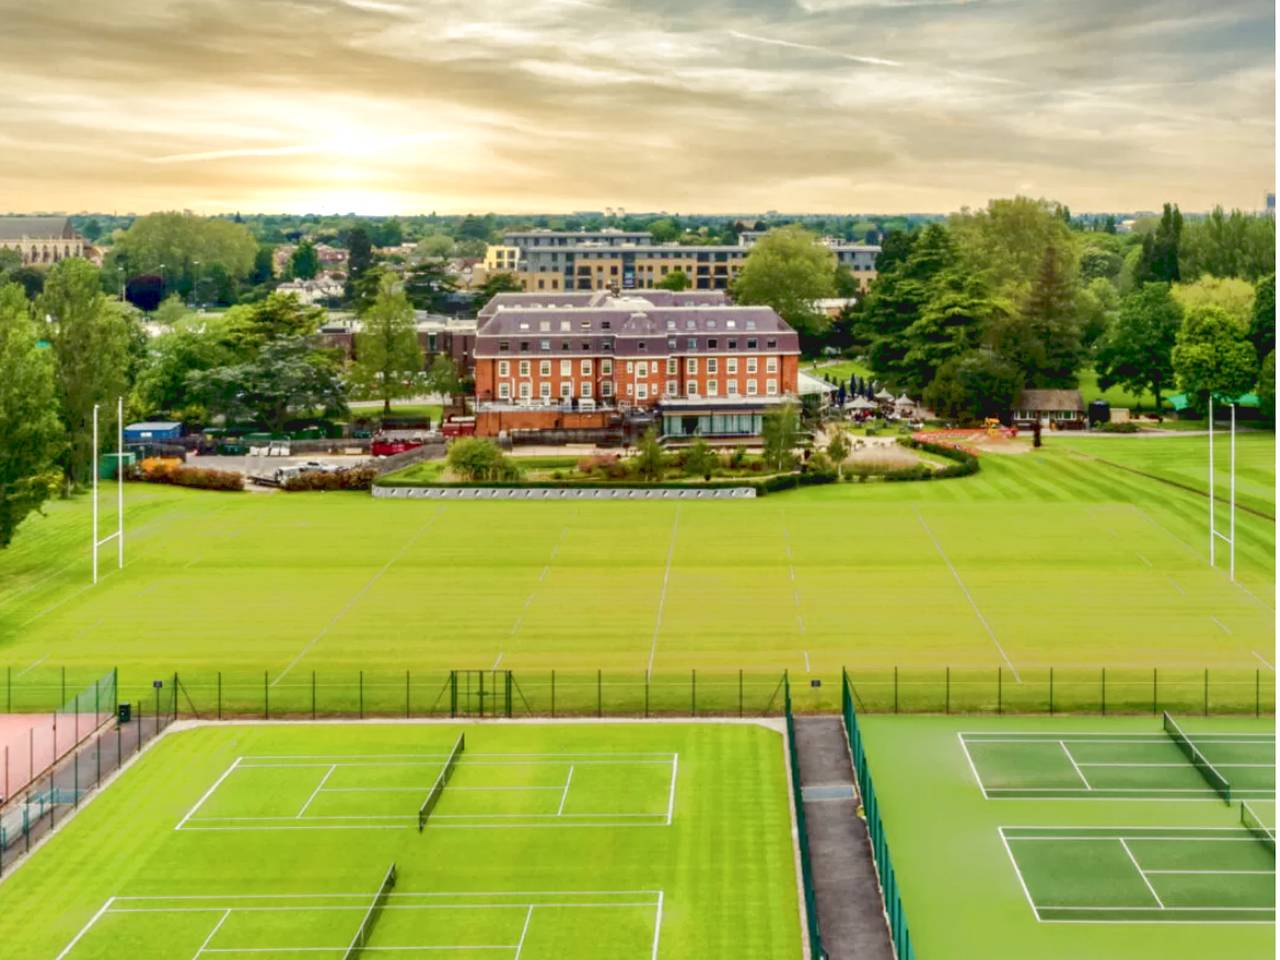 Staying at The Lensbury, sitting right on the edge of the river in 25 acres of grounds, lets you tap into all that Teddington has to offer, but it’s also a unique proposition in itself: A resort hotel in the city.
Equal parts country retreat and sports club, it’s a place where you can feel like you’ve left London entirely, without actually leaving the capital at all. And if you need the bright lights, it’s a short train ride away.
Originally founded in 1920 as a private club for Shell employees, it’s now a hotel and members’ club. The property still has some of its old grandeur – arrival is via a private drive passing manicured lawns and the entrance has a stately home feel to it.
But the decor inside has faded from its glory days, and there are elements of the venue that feel more like a well-loved pub than a resort. Now a members club and hotel, it is popular with business people, sports fans, and families.
Who for
The Lensbury draws a broad crowd. Weekdays see a steady stream of corporate guests, thanks to the hotel’s extensive conference and meeting spaces. However, on weekends, it transforms into a destination for families, couples, and wedding parties.
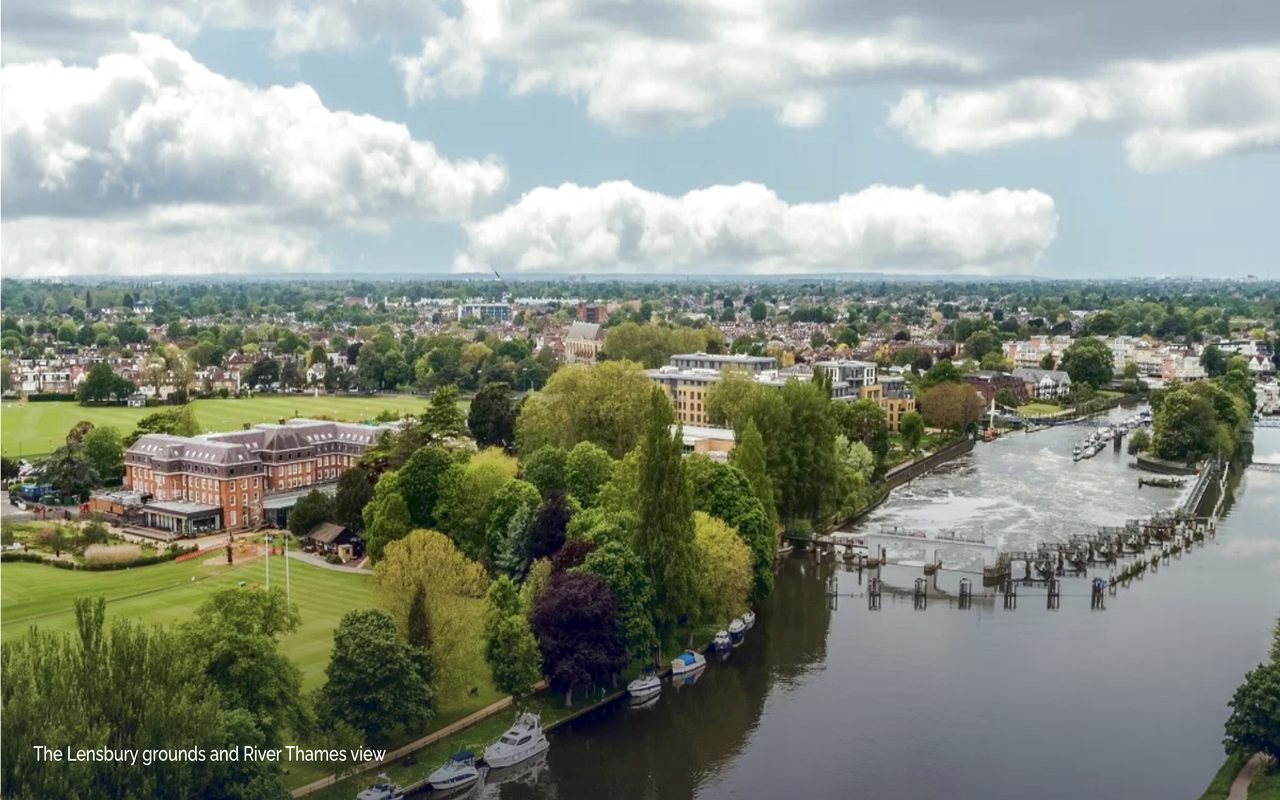 With its riverside setting, children’s activities, and expansive lawns, it’s ideal for parents seeking a London break that doesn’t feel urban. At the same time, couples can enjoy the spa, peaceful rooms and long walks along the towpath. It also works well for solo travellers after a wellness break with proper facilities.
Accommodation
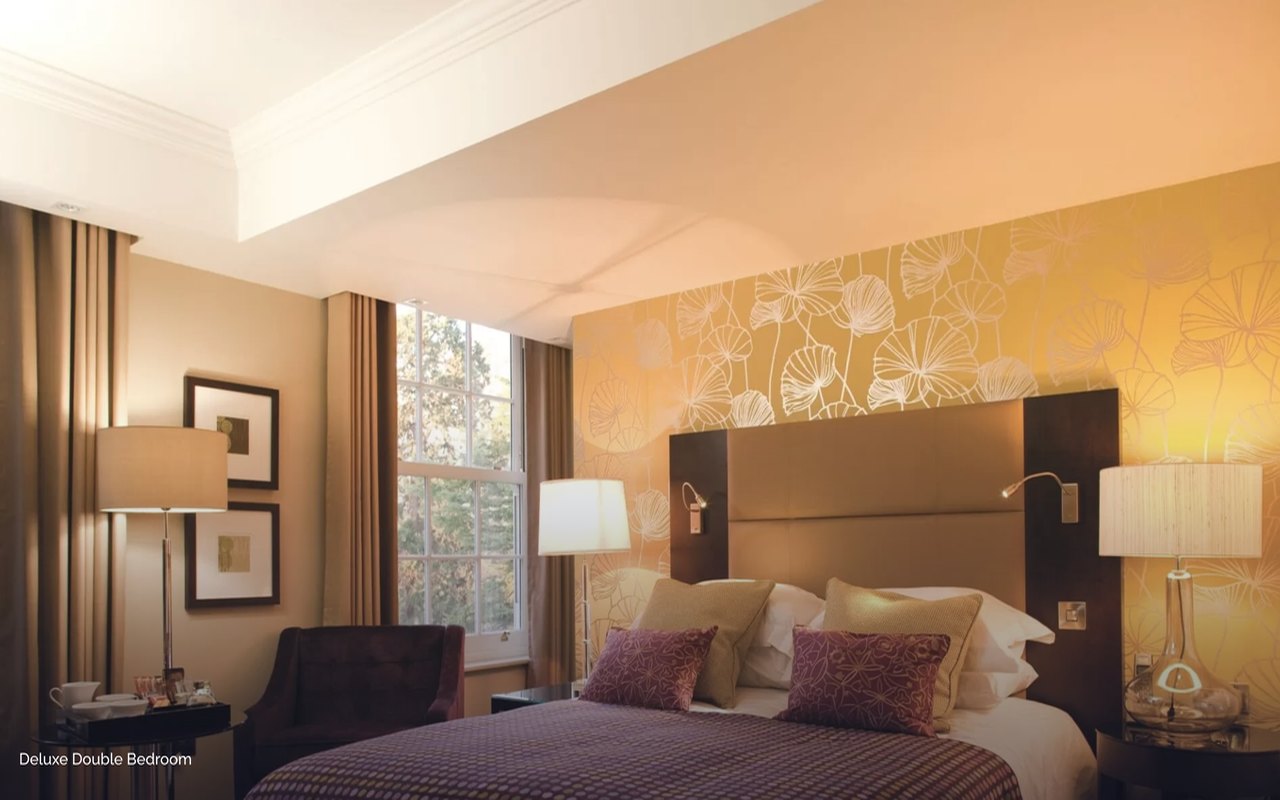
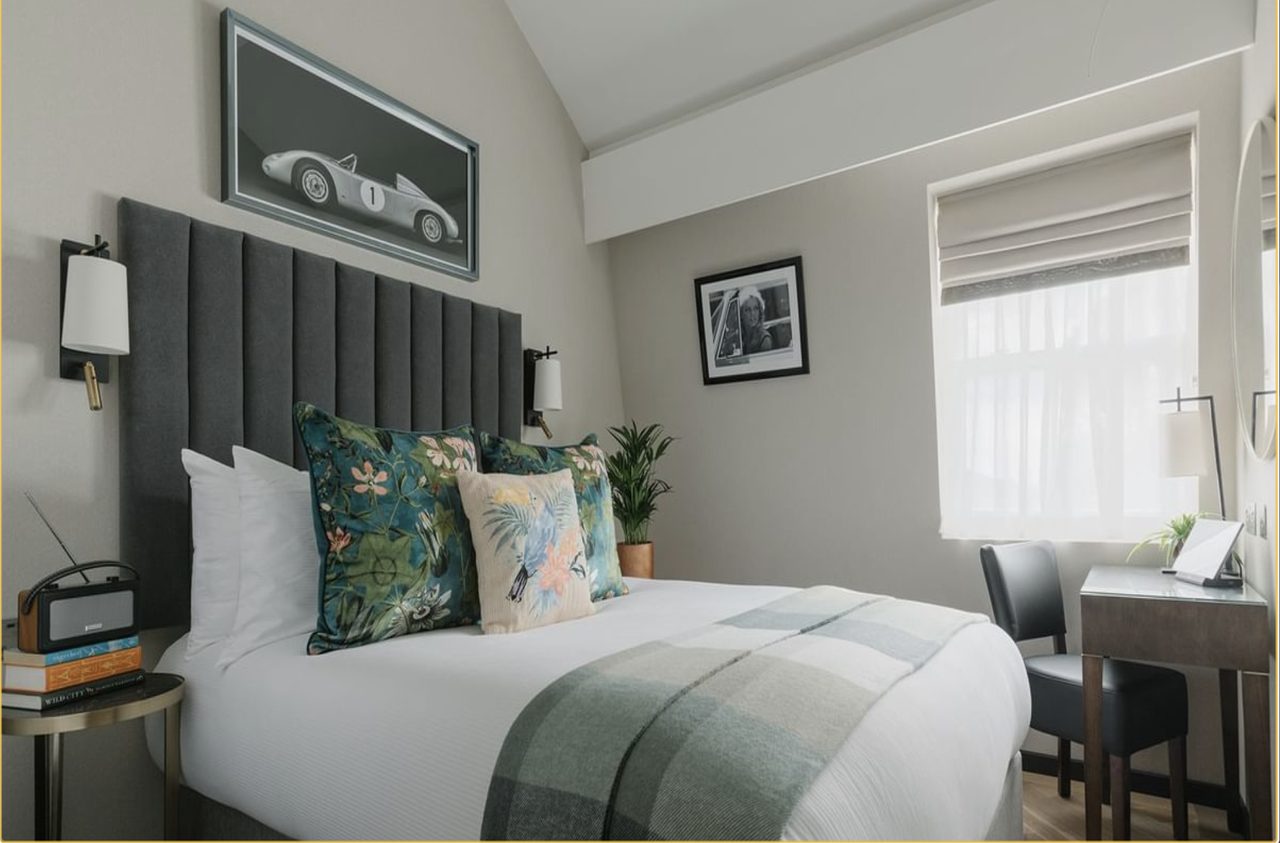
Lensbury Bedroom
There are 155 rooms in total, ranging from practical singles to generously sized suites. We stayed in a family room which normally sleeps 4, but they allowed us a campbed to squeeze in our tribe of 2 adults, 3 children. This worked for us as our children are still young, but for families with teens or even tweens, two rooms might be optimal.
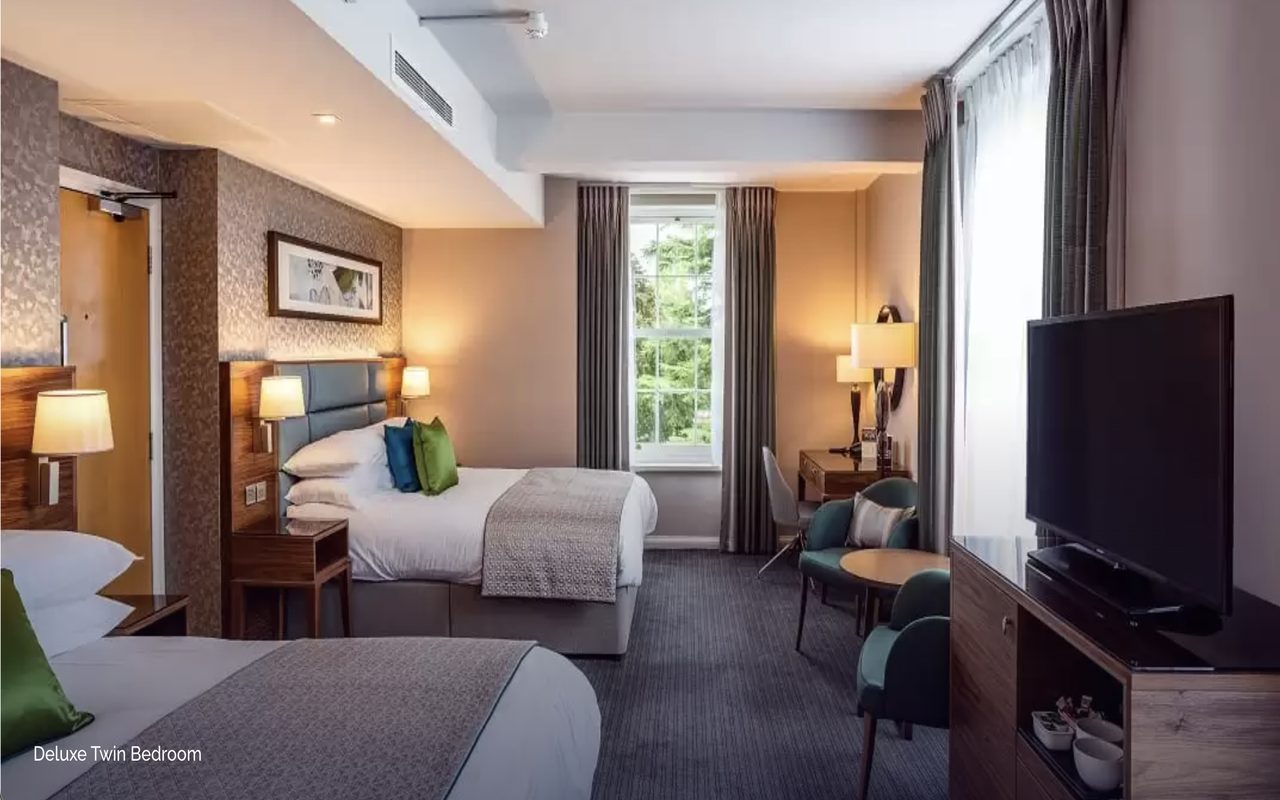 The rooms are clean and functional, but are in need of revival and better soundproofing to reduce noise from the corridors or other rooms.
There is an annexe that is separate from the main building, so if you prefer to be close to breakfast and the bars, it’s worth stating where you prefer to stay as a request when you book.
Food & Drink
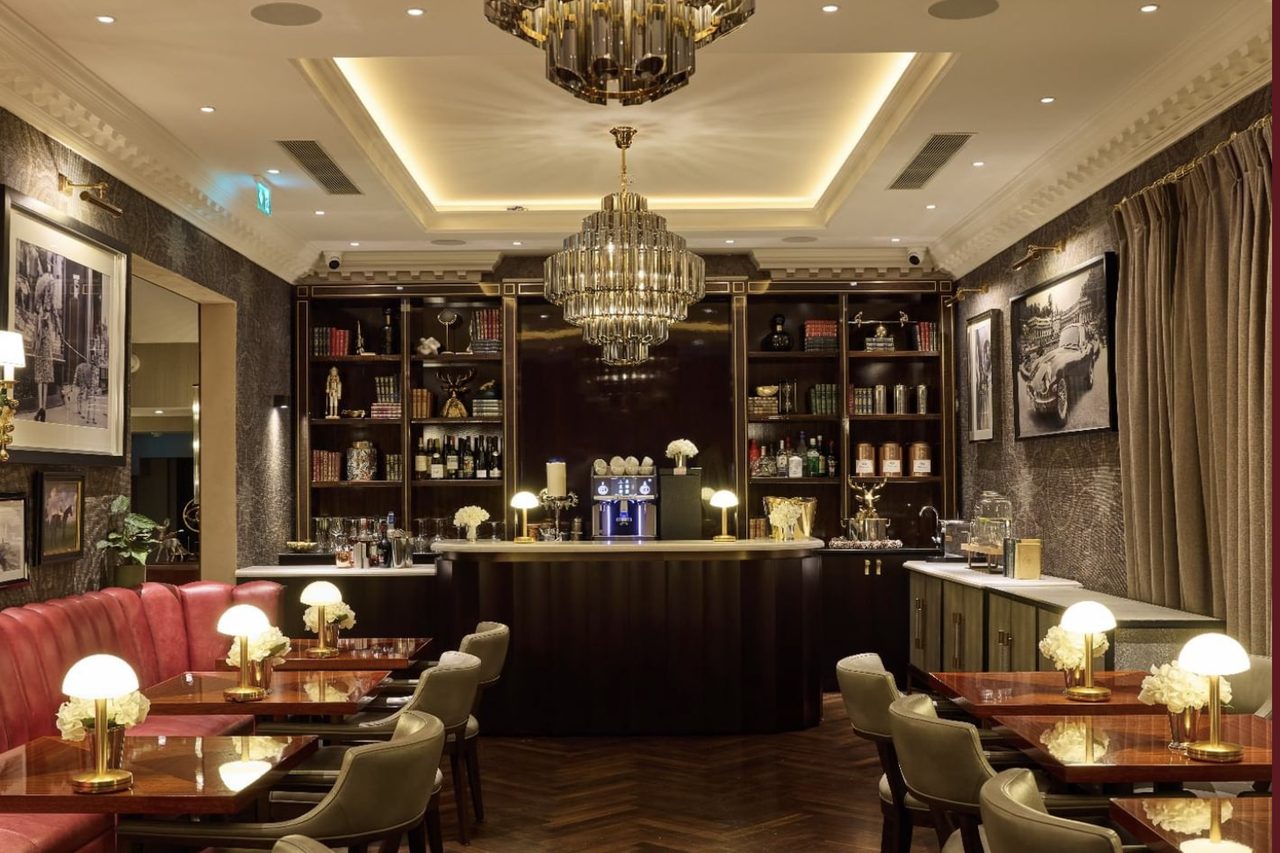
The main restaurant and lounge bar serve classic comfort fare with an emphasis on seasonal produce. We had an excellent meal as a family at the Lounge and Terrace. My husband and I were able to relax with cocktails (I recommend the Spiced Thames Mai Tai and the Riverside Espresso Martini) at the table, while our brood ran free on the expansive lawns – not a gadget in sight – until their meals were ready. We opted for the steak, thai curry, and burgers. All dishes were generous portions and cooked well. The children’s menu, though pricier than most, had a range of choices and the desserts were a masterpiece. The ice cream sundaes and chocolate brownies are definitely big enough to share. The wine list is decent and I found the staff to be attentive. The restaurant also has theme nights for Indian and Asian cuisine which are worth trying.
Breakfast is served in the conservatory-style lounge, which is a screen/tech free zone enabling a much nicer experience. There are both buffet and à la carte options. It’s easy to linger here with coffee and a good book especially if the sun’s out. Service is warm, not overbearing, and staff are good at making families feel welcome. That said, if you arrive for breakfast after 930am, there’s a risk that not everything you want will be available.
Leisure & Wellness
The Health Club is well-equipped but can get busy at peak times. There’s a 25-metre pool, steam rooms, saunas and an excellent gym with everything from rowing machines to strength zones. Group classes range from yoga and Pilates to high-energy spin sessions.
The spa offers a solid treatment menu, with massages and facials using top skincare brands. It’s not the most design-led spa in London, but it’s peaceful and professional. Outdoors, you’ll find no fewer than 22 tennis courts, as well as football pitches and a watersports centre on the Thames offering kayaking, paddleboarding and boat hire. Personal training is available on request, and the concierge team can help organise bespoke outdoor activities.
During school holidays, the kids’ activity programme keeps little ones entertained with sports, crafts and outdoor play, giving parents a proper chance to relax.
How much
Rooms at The Lensbury typically start around £140 per night for a Standard Double during low season, rising at weekends or peak periods. Family packages, spa offers and activity-inclusive rates are available and worth exploring if you plan to make use of the facilities.
CHECK AVAILABILITY
What’s nearby?
The location is hard to beat if you’re after greenery and culture. Hampton Court Palace is just a 10-minute drive or scenic walk away, while the wild deer of Bushy Park are a few minutes on foot.
There’s a glorious footbridge that takes you from fabulous pub The Anglers, across the Thames and into equally lush Petersham, where you can explore Ham House or the famed Petersham Nurseries.
Richmond Park and Kew Gardens are a short bus trip away, the Richmond Town’s riverside restaurants and theatres are also close by. If you want to head into central London, Teddington station is a 15-minute walk, with direct trains to Waterloo in just over half an hour. But most guests find little reason to leave the area once they’ve arrived.
The post The Lensbury Resort London: Hotel Review appeared first on The Travel Magazine.


 Staying at The Lensbury, sitting right on the edge of the river in 25 acres of grounds, lets you tap into all that Teddington has to offer, but it’s also a unique proposition in itself: A resort hotel in the city.
 With its riverside setting, children’s activities, and expansive lawns, it’s ideal for parents seeking a London break that doesn’t feel urban. At the same time, couples can enjoy the spa, peaceful rooms and long walks along the towpath. It also works well for solo travellers after a wellness break with proper facilities.
 The rooms are clean and functional, but are in need of revival and better soundproofing to reduce noise from the corridors or other rooms.

