


5 fun family experiences in London this Easter
This Easter, dive into exciting activities from the enchanting Bubble Planet, escaping from prison, Seven Wonders and historical adventures.
The Last Stronghold: An Epic Medieval Adventure
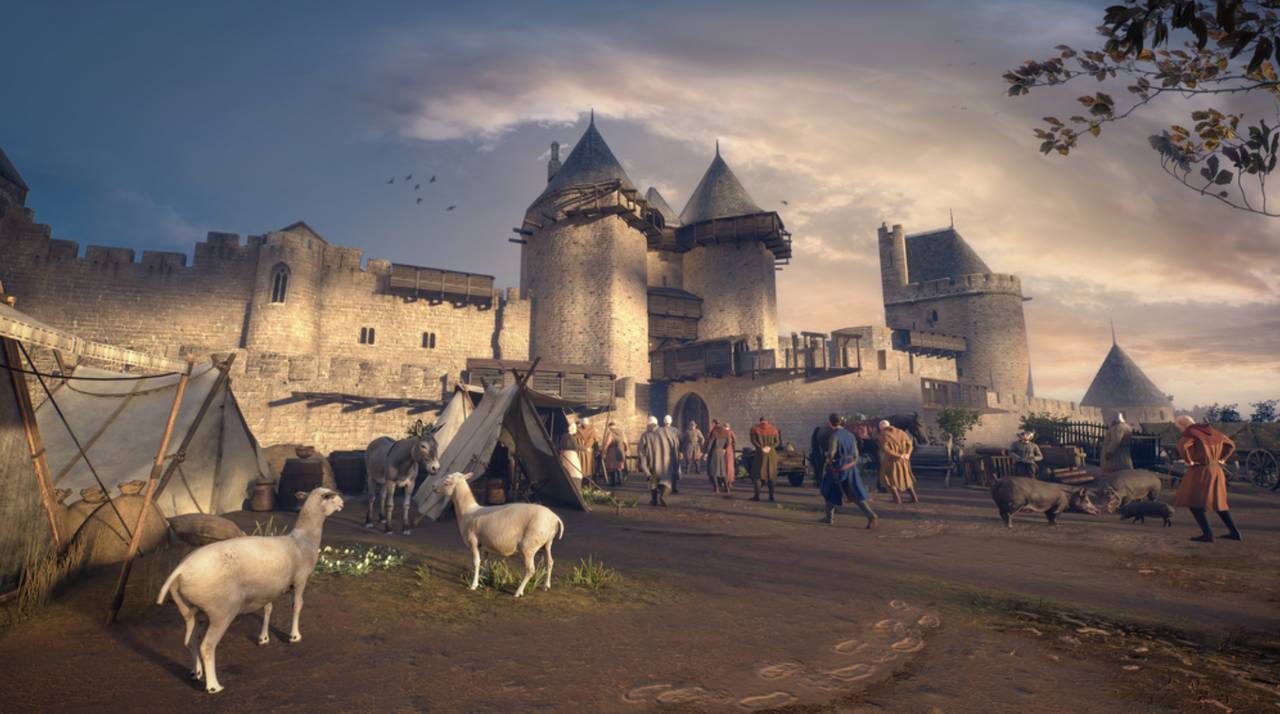
The Last Stronghold – Shepherds Bush
Travel back to 14th-century France and enter the fortified city of Carcassonne, where corruption grips the elite and the people rise in unrest. Guided by the young lord Simon, you’ll walk along the ramparts and through the lively streets of the city — all recreated with remarkable historical accuracy. Train in swordsmanship, encounter figures from the Inquisition, and feel the tension of a city on the edge of rebellion.
- Price: From £14.50
- Where: Shepherd’s Bush
- Buy Tickets here
- Age requirement: 10+
Bubble Planet: An Immersive Experience

Bubble Planet, Wembley
Popular among kids of all ages, Bubble Planet just reached 1 million tickets sold! Inside this spherical world full of bubbles, you will have the opportunity to hop from one immersive space to the next, experiencing them all with your five senses! With oversized bubbles, balloons, soap, and more, this sensory universe will give you the opportunity to see the world in a whole new way.
- Price: From £16.90
- Where: Wembley
- Buy Tickets Here
- Age requirement: All ages
Boom Lab: An Explosive Group Gaming Experience
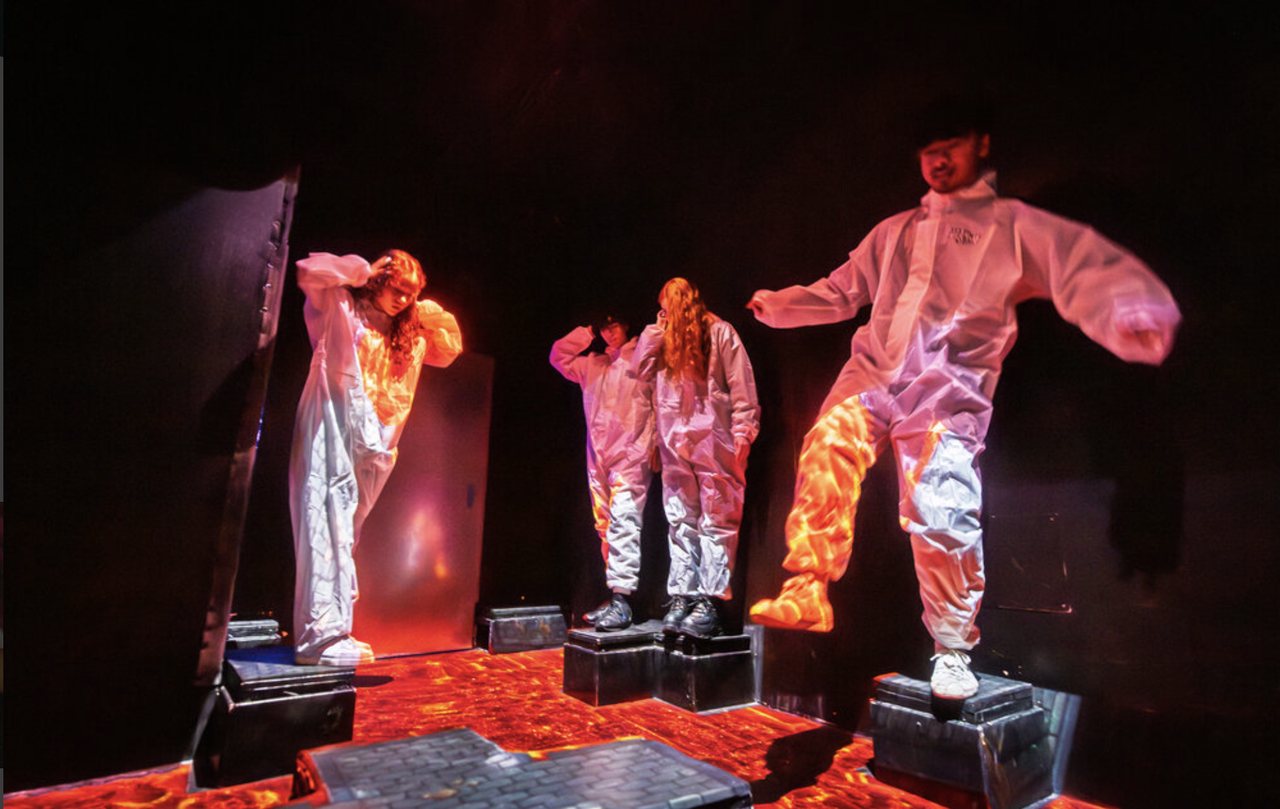
Boom Lab – Shoreditch
London’s ultimate group gaming adventure! Jump across platforms, dodge lasers, smash glowing targets, and tackle fast-paced challenges with your team in six immersive rooms. Test your reflexes, brainpower, and teamwork in this real-life video game experience.
- Price: From £20.90
- Where: Shoreditch
- Book Tickets Here
- Age requirement: 12+
Prison Island: A Teamwork Action Game

Prison Island – Holloway Road
This interactive adventure combines the excitement of escape rooms with a series of physical and mental challenges. Instead of escaping from one room, teams of 2 to 5 players move through a variety of themed challenge cells, each testing different skills — from agility and coordination to logic and teamwork — as you race against the clock to earn points.
- Price: From £24.90
- Where: Holloway Road
- Buy Tickets Here
- Age requirement: 7+
Seven Wonders of the World: An Immersive Exhibition

Seven Wonders of the World – Shoreditch
Seven Wonders of the World provides a breathtaking journey into the mysteries and magnificence of the Ancient World. From the iconic Taj Mahal to the breathtaking heights of Machu Picchu, state-of-the-art projections transport you into these legendary marvels. Step closer than ever to their beauty, engineering, and myths, and witness the wonders that once defined human achievement.
- Price: From £13
- When: 14 February; several slots
- Where: Shoreditch
- Buy Tickets Here
- Age requirement: All ages
The post 5 fun family experiences in London this Easter appeared first on The Travel Magazine.
Popular Posts


Advertisement
