Best Beaches for every month of the year
There’s a beach for everyone and for every month: from the stunning sands of Latin America, to the beautiful British coast, onwards to the Mediterranean and then down to a Pacific island paradise.
JANUARY – San Juan del Sur Bay, Nicaragua
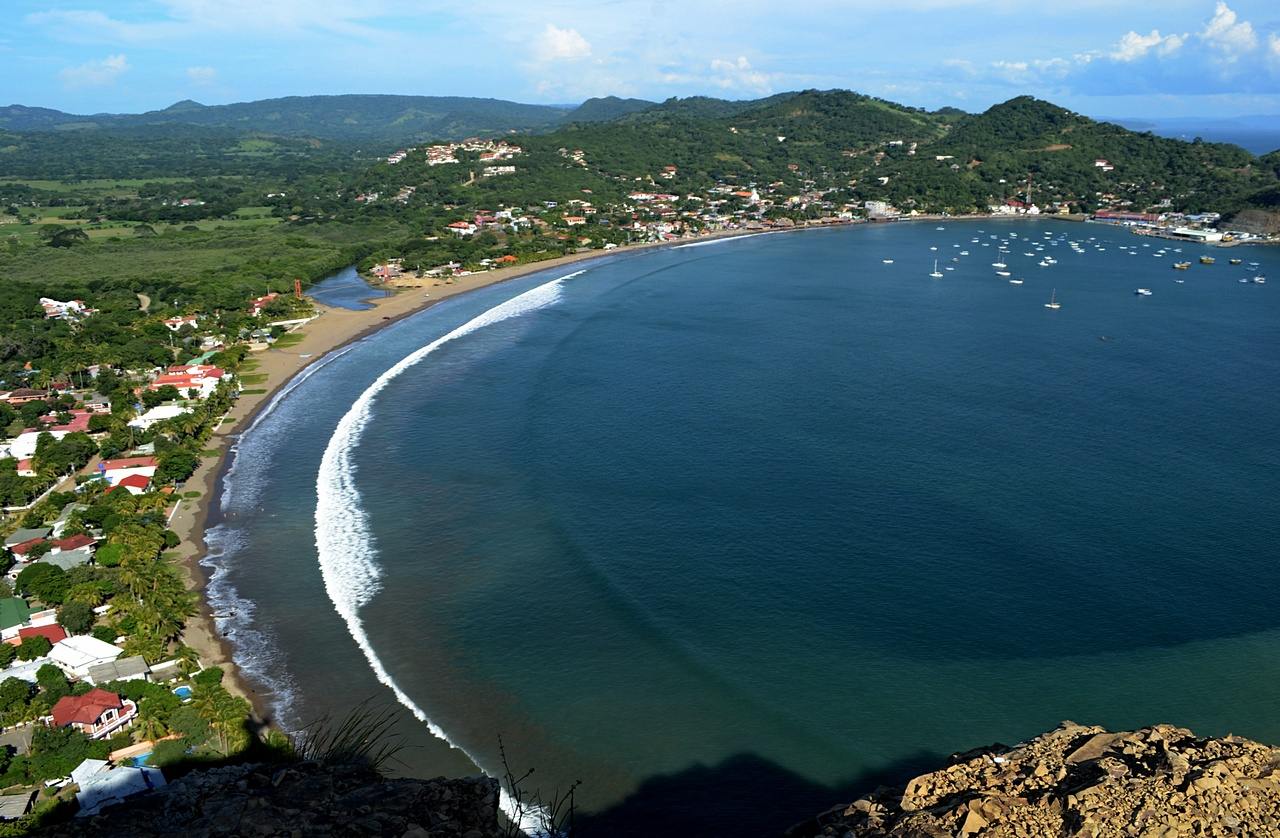
Suan Juan des Sur bay
Nicaragua may be a little unknown as a holiday destination, but at this time of year, it is bathing in sunshine on its beaches. The San Juan del Sur Bay beach has a dazzling horseshoe shape of muted beige soft sand that is overlooked by a giant statue of Jesus perched north of the bay. The waters around here are calm and very rarely get large enough to surf, making this an ideal beach for young families. For surfers, there’s the Playa Maderas a little further along.
There are plenty of fine eateries from which you can enjoy a most delightful sunset. And after sundown, there’s a fun vibe of a busy nightlife to enjoy.
⇒ ALSO READ: Why your next holiday should be in Nicaragua
FEBRUARY – Isla Espiritu Santo, Baja California Sur, Mexico
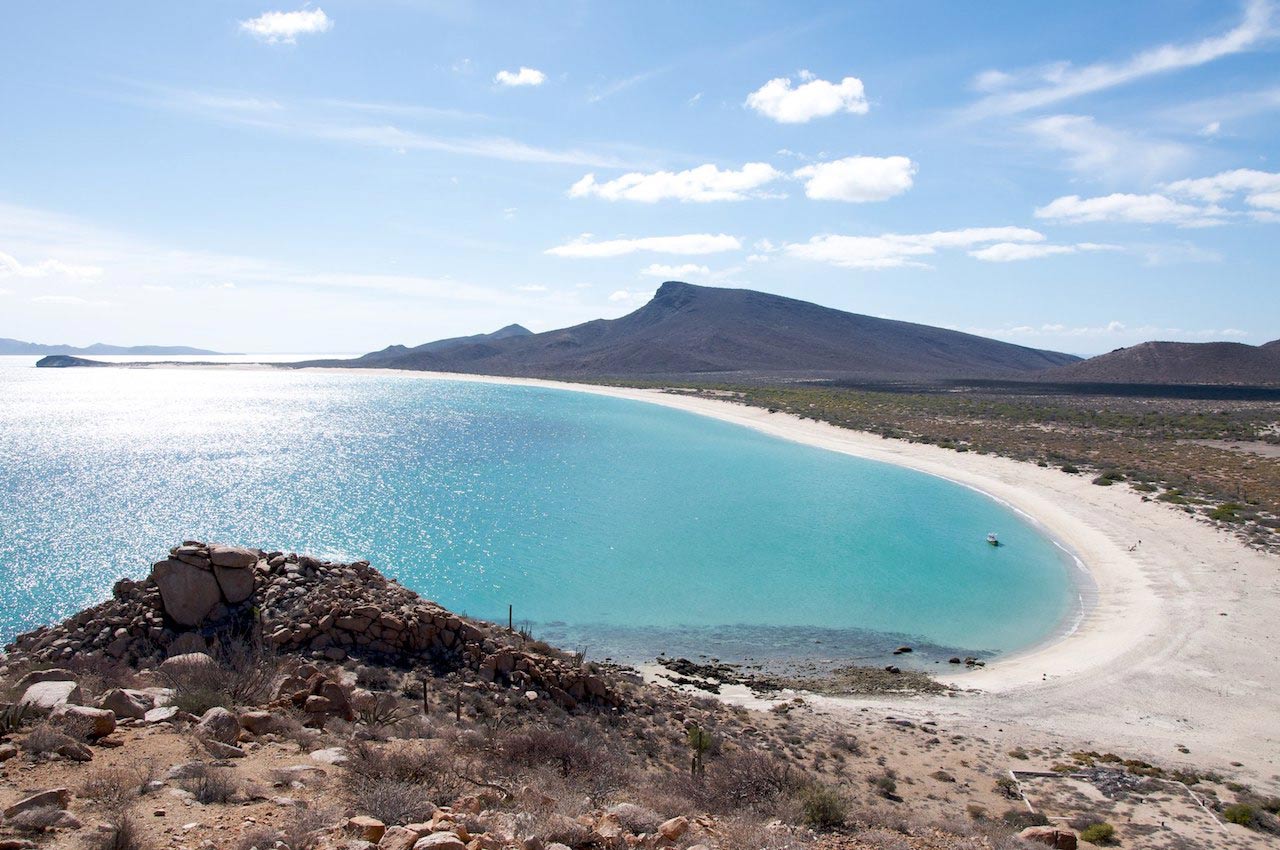
Isla Espiritu Santo, Mexico (c) Sam Beebe/Ecotrust
Oceanographer Jacques Cousteau called Mexico’s Sea of Cortez “the world’s greatest aquarium” because of its unique and rich ecosystem. To get up close and personal with nature, base yourself in La Paz. All the islands are UNESCO protected as World Heritage Biospheres.
Uninhabited Espiritu Santo, absurdly beautiful, is the jewel in the crown: the sea is so turquoise it’s like swimming in a bottle of Curaçao. Once ashore, you’ll find wedding-cake white sands, nail-varnish pink volcanic rocks, clouds of yellow butterflies and strange 300-year-old boojum trees.
At Los Islotes, you can snorkel with friendly sea lions. There are many migratory species such as humpback whales, manta rays and leatherback turtles.
⇒ ALSO READ: What does Mexico have to offer the traveller?
MARCH – Kovalam Beach, Kerala, India
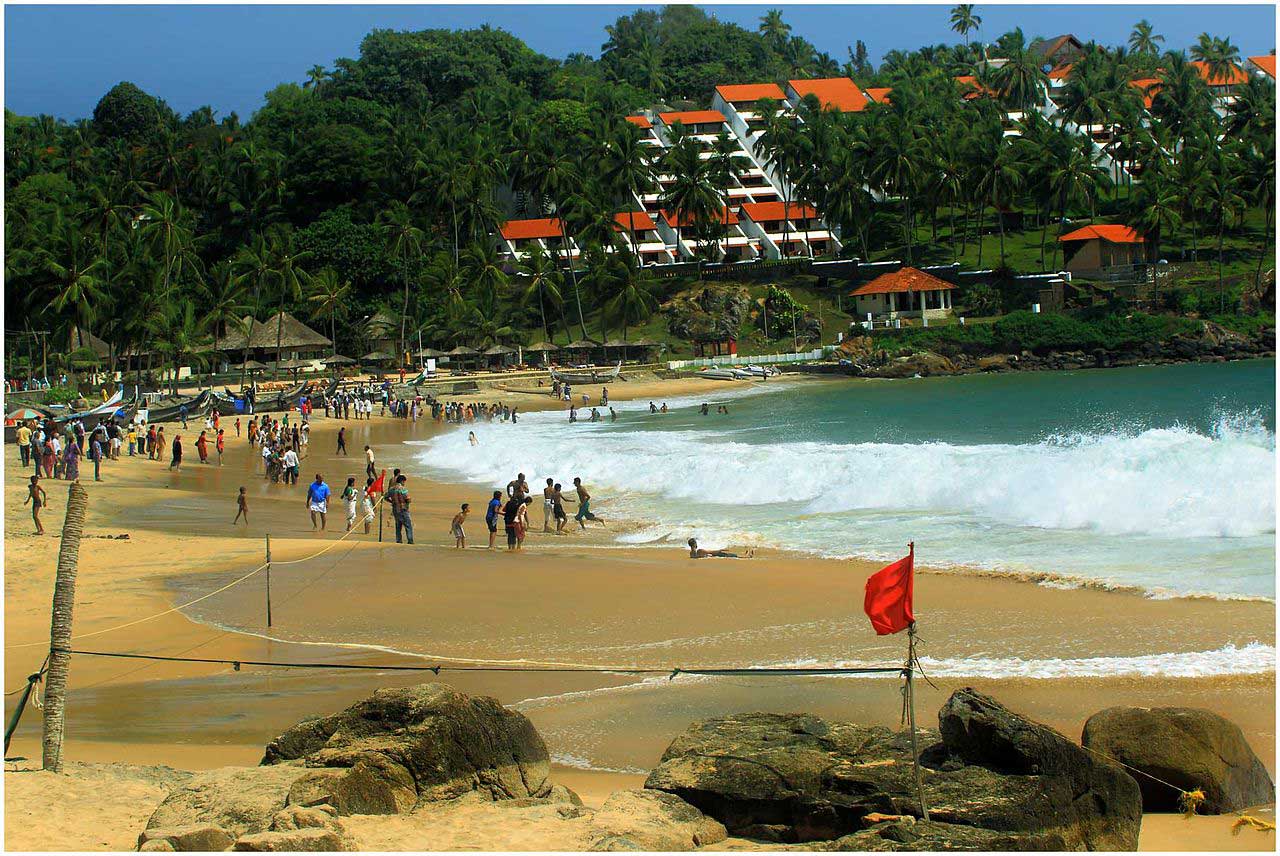
Kovalam Beach, Kerala (c) Ramnath Bhat
Known as the Paradise of the South, Kovalam is arguably the best beach in India. This coconut-forested, crescent-shaped beach is full of character, with the Vizhinjam mosque at the northerly end, brightly-painted boats in the middle, and Ayurvedic massage centres where you can indulge in a rejuvenating, herbal, body-toning massage or other holistic therapy. The equivalent of 50p buys you a scrummy curry served on a leaf.
⇒ ALSO READ: Is Kerala really God’s own country?
APRIL – White Island, Camiguin, The Philippines

White Island, Camiguin (c) chiba
Small, pear-shaped and known as the Island Born of Fire, Camiguin is home to the spectacular White Island beach, a Tippex-white sandbar with views of two volcanoes, Mt Hibok-Hibok and Mt Vulcan. Close by, the turquoise Bohol Sea hides an unusual treasure – the Sunken Cemetery lying 20 feet underwater following a volcanic eruption in 1871. The island has old ancestral homes and historic churches.
⇒ ALSO READ: Surfing in the Philippines: riding the Cloud 9 in Siargao
APRIL – Anse Source d’Argent, Seychelles
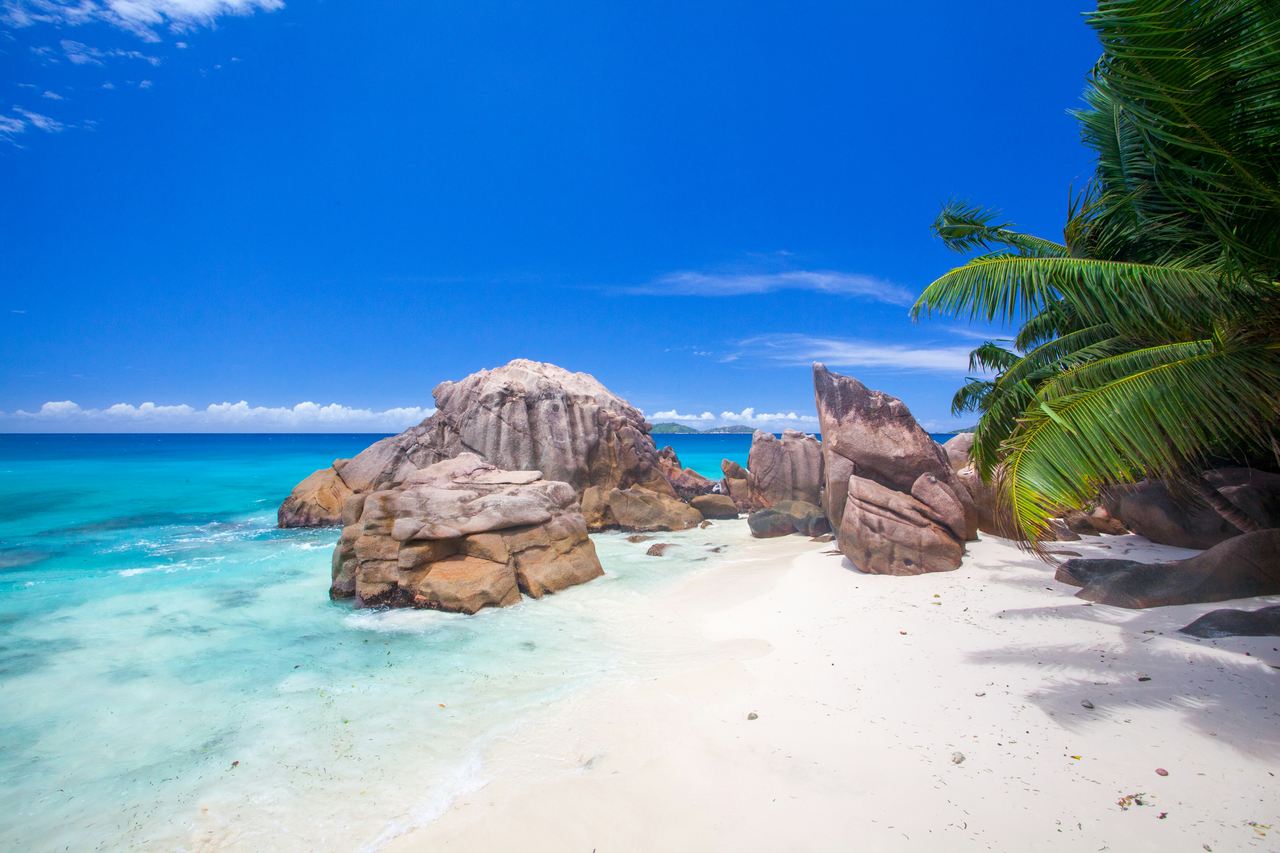
Anse Source d’Argent, by Vitalii Ustymenko on Unsplash
Anse Source d’Argent on the island of La Digue is another beautiful beach where temperatures are stable at 30°C (86°F) all year round with a tempering sea breeze. Sunny days are dotted with short-lived tropical showers, generally in the afternoon. Getting there in April or May means you avoid the northwest trade winds.
⇒ ALSO READ: What to do the the Seychelles
MAY – Praia de Lopes Mendes, Ilha Grande, Brazil
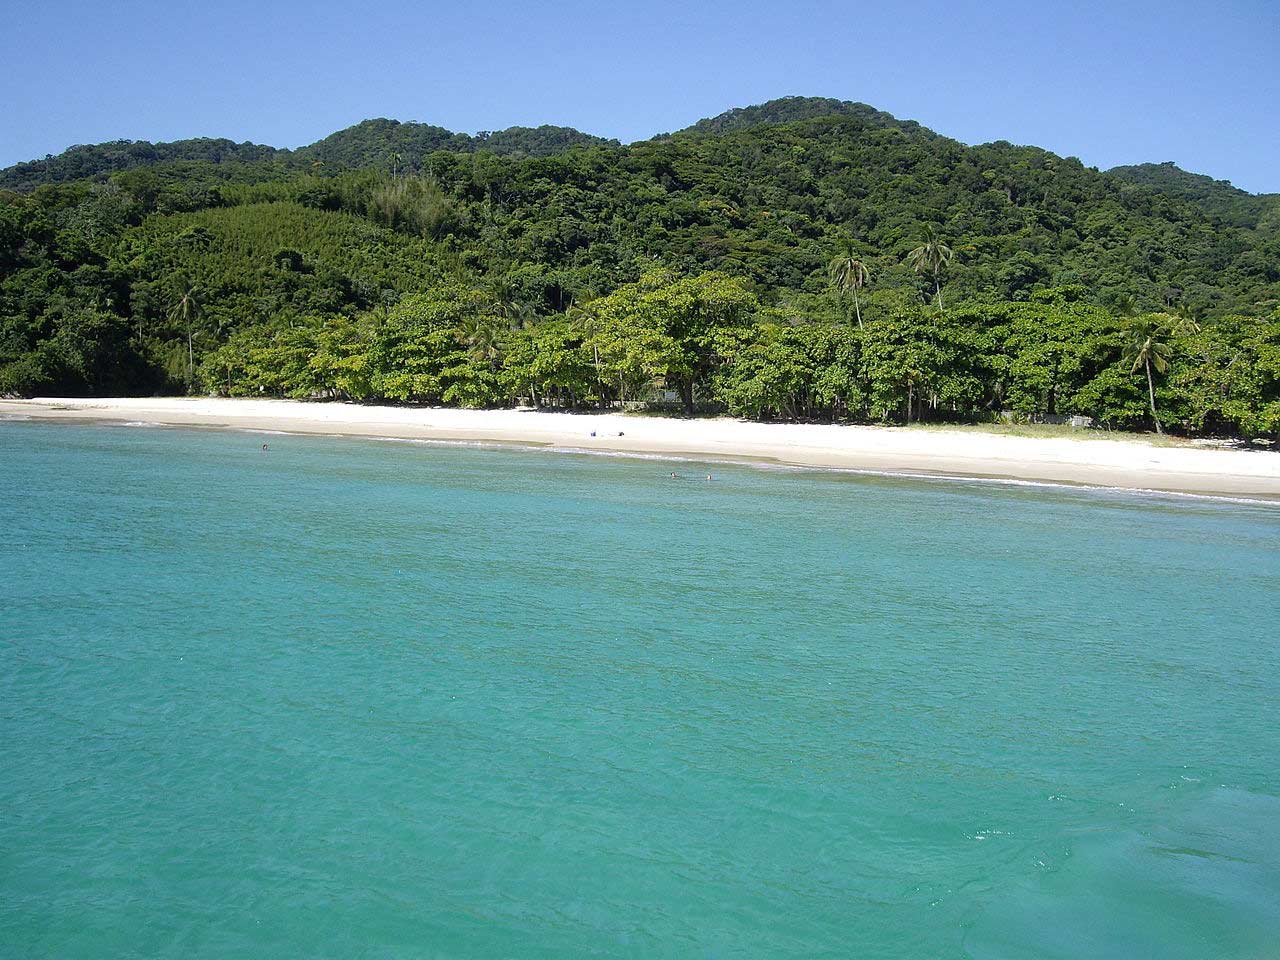
Praia de Lopes Mendes, Ilha Grande (c) Tarcísio de Paula Salgado
Just three hours south of Rio de Janeiro, Ilha Grande is a small island home to the jaw-achingly beautiful Praia de Lopes Mendes. To get to the beach is quite an undertaking, but well worth the effort – you have to hike through Atlantic forests thick with hummingbirds, butterflies, tropical flowers and waterfalls with Pygmy and Holy monkeys running everywhere. With sand as white and soft as flour, the beach of Lopes Mendes is irresistible. The island was discovered in 1502 but today preservation is the word with roads only existing in the island’s main village.
JUNE – Whitehaven Beach, Whitsunday Islands, Queensland, Australia
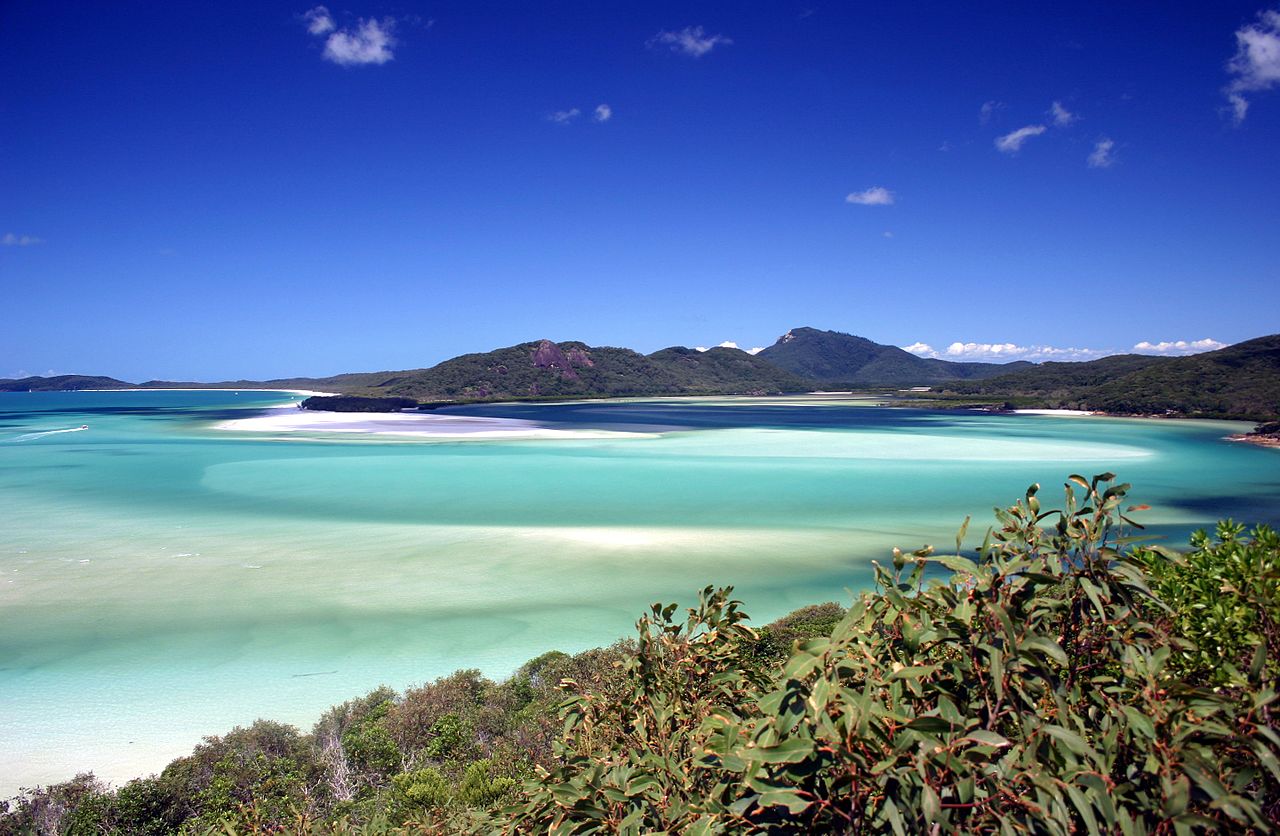
Whitehaven Beach, Whitesunday Island (c) Damien Dempsey
Whether you arrive by seaplane or boat, Whitehaven Beach has oh-so-white sands, rainforest and crystalline waters. It’s on a tiny, wild island, part of the 1,250-mile-long Great Barrier Reef. The sand is 99.89% pure quartz and you can swim with 1,500 types of multi-coloured fish and observe humpback whales on their annual migration. Seventy-three other islands await discovery, some deserted and ideal for a very intimate and secluded day in the sun.
You can camp on some islands, but always remember the advice of the Great Barrier Reef Marine Park Authority: “take with your photos and memories, and leave behind only bubbles”.
⇒ ALSO READ: Finding paradise in Hamilton Island, Great Barrier Reef, Australia
JUNE – Cala Goloritzé, Sardinia, Italy
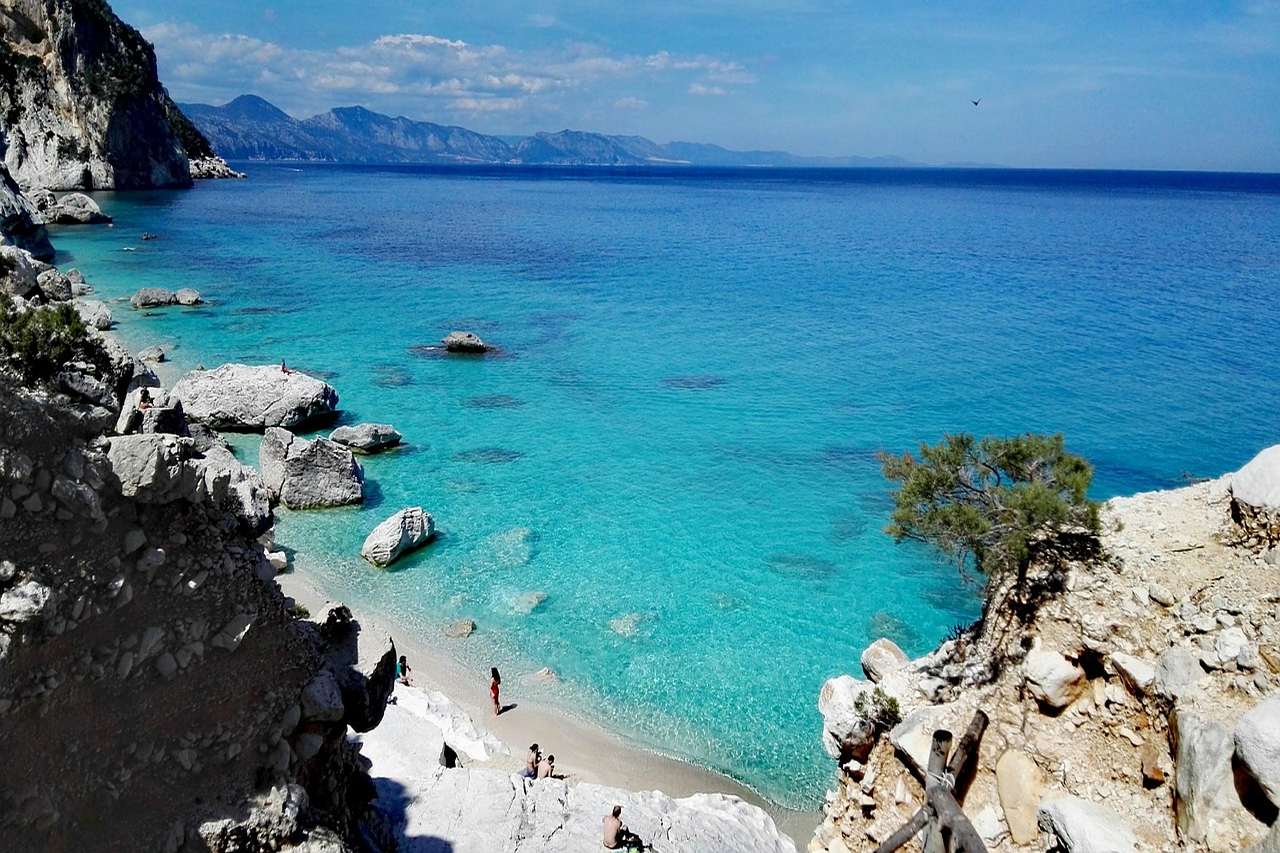
Cala Goloritzè Image by www.dorisworld.at from Pixabay
Arriving in Cala Goloritzè, Sardinia, outside of the summer holidays means avoiding the extreme temperatures of July and August. Spring and Autumn offer sunny, warm days ideal for hiking and swimming in the sea.
Apart from white pebbles and blue waters, it is also famous for the Aguglia, a 143-meter-high pinnacle of rock, and a natural arch. This beach would also be ideal in September and October.
JULY – Oxwich Bay, Gower Peninsula, Wales, UK
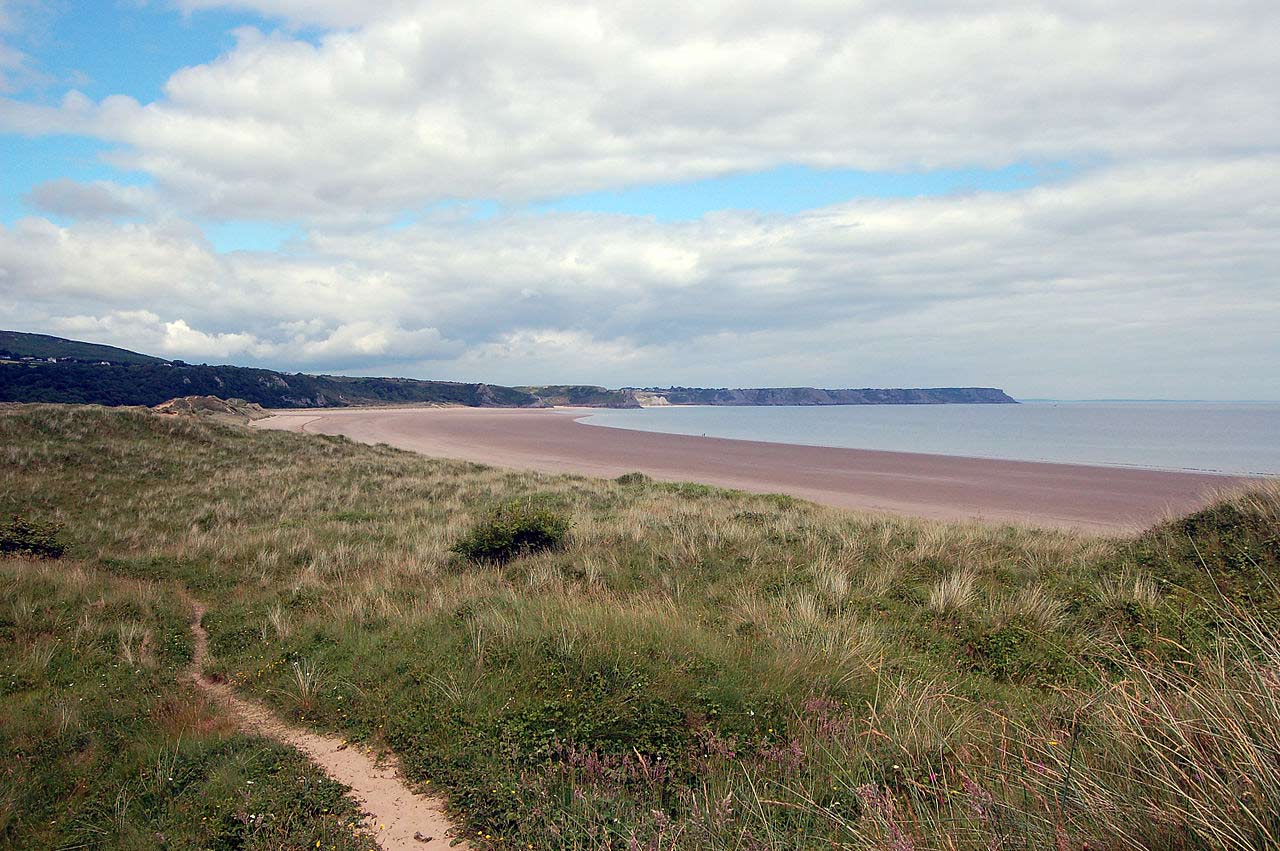
Oxwich Bay, Wales (c) Rob Young
You have to look to Wales for our most beautiful beach in Britain. Soft, sandy Oxwich Bay, framed by woodland and overlooked by Penrice Castle, could come straight from an Enid Blyton story. With its Arcadian beauty, in summer, Oxwich is an ideal place for safe swimming, a walk on the sands or through the nature reserve with its 600 species of flowering plants.
The Gower, lying west of Swansea, was Britain’s first Area of Outstanding Natural Beauty, and this year is the 50th anniversary. A footpath leads from Oxwich to St Illtyd’s Church, reputedly haunted by a half-man, half-horse creature and further along, the coastline is dotted with castles and ancient monuments and many unspoilt bays.
Nearby Swansea is a city that has reinvented itself in the past five years with a thriving local food scene showcasing the region’s rich food heritage: laverbread, cockles, Welsh black beef, and sea bass jostle.
AUGUST – Baby Beach, Aruba
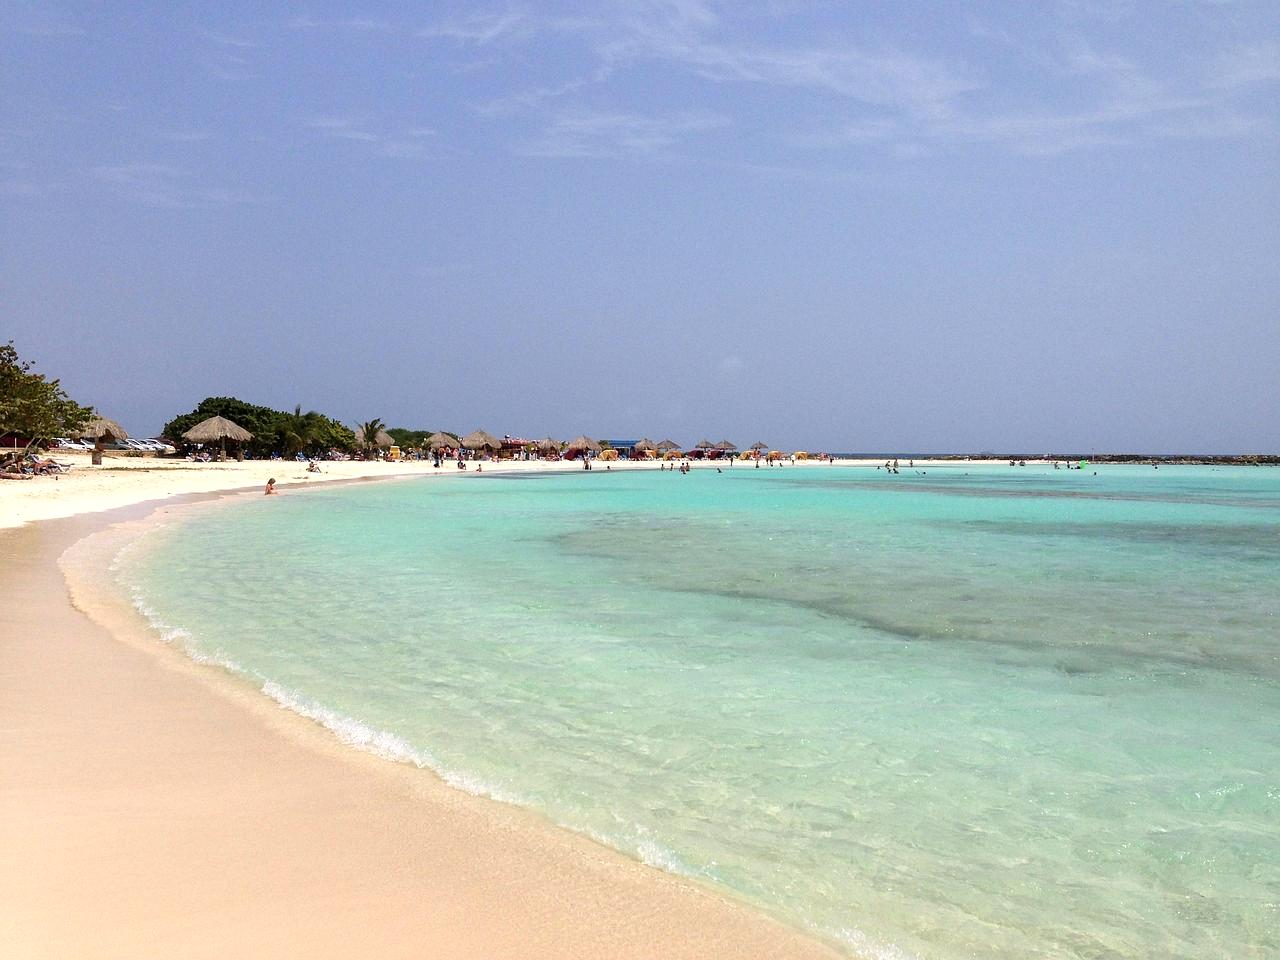
Baby Beach, Aruba
Baby Beach, with its powdery soft sand, is a popular, calm lagoon located at the southern tip of Aruba near the town of San Nicolas. Its warm, shallow waters are perfect for families and gorgeous enough for romance. The turquoise waters are so calm that there are seldom any waves, making Baby Beach ideal for snorkelling. There are free huts for use when shelter from the sun is desired or if you are feeling flush, hire a cabanna ($50)
⇒ ALSO READ: Aruba – One Happy Island
AUGUST – Guludo Beach, Quirimbas Peninsula, Mozambique
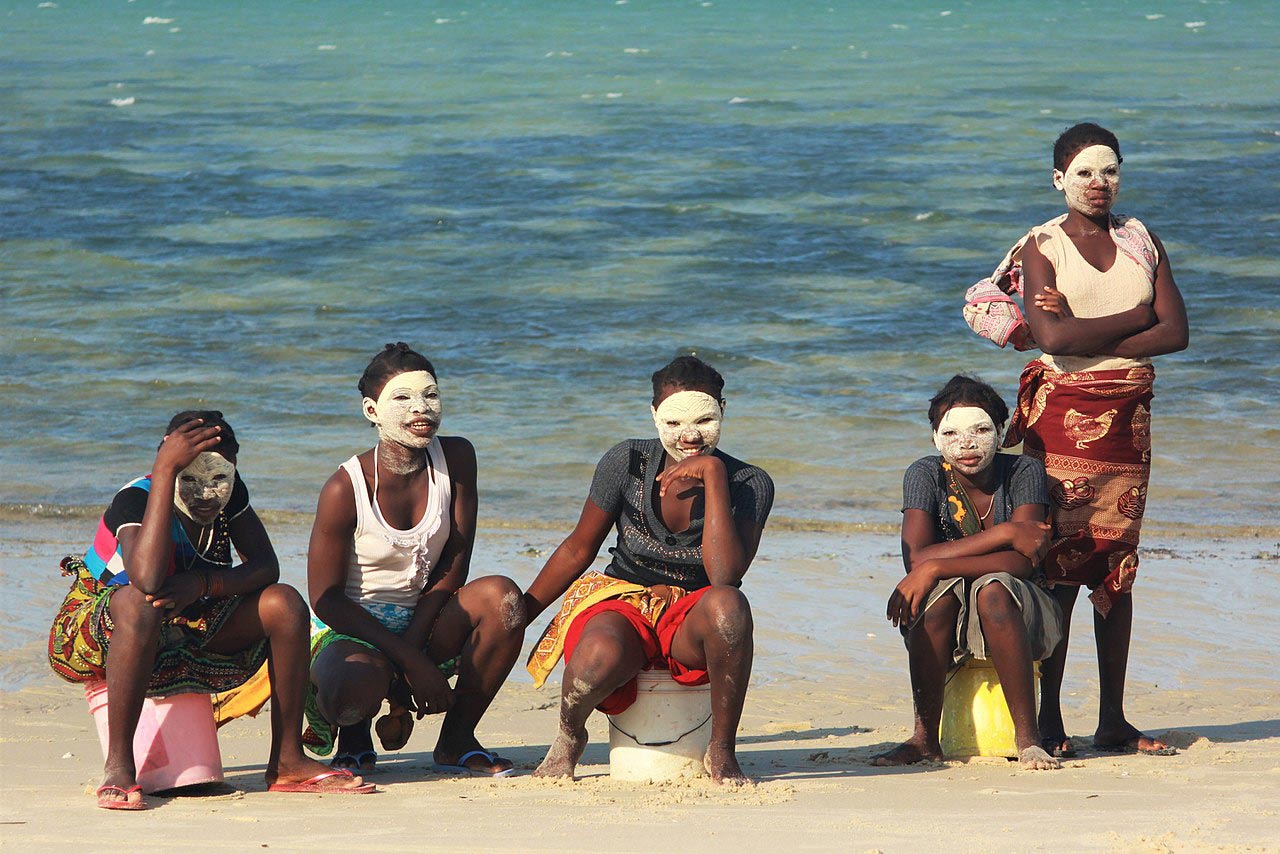
Macua women on Guludo beach, Mozambique (c) Vivianamaj
Possibly the most beautiful beach in Africa – Guludo beach bewitches: fine, white sand lapped by the Indian Ocean and fringed by the wild African bush. This is a true, barefoot paradise where you can snorkel the reef and observe humpback whales (Jun-Oct).
Climb a hill and watch elephants at sunset. An unforgettable trip is to the nearby isle of Rolas, where you’ll meet local fisherman, Old Man Coconut Crab, who will take you into the Coral Rock Forest to spot the largest crabs in the world.
Tours go to Guludo village, where you can learn to pound cassava, weave mats or buy a colourful fabric, then take it to the local tailor who will make you a new shirt or dress.
- Where to stay – Guludo Lodge
SEPTEMBER – Super Paradise Beach, Mykonos, Greece

Super Paradise Beach, Mykonos (c) rene boulay
International jet-setters have been visiting tiny Mykonos for 50 years and it’s not hard to see why. With bread-crumb sand and rare cerulean waters, Super Paradise Beach is the most peerless beach on an island ringed by magnificent beaches. It’s located 9km from town.
Super Paradise – like the rest of the island – is hedonistic, funky and tolerant of alternative lifestyles making it a mecca for gay travellers. Mykonos town has traditional tavernas, designer boutiques and attracts world-famous DJs, making it among the top clubbing destinations in the Med.
⇒ ALSO READ: Top 5 beaches of the Greek Islands
OCTOBER – Agadir, Morocco
Agadir, located on Morocco’s southern Atlantic coast, may well be home to one of the most iconic beaches in the region -Agadir beach. There’s plenty of sunshine and temperatures hover around 28.3°. This is a well-developed resort that has plenty to offer for a carefree holiday. With its 10 kilometres crescent-shaped fine sand beach, dotted with several really romantic restaurants, a very attractive promenade and plenty of water sports on hand, this makes for a fun in the sun getaway. It is only 250 kilometres from Marrakech, so you could nip over for a city break too.
⇒ ALSO READ: The View Agadir hotel – see review here.
NOVEMBER – One Foot Island, Aitutaki Lagoon, Cook Islands
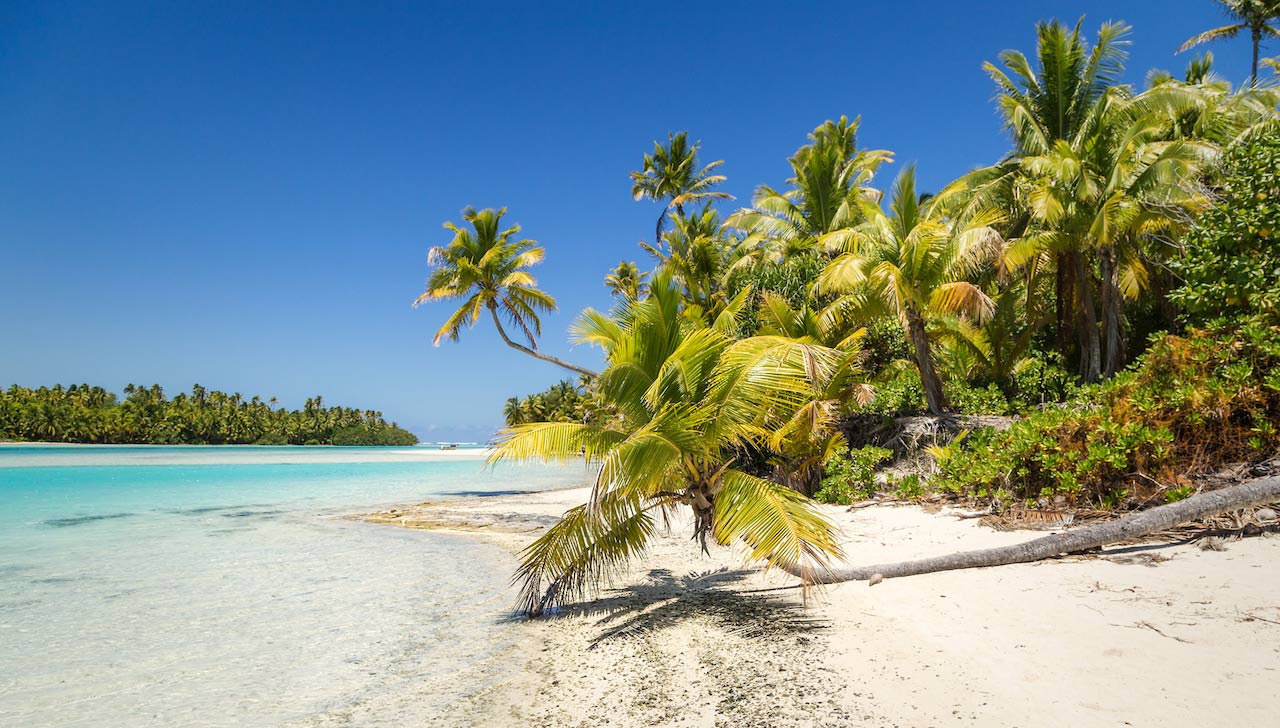
One Foot Island, Cook Islands (c) Islas para naufragar
Captain Bligh and the crew of the HMS Bounty discovered the Aitutaki Lagoon in 1789. After weeks at sea, they must have thought they were hallucinating at the surreal beauty of the white sand beach. Tranquil One Foot Island, a small islet on the southeastern perimeter of the Aitutaki Lagoon lined by giant banyan trees and frangipani, fulfils even the wildest of tropical island dreams. Bring a bottle of champagne and the picnic blanket, for this is the perfect place to make love.
DECEMBER – Playa Flamenco, Culebra, Puerto Rico
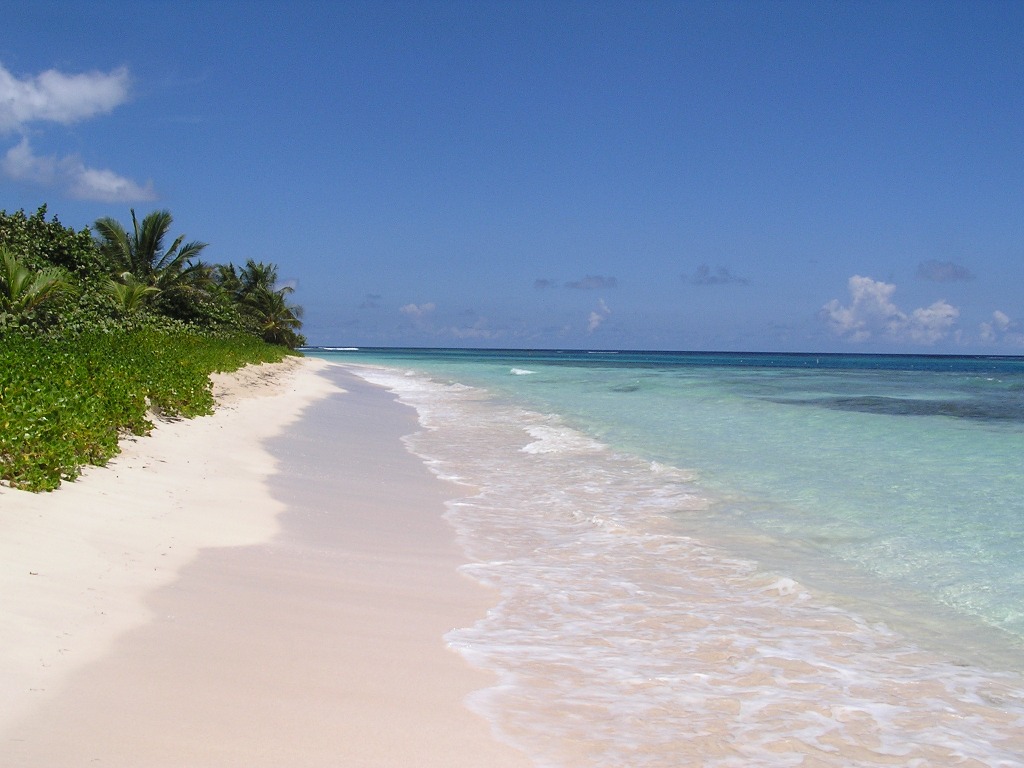
Playa de Flamenco, Culebra, Puerto Rico (c) Diueine Monteiro
Used as a pirate refuge for more than three centuries, Culebra, also known as Snake Island, is seventeen miles east of Puerto Rico. Topped by Mount Resaca, cushioned in green jungle vegetation, Playa Flamenco has some of the clearest seas in the Caribbean, with one mile of white, coral sand.
The beauty of this 7-mile-long island inspires impulsive acts, like hugging trees. The reefs are untouched, and four endangered species of turtles visit the beach. The Culebra National Wildlife Refuge protects large colonies of terns and boobies.
The post Best Beaches for every month of the year appeared first on The Travel Magazine.


