With a late spring week at my disposal, this no-fly week meant minimum time getting to and from the ship and maximum time enjoying both land and sea. Ambassador sail from seven UK ports and my nearest, London-Tilbury, is barely an hour from home. Having checked in on line and with parking just the other side of the imposing Art Deco terminal – arrival point for the Windrush in June 1948 – I had only to leave my suitcase with the car park handlers and walk up the gangplank with my hand luggage.
My husband and I have already cruised the North Sea to Norway’s North Cape and through the Baltic from Stockholm to St Petersburg, but had never explored the entrance to the Baltic so Ambassador’s Denmark & Norway Experience ticked all our boxes, starting and finishing with a sea day and stopping at three Danish ports and one in Norway.
Skagen, Denmark
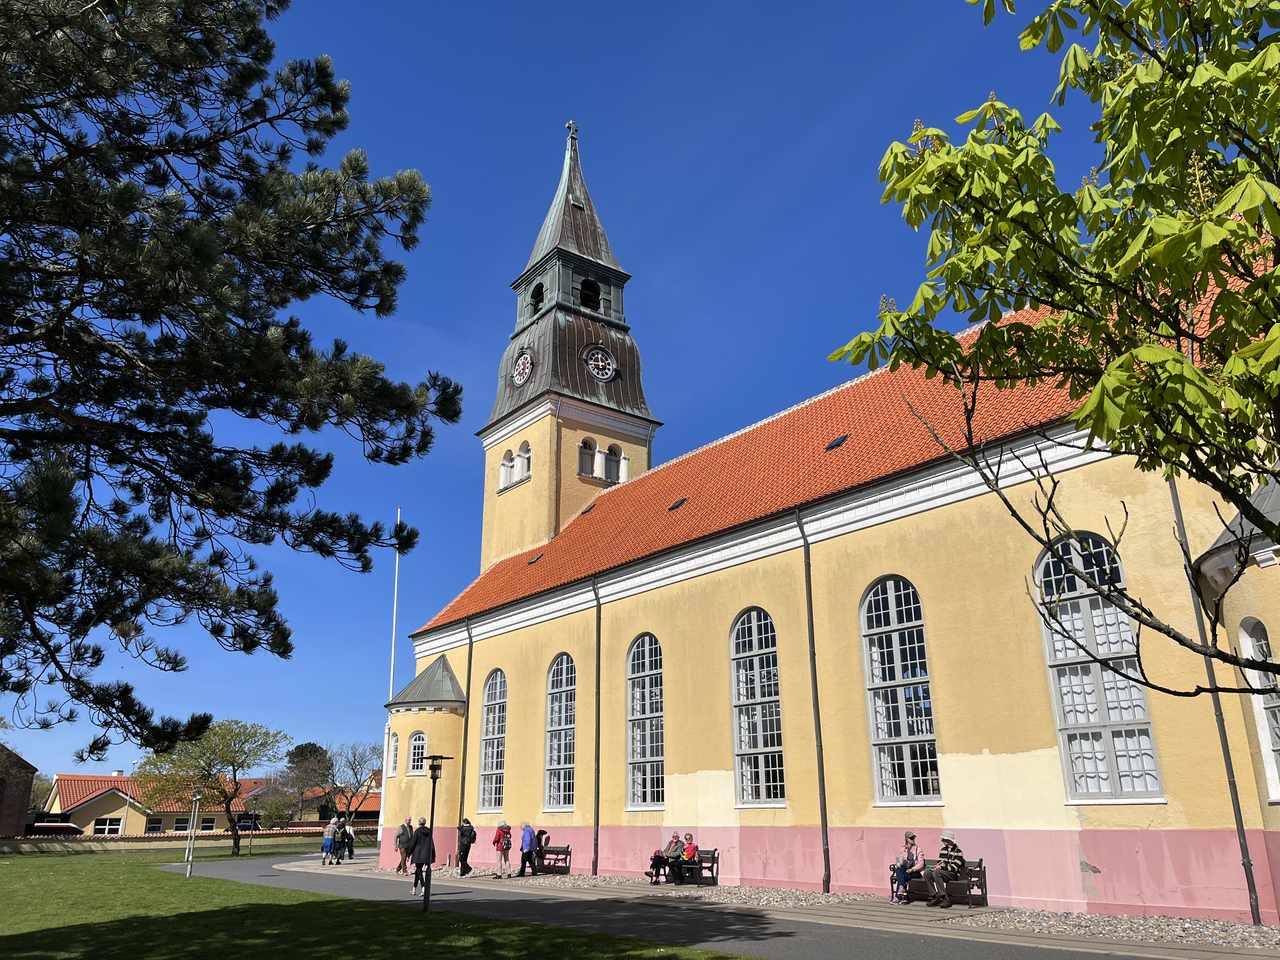
Skagen Cathedral
Many passengers opt to explore destinations independently and shuttle buses often operate from the ship to town centre – a good way to maximise your budget or simply explore at your own pace. If you choose to join an organised excursion with a local guide and possibly coach travel, you can expect to pay from £35 with Ambassador.
We chose a guided walking tour for an insider view on our first stop, Skagen, which stands at the tip of Denmark’s Jutland peninsula where the North Sea and Baltic meet. With a permanent population of just 8000, this picturesque spot is a popular summer resort as well as Denmark’s premier fishing port. Other trip options include the chance to put a foot in each sea at nearby Grenen.
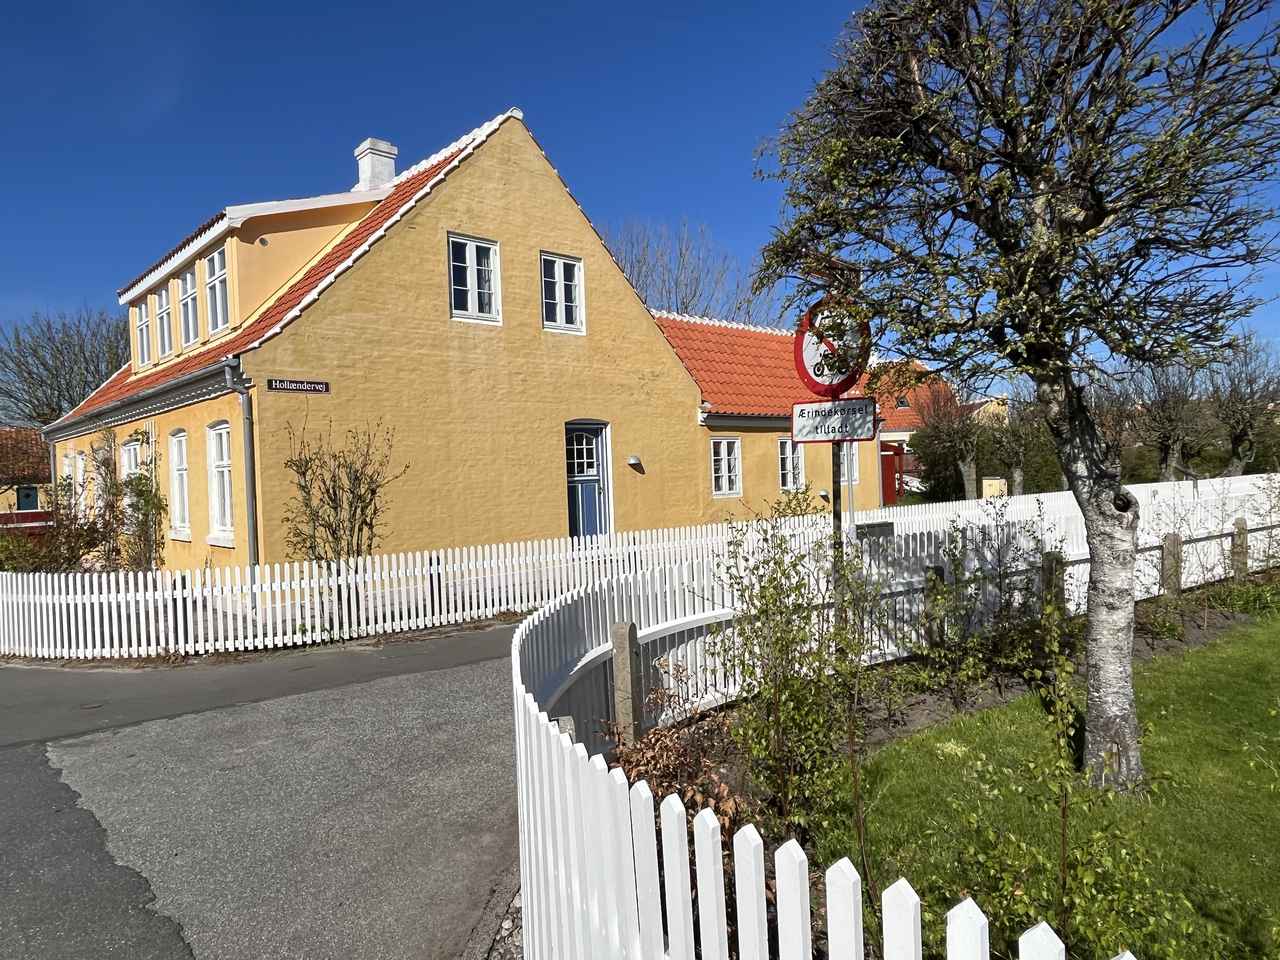
Skagen
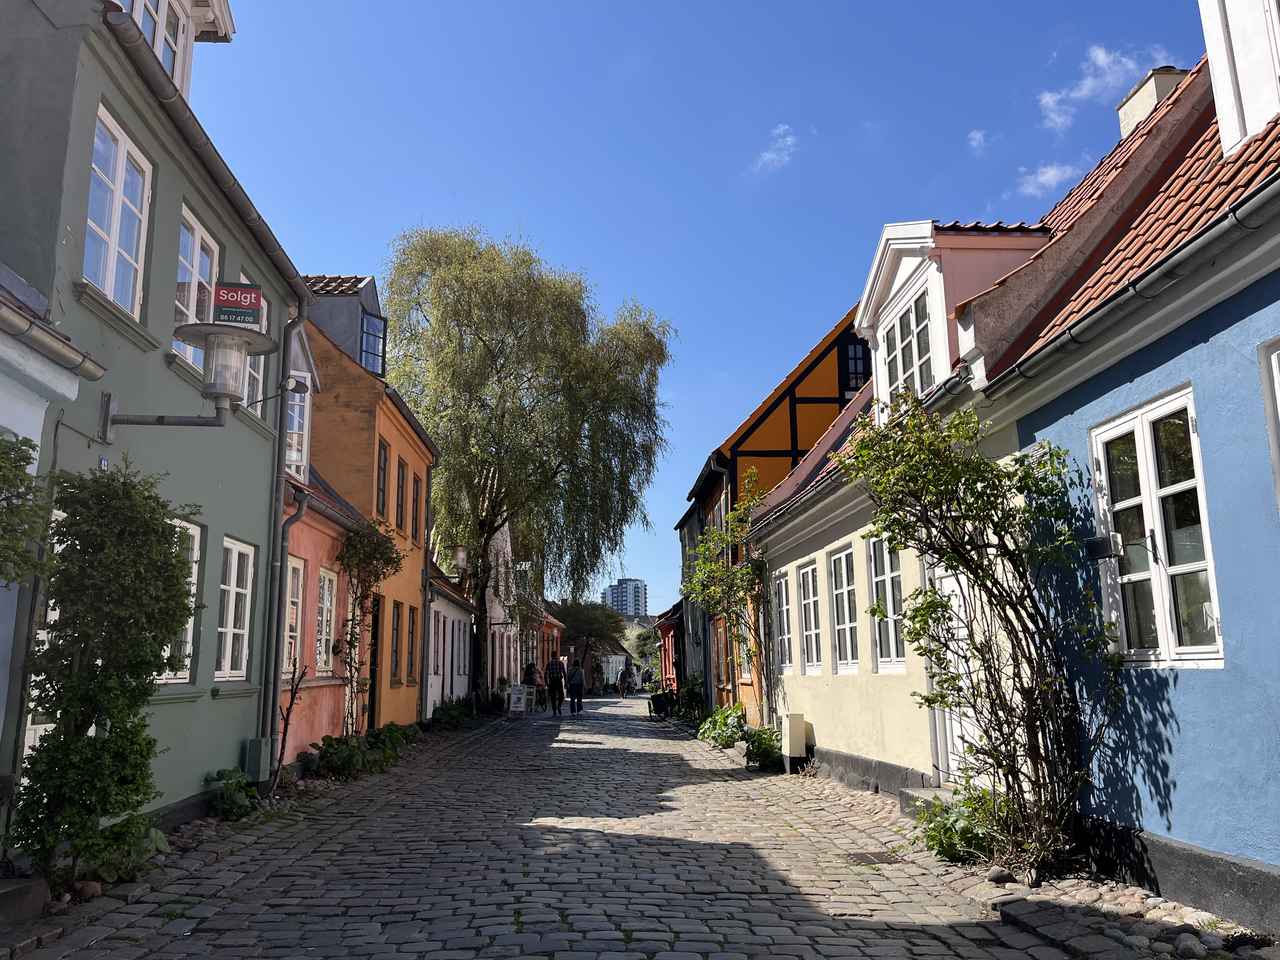
In 1914, the Danish royal family built a seaside summer residence at Skagen – Skay-en in Danish – and locals began to copy their design of ochre walls and red tiles with white frames and decoration.
Soon the ramshackle old fishermen’s cottages built from shipwreck timbers were replaced by this uniform colour scheme and today, this bijou town is finished off with white picket fences around neat gardens. Artists have been coming here since the late 19th century, attracted by the architecture, seascapes, and clear light. Enjoy their work on an independent visit to the Skagen Art Gallery in the buzzing little town centre.
Arhus, Denmark
Aarhus
Next day saw Ambience dock in Aarhus on Jutland’s east coast. European Capital of Culture in 2017, Denmark’s second city is a beguiling mix of old and new with a large student population that gives a youthful vibe to the cafes in the historic Latin Quarter. But within a short walk you can head underground and back in time to see remnants from the Viking settlement near the red-brick cathedral.
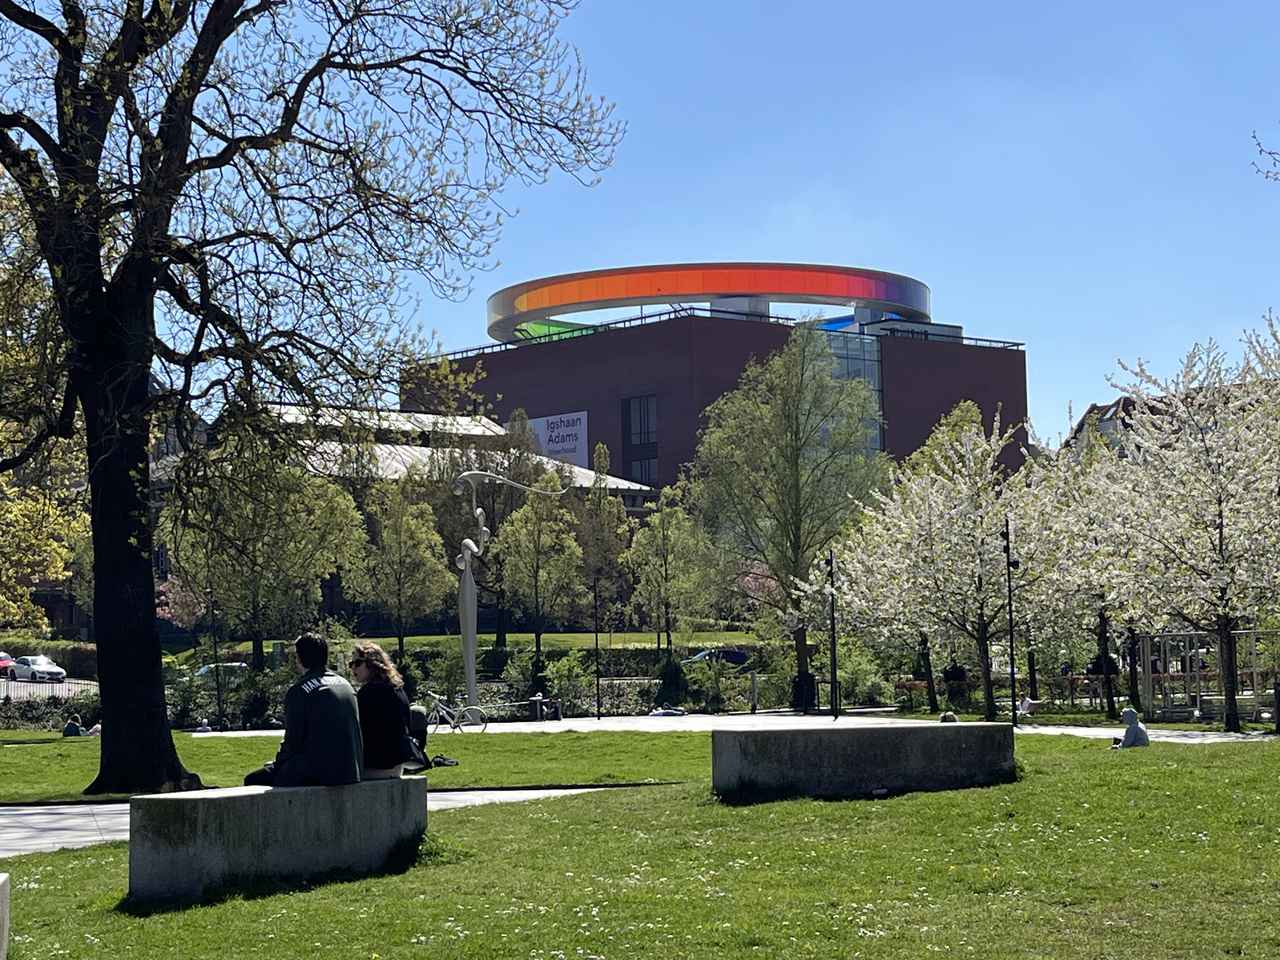
ARoS art museum, Aarhus
A guided walking tour reveals the city’s history, architecture and lifestyle, but independent explorers might want to head for ARoS international art museum, not just for the collection but to enjoy a unique view of the city through the rainbow-coloured glass of the circular roof gallery. I also loved the panoramic city views from the Salling department store, which has a free outdoor roof terrace with café, tiered seating and even a section of glass floor for the adventurous.
Copenhagen, Denmark

The Little Mermaid, Copenhagen
Denmark’s capital offers far more than can be done in a day, but for first-time visitors, a cruise stopover should be enough to inspire a return trip. Excursion options from Ambience included the famous Tivoli Gardens and amusement park, and a close-up look at the Crown Jewels.
We opted for a ‘Yours to Explore’ half-day experience, which was a genius blend of wheels and walk. Leaving the ship by coach, we made an essential photo stop at the Little Mermaid before being dropped at three different points to explore independently with guidance from our on-board tour manager.
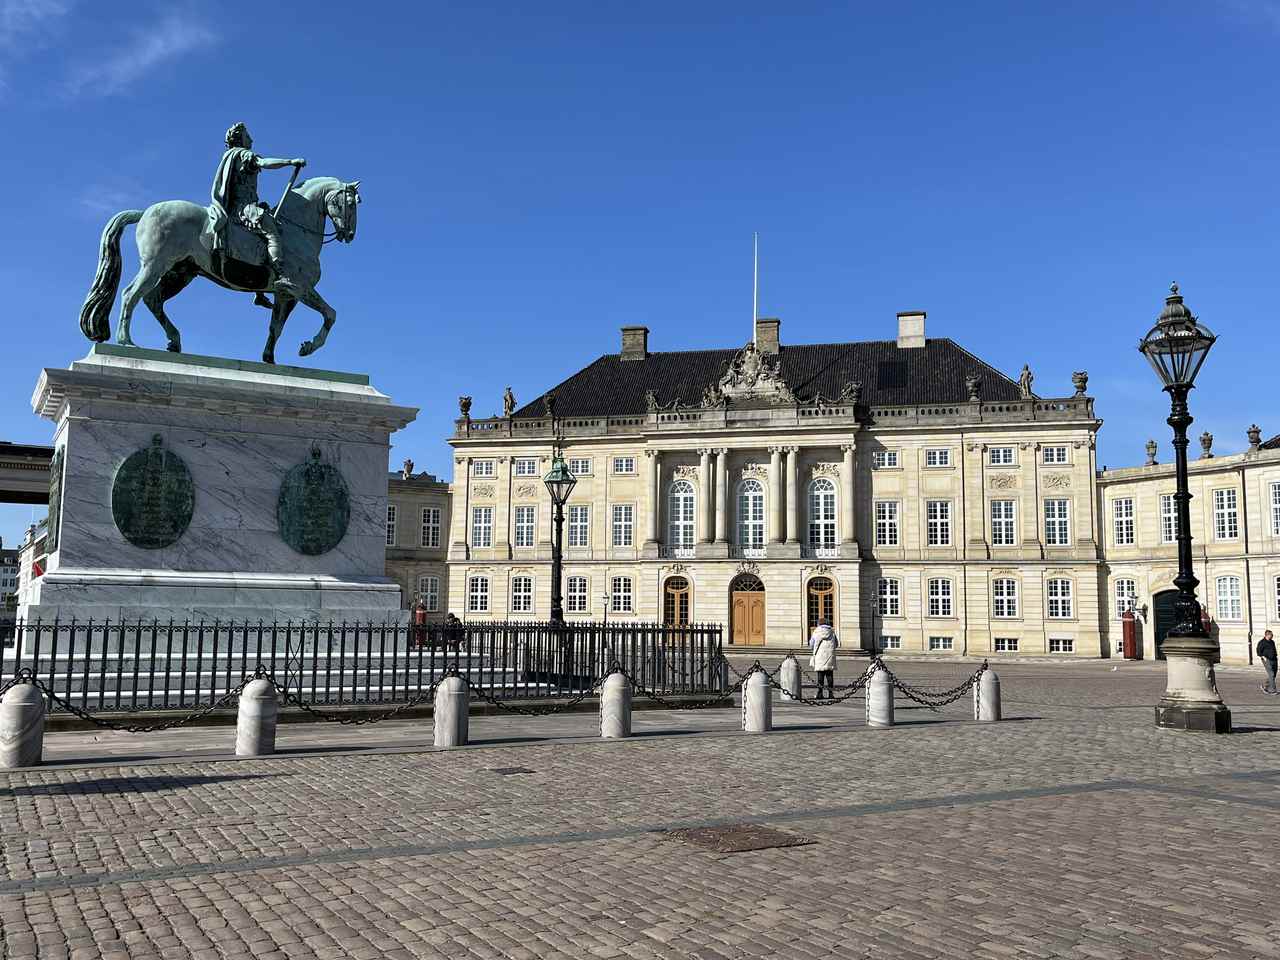
Amalienborg Palace, Copenhagen
Everyone wants to see the famous Little Mermaid statue, conveniently located near the Citadel close to our moorings, but be warned. ‘Little’ is no understatement. Far more impressive is the vast square in front of Amalienborg Palace, home of the King and Queen; the multi-coloured facades of the quayside restaurants at Nyhavn; and the Christianborg Palace, home to the prime minister, parliament and some gorgeous grey ceremonial horses.
Kristiansand, Norway
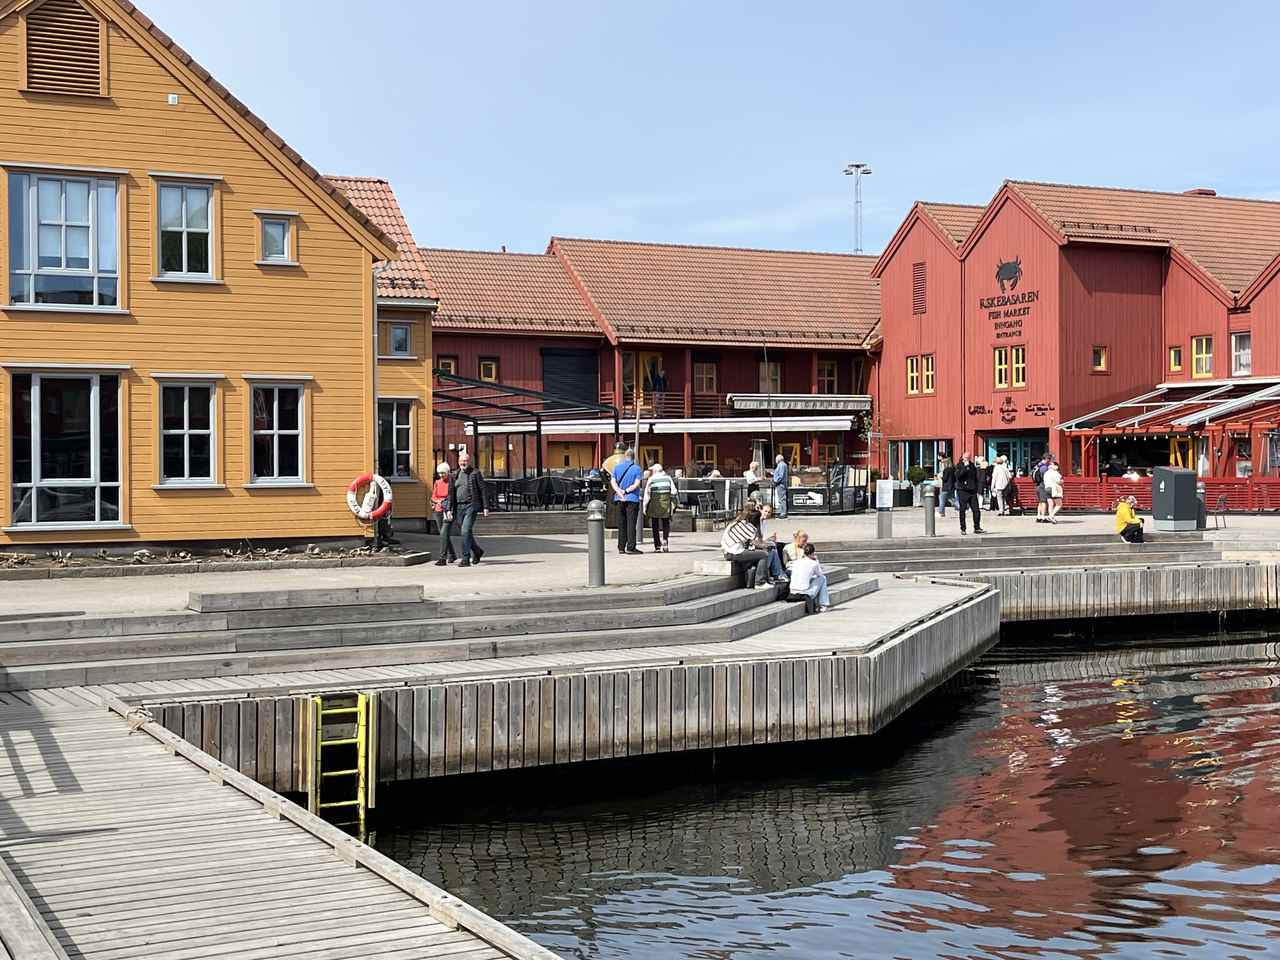
Fish Market, Kristiansand
Turning back up the Baltic, we spent an afternoon in Kristiansand, Norway’s most southerly town, founded in 1641 by Christian IV, King of Denmark and Norway. Originally named Christiansand, it became Kristiansand in 1877. No shuttle buses are needed here. An easy, level walk from the mooring takes you past the art gallery and eye-catching theatre building – watch out for a ship reflection photo – to the pretty Fishmarket area with its quayside cafes and red clapboard buildings.
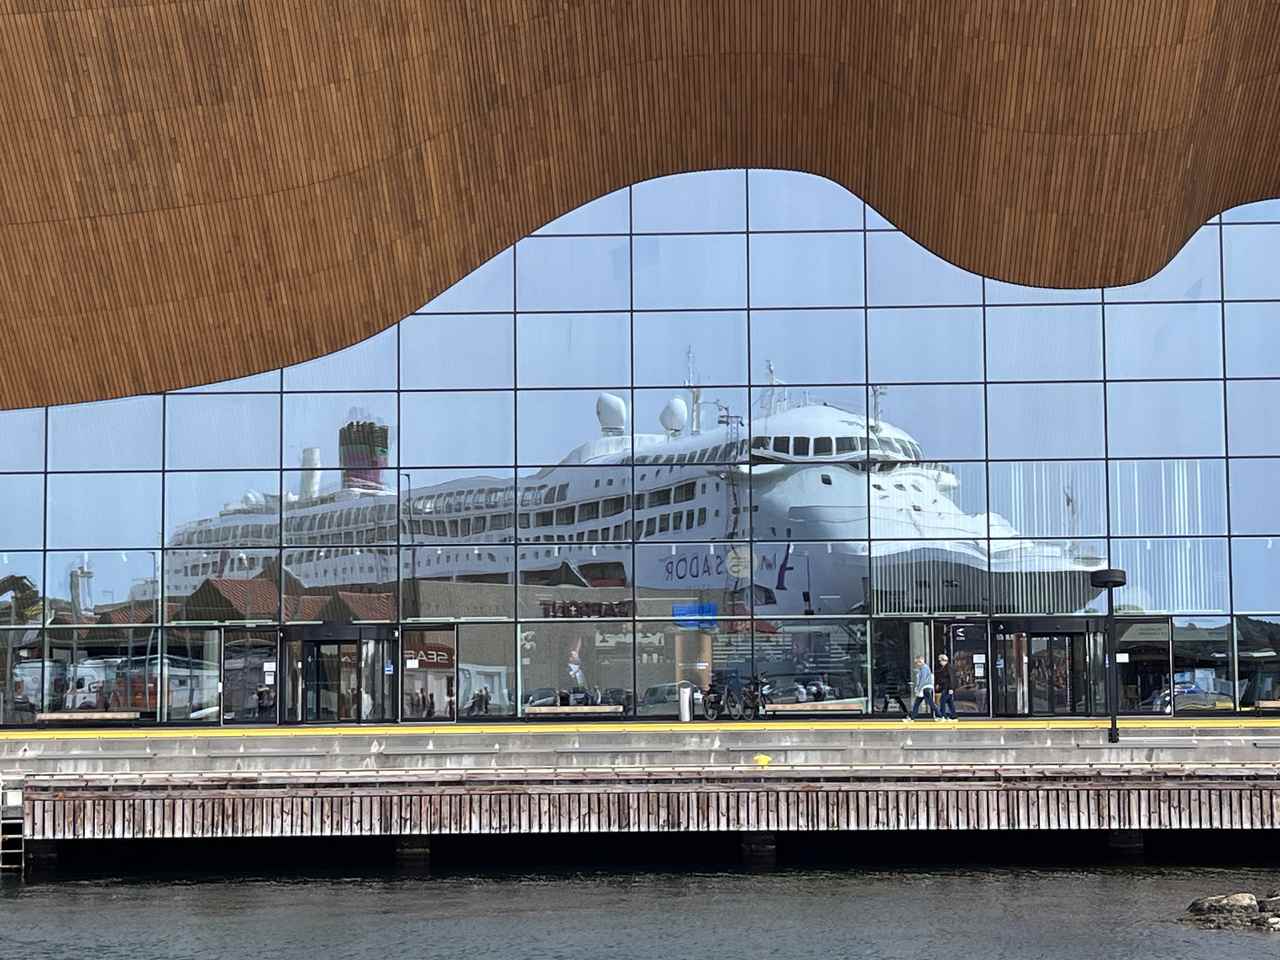
Ship reflection, Kristiansand
Then meander through the seafront gardens and marina towards the Otra river or turn inland to explore the grid system of the town centre – surprisingly small, given that this is Norway’s fifth largest city – which includes the atmospheric Posebyen ‘old town’ of white wooden houses.
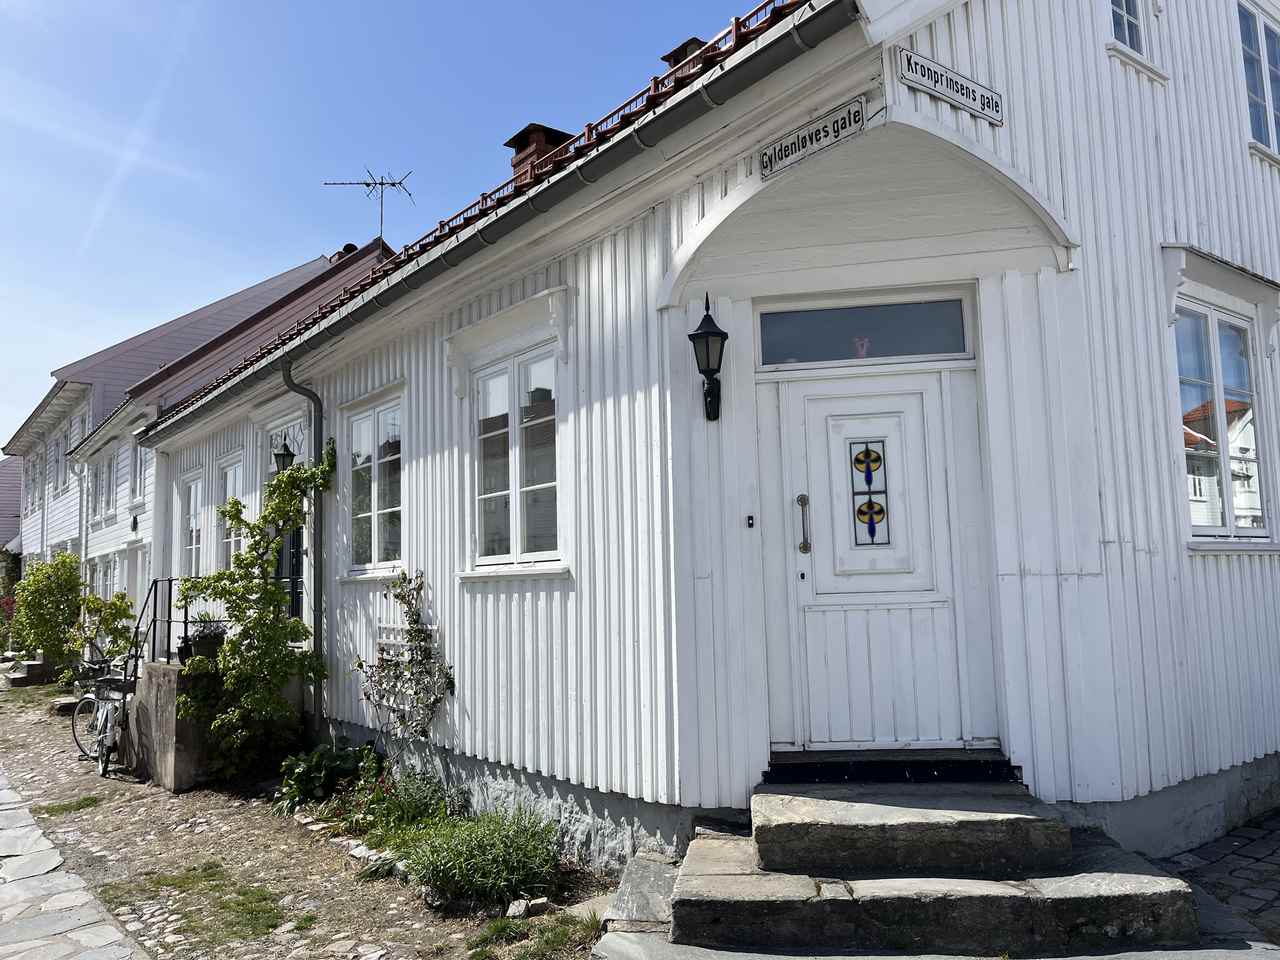
Posebyen – old town, Kristiansand
Life on board Ambience
Ambience carries up to 1400 passengers, putting it at the lower end of the Medium cruise ship category. Traditional in style, she’s something of an elderly lady now, launched in 1991 and refitted in 2022.
Ambassador promises affordable luxury’ with a range of cabins and suites that make cruising accessible to a wide range of budgets, and whilst our bathroom was a tad old-fashioned, we were supremely comfortable in our spacious suite with a sea-facing bed, balcony, and ample storage space
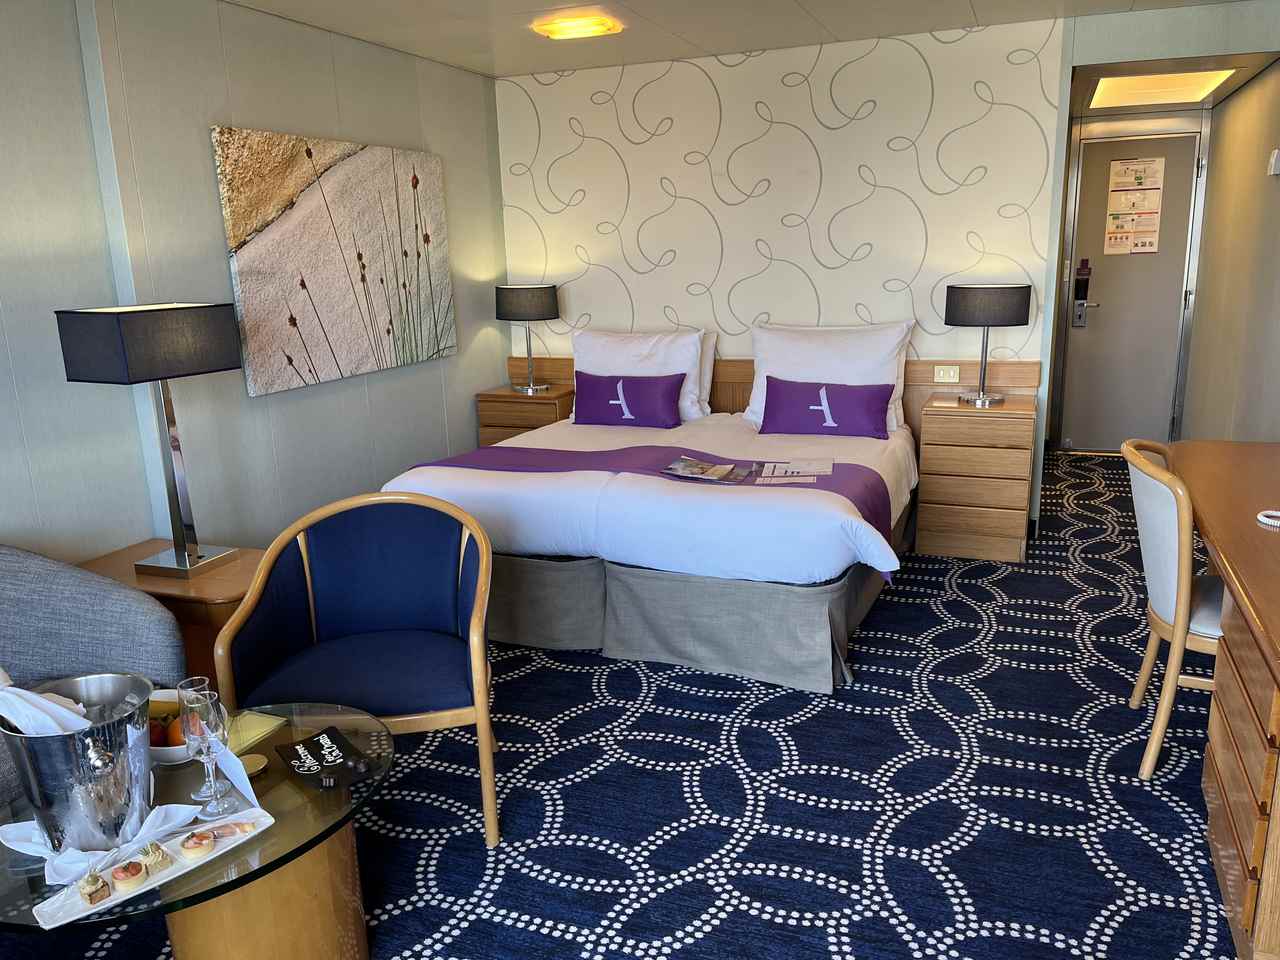
Deck 11 Suite, Ambassador
Ambassador caters for adults only, apart from a handful of multi-generational summer sailings. With departure ports around the UK, the formula is obviously popular, as many passengers I met were regulars on board Ambience or its sister ship Ambition.
Optional extras on Ambassador Ambience
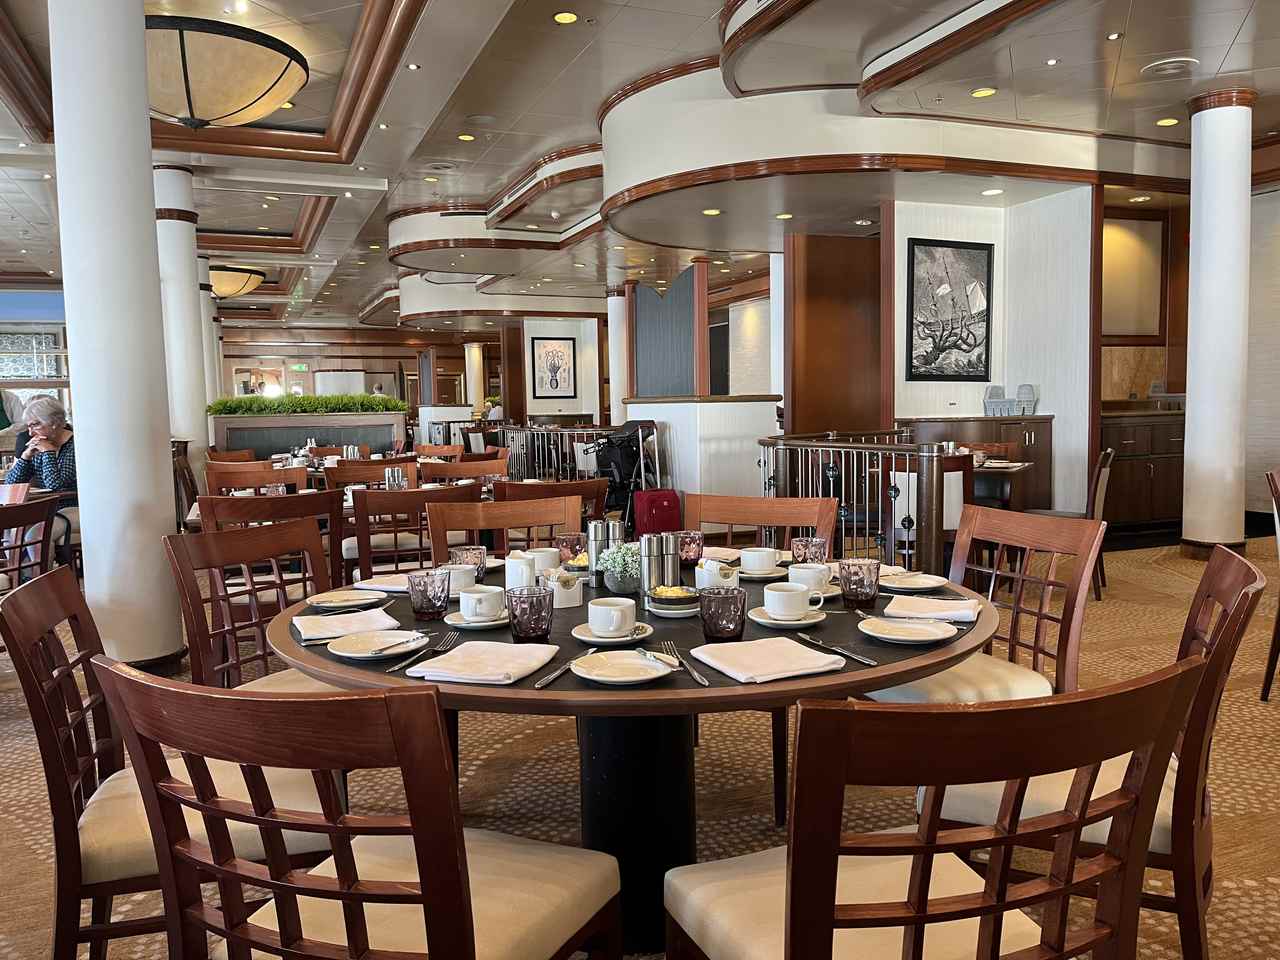
Buckingham Restaurant, Ambassador Ambience
The open seating policy means you can request a table for two or choose to join other guests. Most meals are taken in the cafeteria-style Borough Market or, our preference, the waiter-service Buckingham Restaurant, and there is live music and entertainment in bars and lounges throughout the day. We were impressed at the calibre of the resident song and dance troupe as well as the visiting comedian who performed in the Palladium theatre twice-nightly.
All meals and snacks are included on board, but not drinks, so choose a drinks package to suit your needs or pay as you go. For a more intimate dining experience, try one of the two speciality restaurants. I still dream about the butter chicken at Saffron, served by staff in traditional Indian dress (£19.95 for three delicious courses), and the delicious tasting menu in Sea & Grass with beautifully balanced portions and flavours (£29.95). I was also pleasantly surprised to find massage and beauty options at high street prices rather than ocean prices in the Green Sea Spa. Special offers are daily, but book ahead to avoid disappointment on sea days.
How much?
Itineraries change year on year. Check availability for sailings ranging from 3 nights to 30+. In 2026, the week-long Scandinavian Springtime Delights starts at £689pp, based on two people sharing an inside cabin. For a mini cruise, such as a 2025 Festive Getaway, prices start at £329pp, based on two people sharing an inside cabin.
The post Denmark and Norway Experience with Ambassador Cruise Lines – Ambience appeared first on The Travel Magazine.