The ABCDE+P Path To Better Photos
How to become a better photographer: A quick tutorial for beginners, and an “Okay, I already do that…” checklist for intermediate amateurs. Advanced hobbyists, you may want to read this, too, just to see if I covered the highpoints.
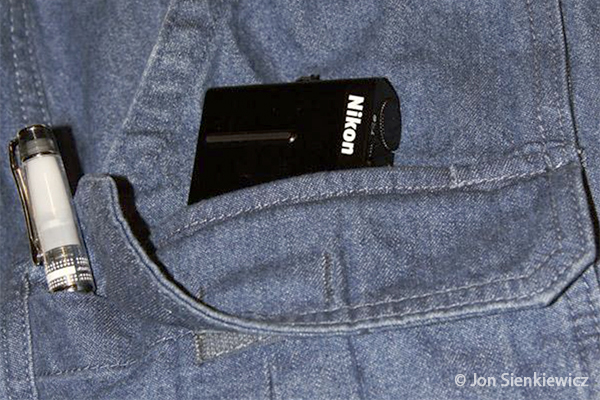
Always Pack a Camera
Sounds trite, but nowadays when so many millions rely on their smartphones for spontaneous snaps, this advice takes on a whole new meaning.
I am not an ASAC (Anti-Smartphone-As-Camera) cheerleader, but I can tell you with absolute certainty that the camera built into your mobile phone will never match the overall versatility of a high-quality mirrorless system camera.
So if you want to grow out of the smartphone stage and develop your image-making skills, buy a real camera. If cost is the only thing preventing you, check our places like MPB and UsedPhotoPro for great deals on used gear. Heck, check them out even if you’re rich—they always have some very cool stuff.
Become a Tripod
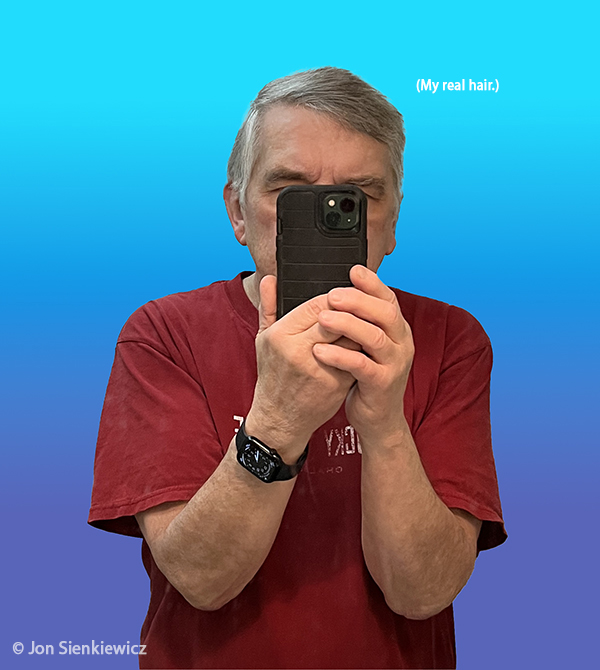
Elbows in, wrists locked, head still.
I am incessantly flummoxed by the sight of people taking pictures, often with their cellphone, with their elbows flailing and head bobbing like they’re conducting a dysfunctional high school band. Don’t they know that unsharpness caused by camera movement is the number one killer of great photographs?
And yes, even in the days of built-in Image Stabilization, it’s important to stand still at the moment of exposure if you want a clean shot.
Change Angles
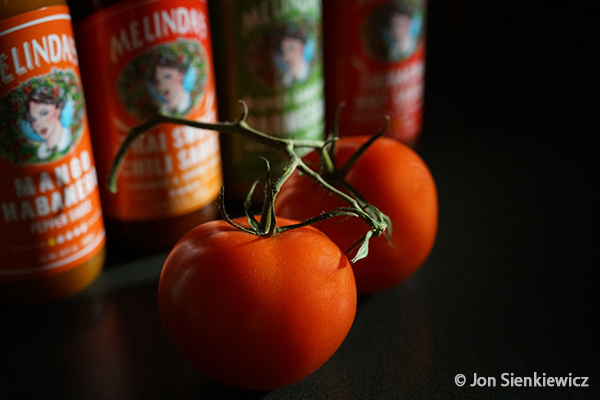
Follow your instincts when you compose an image—but then change your position, distance from the subject and/or camera angle and take another shot. Do this several times if the subject is stationary.
Try both vertical (portrait) and horizontal (landscape) orientations. Later, when you review the images, you may be surprised to learn that you like the backup shots more than the first attempt. This is an important step on path to improving your photographic eye.
Decenter
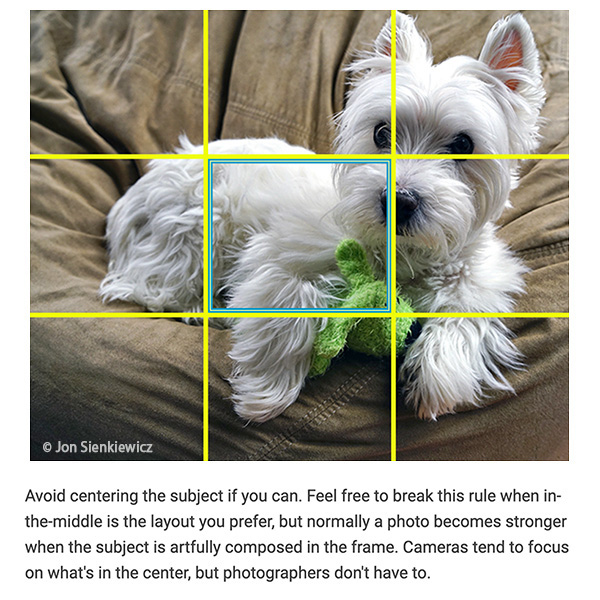
Your camera viewfinder will do everything possible to coerce you into framing the main subject smackdab in the middle. Even some autofocus indicators contribute to this heinous plot. After a while, it becomes your normal style.
Resist! Intentionally frame your composition so that the subject is not in the center. You’ll be amazed by how much this simple tip will improve your image making.
Experiment
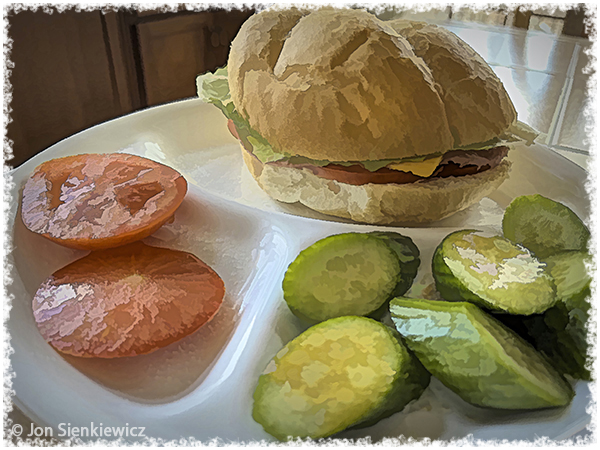
Explore every “special effects” setting on your camera. If you discover an option you don’t immediately recognize—like the Portrait option on your iPhone, for instance—try it a few times to learn what it does.
Use the wrong White Balance setting purposefully. Make daytime photos look like twilight by misusing the Indoor (or Tungsten) WB setting which is often labeled with a tiny lightbulb icon. If your camera allows you to directly set the Kelvin value, try the lowest and highest possible. Noon daylight is about 5500K. Lower numbers produce warmer results (reddish or orange-brown tones) and higher numbers cooler (bluish).
Explore the Owner’s Manual (I know that’s a chore for many people) and uncover every image-altering option. Soon you’ll settle on a few favorites and your pictures will reveal your personal creative taste.
Post-process
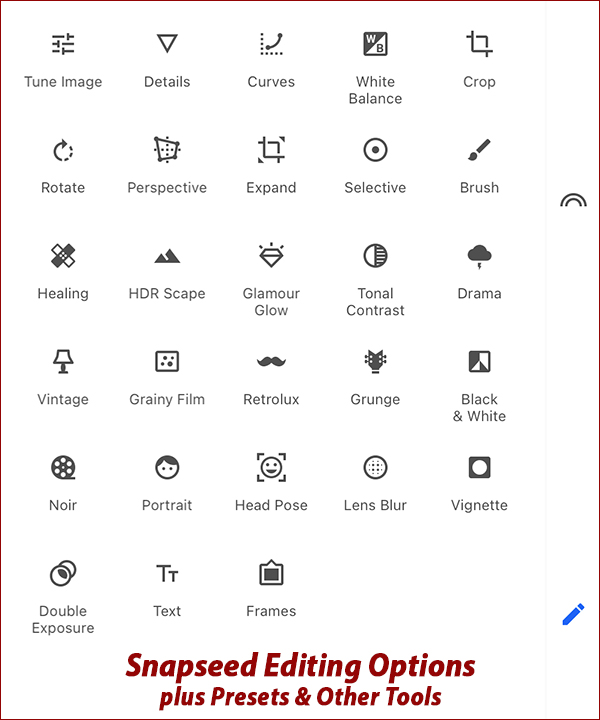
If you really want to become a better photographer, learn one image editing app inside out. If you’re still in the smartphone stage, download Snapseed and explore all of the options. It’s free, easy to use and—believe it or not—it’s the tool of choice for many experienced hobbyists. Snapseed, developed and maintained by Google, runs on Android devices, iPhones and iPads, but not on desktops at this time.
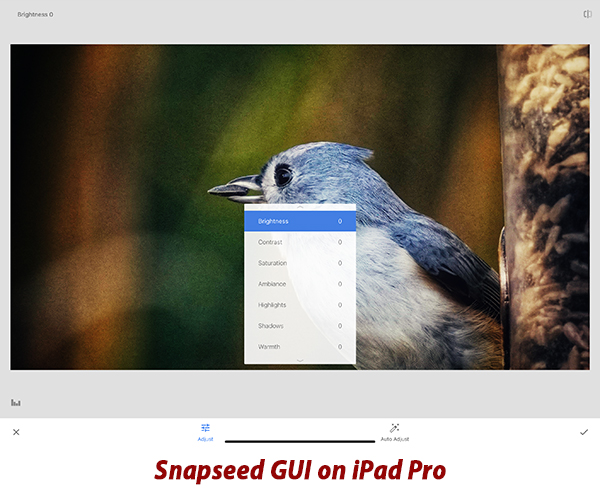
For more info about Snapseed, read: SNAPSEED: The Top FREE App For Mobile Photography (VIDEO).
If you’re not intrigued, go back to bowling or skiing or whatever else you do in your spare time. No shame in that. But if the excitement of watching your images transformed, you’re well on way to becoming a distinguished photographer.
Folks with elite-level potential should try the free smartphone version of Adobe Photoshop, the premier image editor. Read more about it here: Photoshop Phone Home.
Become a Member of the Shutterbug Community
Register for a free account. Sign up for our newsletter. Spend five minutes (or less) uploading your best shots once every week or so. Potentially become a Shutterbug Photo of the Day winner. Enjoy viewing the fantastic work being done by thousands of photographers all over the world—and add your images to the enduring collection.
—Jon Sienkiewicz


