City Travel Guide to Stoke-on-Trent, England, UK
In the rolling landscapes of Staffordshire, between Manchester and Birmingham, lies Stoke-on-Trent. Known fondly as “The Potteries,” Stoke is a city built on clay, where the hum of the kiln once echoed down every cobbled street and the craftsmanship of local artisans earned global fame. Home to household names like Wedgwood, Royal Doulton, and Spode, many of these historic brands still operate today.

Potteries Museum & Art Gallery
Unlike most cities, Stoke-on-Trent is not a single urban centre but a federation of six distinct towns – Tunstall, Burslem, Hanley, Stoke, Fenton, and Longton – each with its own personality and quirks. Hanley is really the city centre, a bustling mix of shops, restaurants, and nightlife, and home to The Potteries Museum & Art Gallery.
The borough was only declared a city by King George V during a visit on 5 June 1925. Commemorative events are set to be staged throughout 2025 in the city, which is also undergoing a multi-million-pound regeneration. Honouring the city’s rich history, culture and identity, a Centenary Celebration Weekend will be staged on 7 and 8 June.
Surprisingly, pottery continues to thrive in both traditional and modern forms. Local artisans and independent studios dot the city, offering everything from heritage replicas to avant-garde ceramics. Whether you’re a serious collector or just looking to hand-paint your own mug, there’s something deeply satisfying about taking home a piece of Stoke’s soul in your suitcase.
Emma Bridgewater Factory
Founded in 1985 by Emma Bridgewater, the factory has become synonymous with hand-decorated earthenware. Emma’s vision was to create pottery that was both beautiful and functional, reflecting the rich heritage of British design. Guided factory tours are available where you can watch how skilled artisans transform raw clay into intricately decorated pieces.
But for those eager to unleash their inner artist, the Decorating Studio offers a chance to personalise a piece of pottery. Guests can choose from various items, including mugs, plates, and bowls, to decorate with their own design. Even better, they’ll fire your masterpiece and send it to your home when it’s finished.
The Potteries Museum & Art Gallery
As the principal museum in the area, The Potteries Museum & Art Gallery offers visitors a comprehensive journey through time, showcasing everything from ancient archaeology to contemporary art. The museum’s extensive collection of Staffordshire ceramics is among the finest in the world, highlighting the region’s pivotal role in shaping global pottery trends.
One of the museum’s standout exhibits is the Staffordshire Hoard, the largest collection of Anglo-Saxon gold and silver metalwork ever found. Discovered in 2009, over 80 pieces from the hoard are on permanent display, providing a rare glimpse into the past. Another highlight is a fully restored Supermarine Spitfire aircraft. This iconic WWII fighter plane was designed by R.J. Mitchell who was born nearby.
The Wedgwood Experience
A few miles south of the city, in Barlaston, the Wedgwood factory continues to produce some of the world’s most exquisite ceramics, blending traditional methods with modern design innovation. The Visitor Centre offers a comprehensive tour of the factory as well as a delicious afternoon tea served on Wedgewood china.
The V&A Wedgwood Collection contains over 165,000 objects that span centuries of craftsmanship. Visitors can admire historical pieces, including some of the very first pieces Josiah Wedgwood produced, as well as modern works that continue to push the boundaries of ceramic design. The exhibits also delve into the cultural impact of Wedgwood products, which have influenced art, design, and even politics.
Trentham Gardens
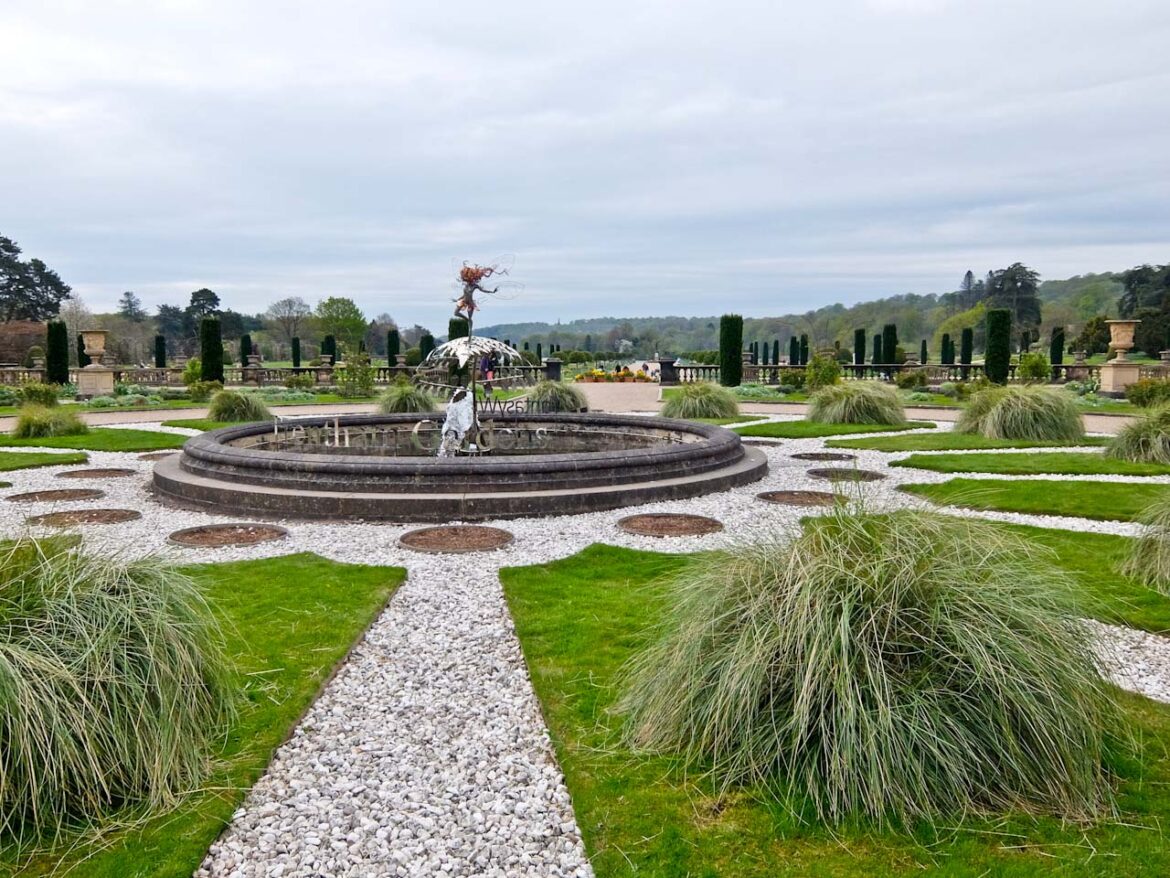
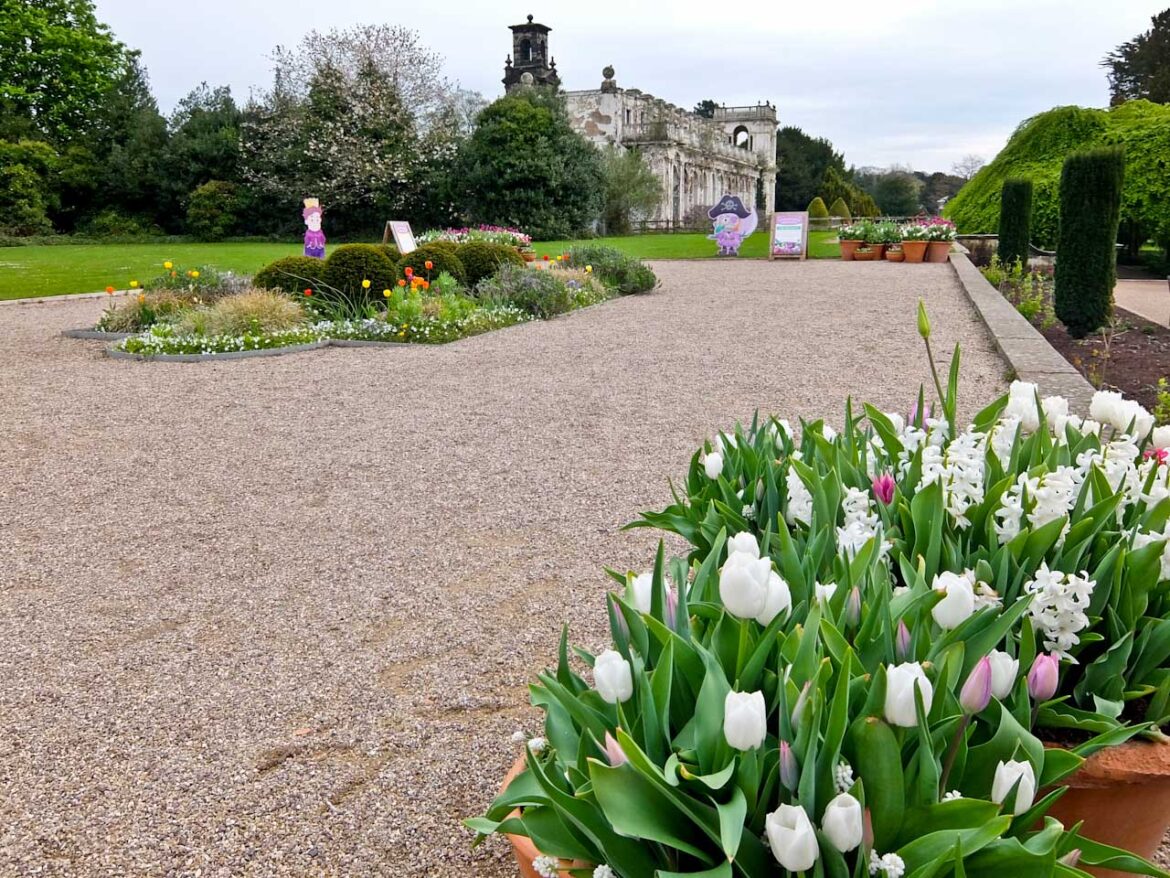
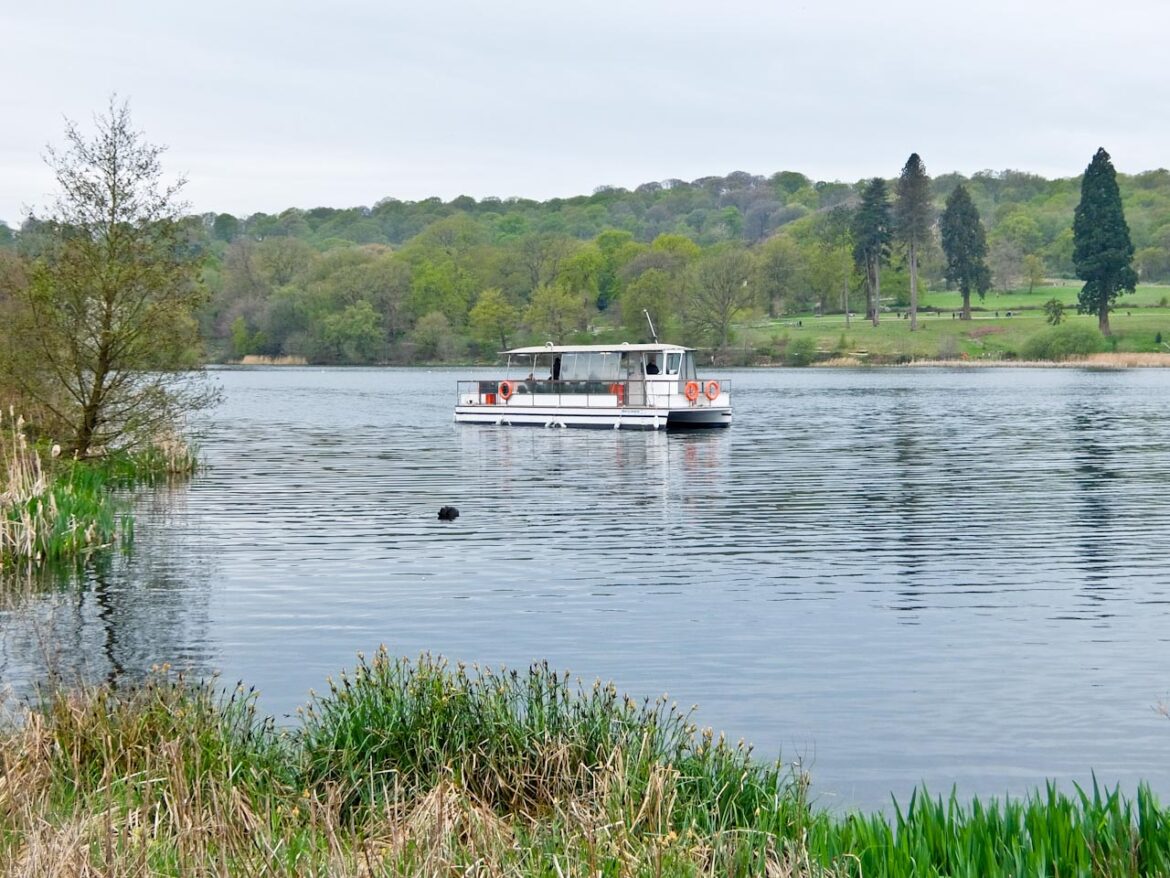
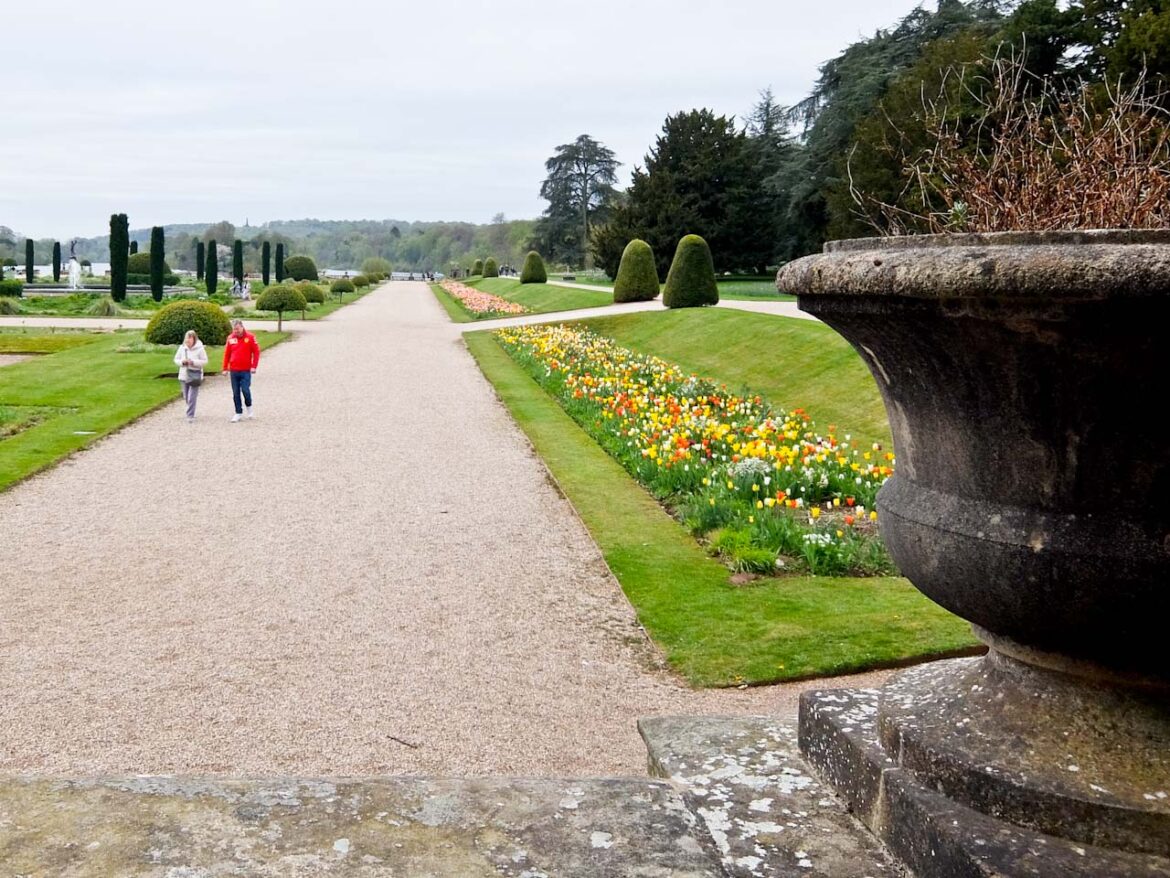
An hour’s walk away is Trentham Gardens. Spanning 725 acres, this award-winning estate offers visitors a unique opportunity to explore meticulously restored gardens and ancient woodlands. Trentham Gardens’ origins are in the 18th century, when the renowned landscape architect Lancelot ‘Capability’ Brown transformed the estate into a serpentine park.
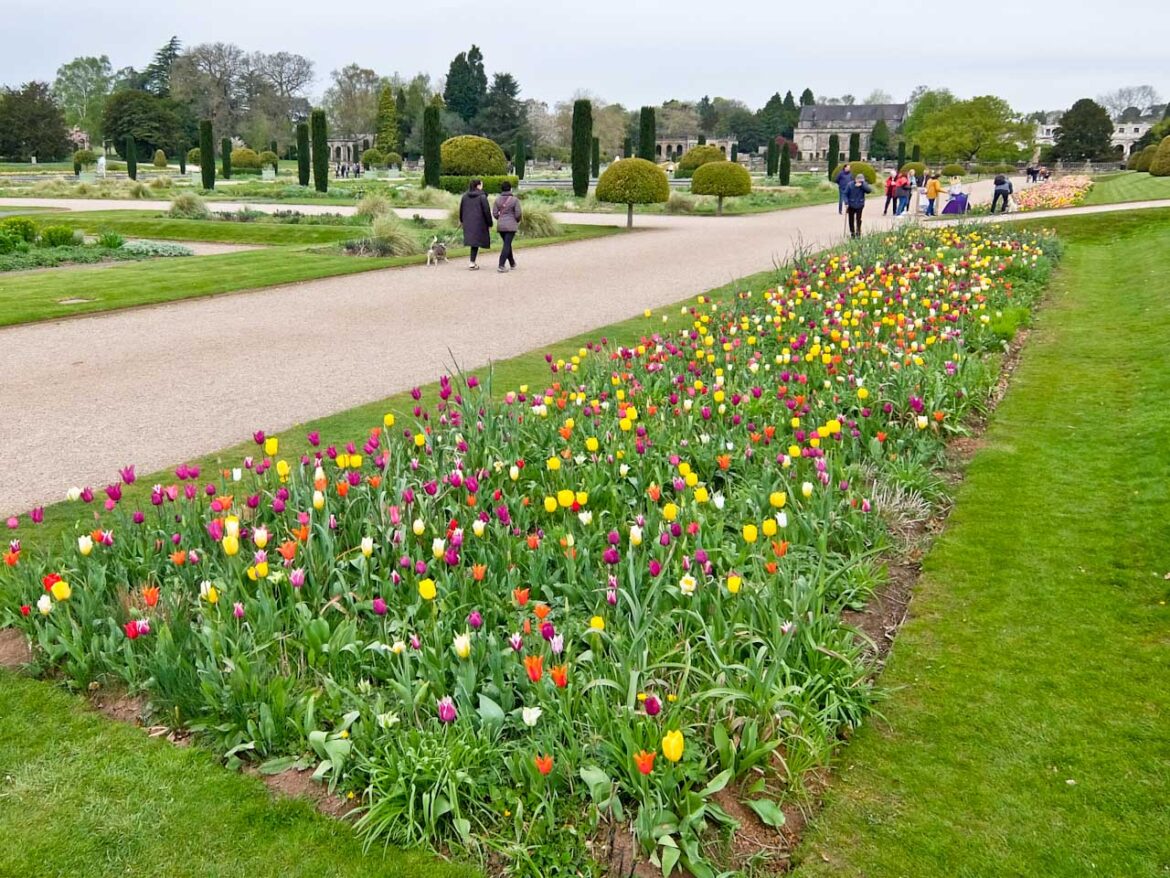
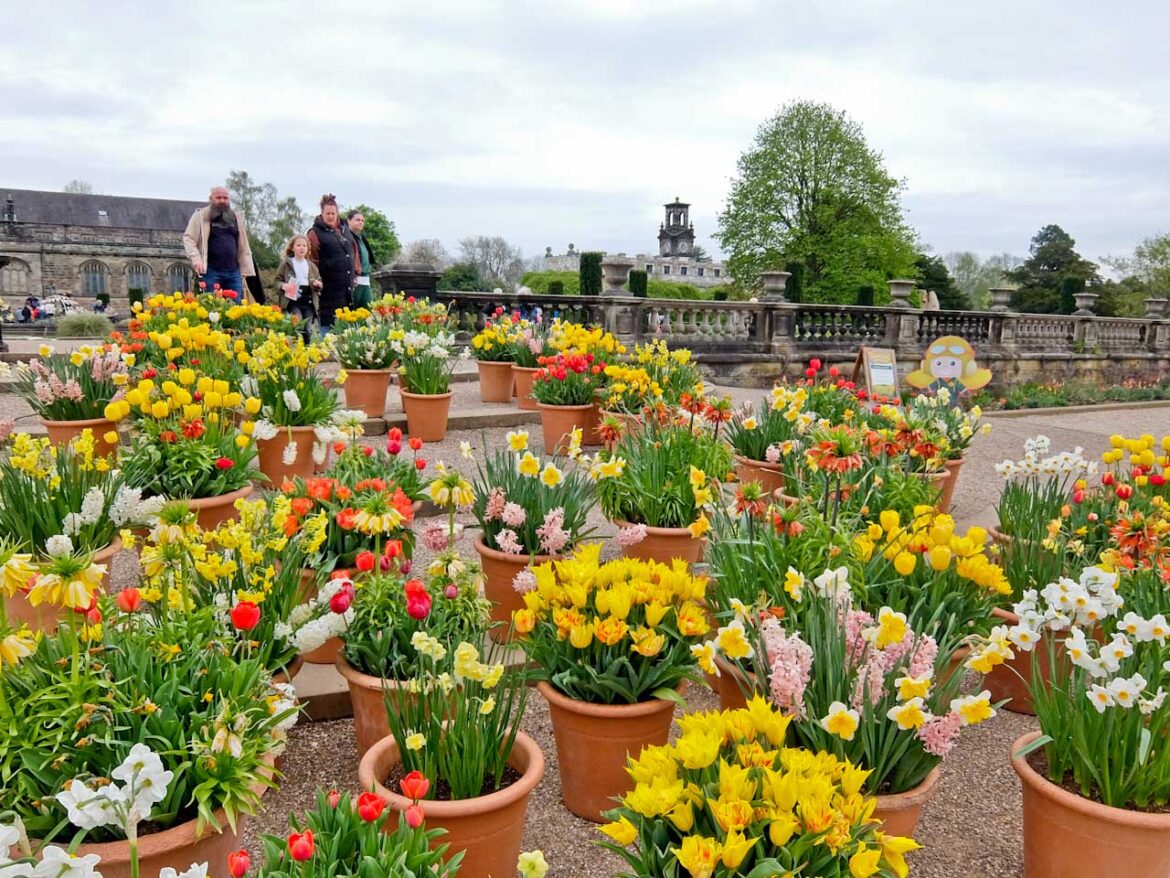
In the 19th century, Sir Charles Barry, the architect behind the Houses of Parliament, introduced Italianate elements to the gardens, creating the formal Italian Garden that remains a highlight today. My visit happily coincides with Trentham’s annual Spring Bulb Festival – over past few years a million bulbs have been planted. It’s an uplifting, immersive, and colourful experience as I walk through the gardens.
Factfile
GO: Stoke-on-Trent is just over 90 minutes from London by train.
INFO: Visit Stoke-on-Trent has information about the city.
Stoke-on-Trent Centenary list all the commemorative events.
Emma Bridgwater has information about tours and design sessions.
Trentham has information about the gardens.
World of Wedgwood details opening times and exhibitions.
STAY: DoubleTree by Hilton Stoke on Trent makes a comfortable base for visiting the city. CHECK AVAILABILITY
EAT: Lunar has modern fine dining at Wedgewood.
The Wedgwood Tea Room serves scrumptious afternoon teas on Wedgwood china.
Little Dumpling King delivers Asian inspired dishes with a twist.
The post City Travel Guide to Stoke-on-Trent, England, UK appeared first on The Travel Magazine.


