Why you should make Florida’s Punta Gorda your next holiday destination
It has gorgeous white sandy beaches, eateries galore, fabulous weather, a great golf course, and the kind of vibe holidaymakers seek out.
Yet unlike the better-known hotspots of Florida, such as Sarasota and Fort Myers, the beaches of coastal Punta Gorda Englewood Beach are still deserted and replete with collectable shells and shiny shark teeth, roads are clear, and the must-see sights are relatively crowd-free. Plus, the area has almost 800 miles of protected waterways that add a lovely dimension to the landscape.
I got to Punto Gorda in March, donned my summer dresses, t-shirts and shades and enjoyed a packed itinerary that included oranged-hued sunsets and Pina Coladas by the glorious rooftop pool at Sunseekers resort in Charlotte Harbor.
Where to stay
I stayed at the relatively new Sunseekers resort whose sprawling riverside stature has put the region on the map.Its whitewash trio of tours has lots to tempt holiday makers to spend time there. Two incredible pools and 20 eateries, including their gourmet restaurant, Maury’s Steak , Seafood and Spirits restaurant.
Smaller, far more traditional and cosier is The Wyvern Hotel, in the downtown area, of Punta Gorda near the Peace River. It offers boutique-style accommodation with 63 rooms decorated with local art, harbour views, and two restaurants.
Also downtown is the Four Points by Sheraton Punta Gorda Harborside – Marriott, which is a far more contemporary option with a modern, airy vibe that comes with its own comedy club.
The vibrant Fishermans village is centrally located, with accommodation that ooze a sense of the tropics. These are conveniently situated atop shops, restaurants and handy for the Kingfisher boat tour options just in front. There’s also a small beach area for lounging and play time for the kids.
Palm Island offers something completely discreet. The only way to reach there is via a ferry, and you get to stay in a complex that surrounds lush gardens, a pool and tennis courts. The wow factor is that these properties are on the beach and you may see dolphins swim by.

Palm Island
Manasota Key Resort sits directly on southwestern coastline of Florida facing Englewood beach. Roll out of bed and there it is, the lovely white sands and the sea stretching out.

Best Places to Eat in Punta Gorda
House of Breakfast offers a hearty breakfast from a huge menu including a Jumbo Lump Crabby Omelet and Meat Lovers Omelet with diced ham, bacon pieces smothered in country gravy. There are pancakes and crepes too.
Beachcomber Trading Post offers a more serene breakfast by Englewood Beach bay. I chose an alfresco breakfast of lox and a bagel and enjoyed the sunshine, a sea breeze and a relaxing start to the day, aided by lashings of coffee.
Harbourside TT’s Tiki Bar has open sides and is sheltered by a thatched roof and surrounded by sand where more tables and chairs are available for those that want the sunshine.. It’s a casual menu with classics like burgers and tacos, as well as dishes made with mahi and grouper. and of course the bar dishes out cocktails and beers.
Leroys Southern Kitchen and Bar is a quirky restaurant with entertaining service making it a fun place to enjoy “Good Southern Cookin’”.
Deviled eggs topped with candied bacon and fried green tomatoes and buffolow caulifower with buffolow wing sauce were a real starter treat. Of course I had to try the deep fried chicken.
Fun things to do
Peace River & Sculpture Garden
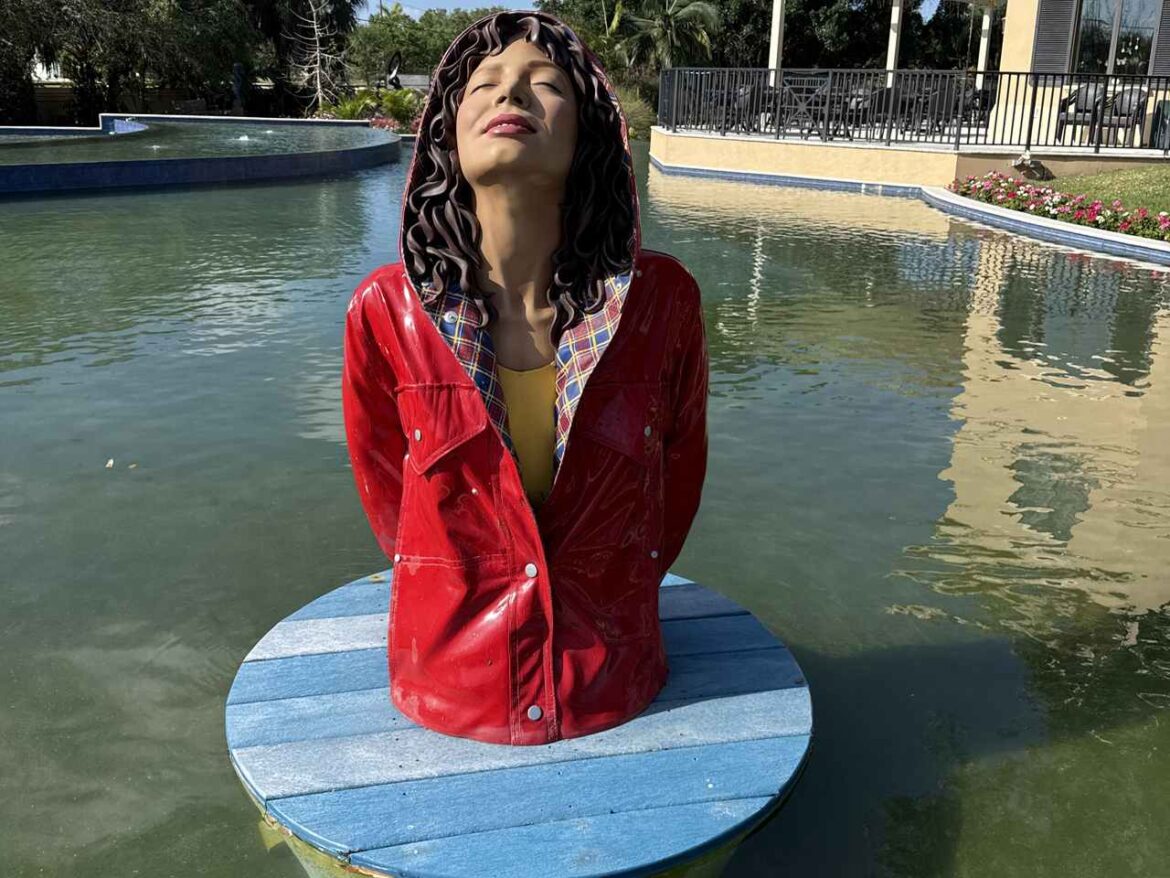
I really loved the 27-acre preserve Peace River Botanical & Sculpture Garden in Punta Gorda. Think of it as a peaceful Aladdin’s den of art and Florida’s nature. Weaved into the scenery are 4,500 plants, trees and bamboos, with room for a butterly house, making this the largest of its kind in Florida. There’s a bridge that reaches out over the wetlands around Hunter’s Creek which is picturesque. The highlight though, is the almost lifelike statues, sprinkled throughout the lanscape.
Babcock Ranch Eco Tours
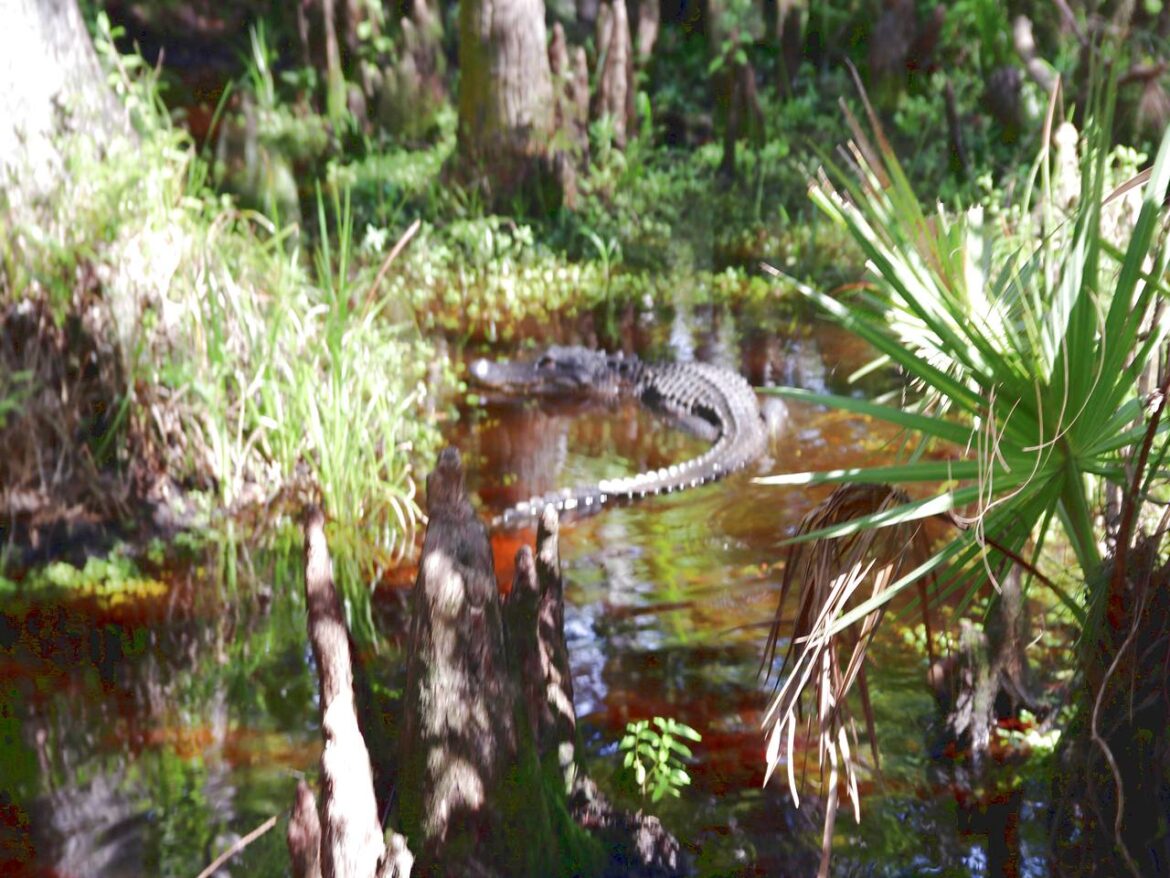
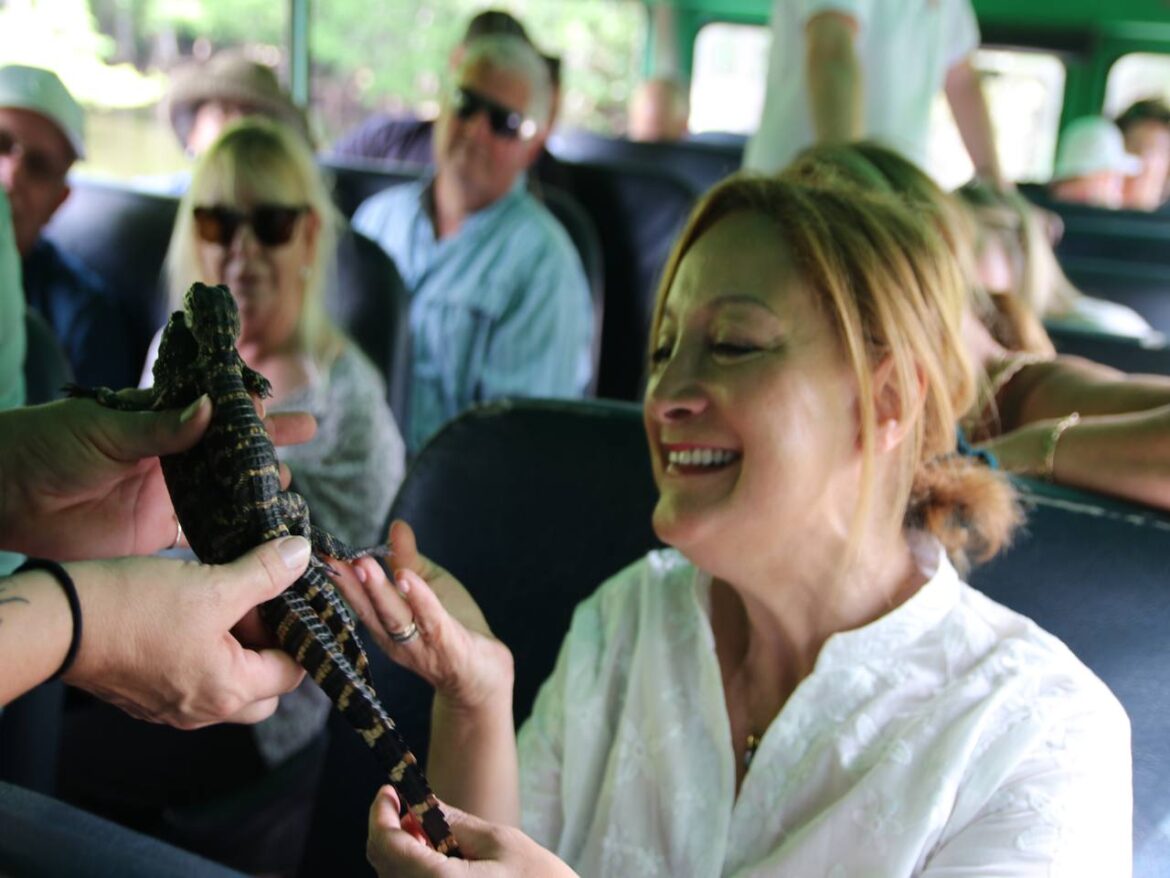
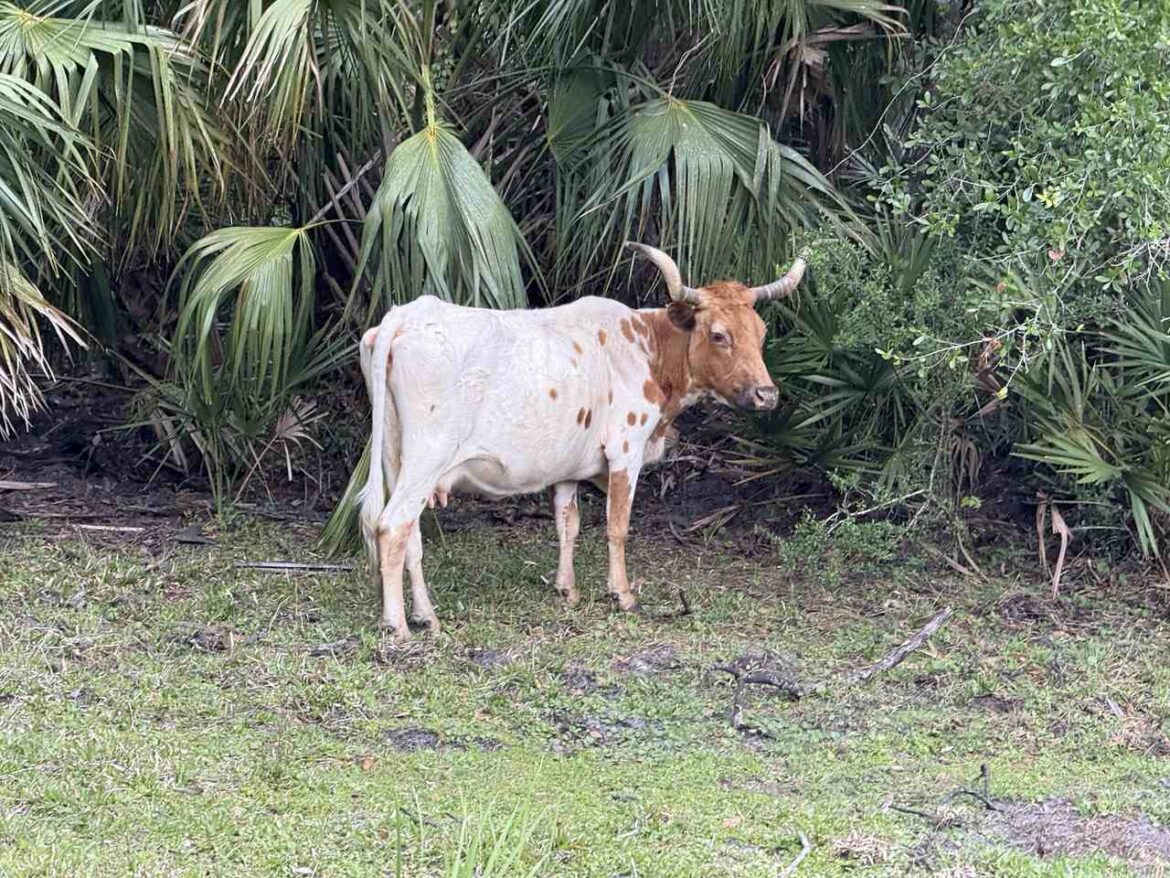
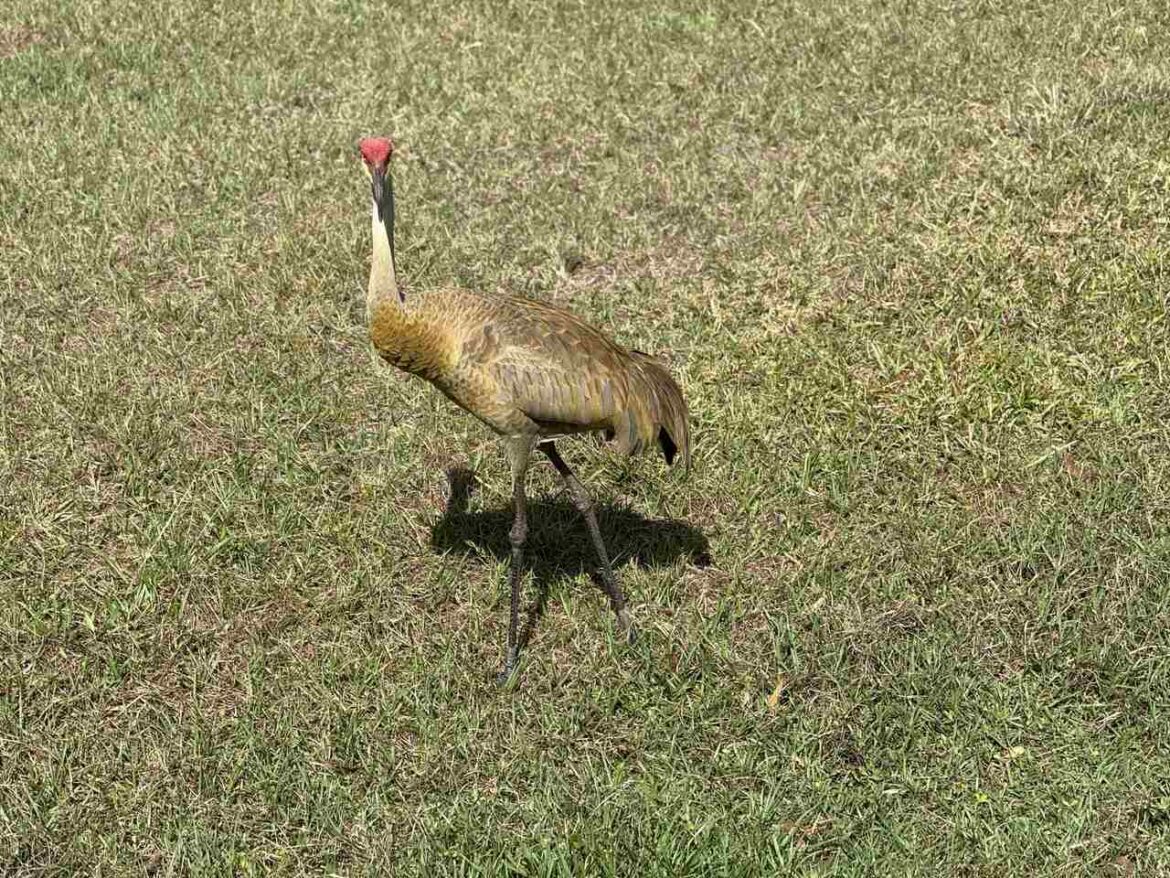
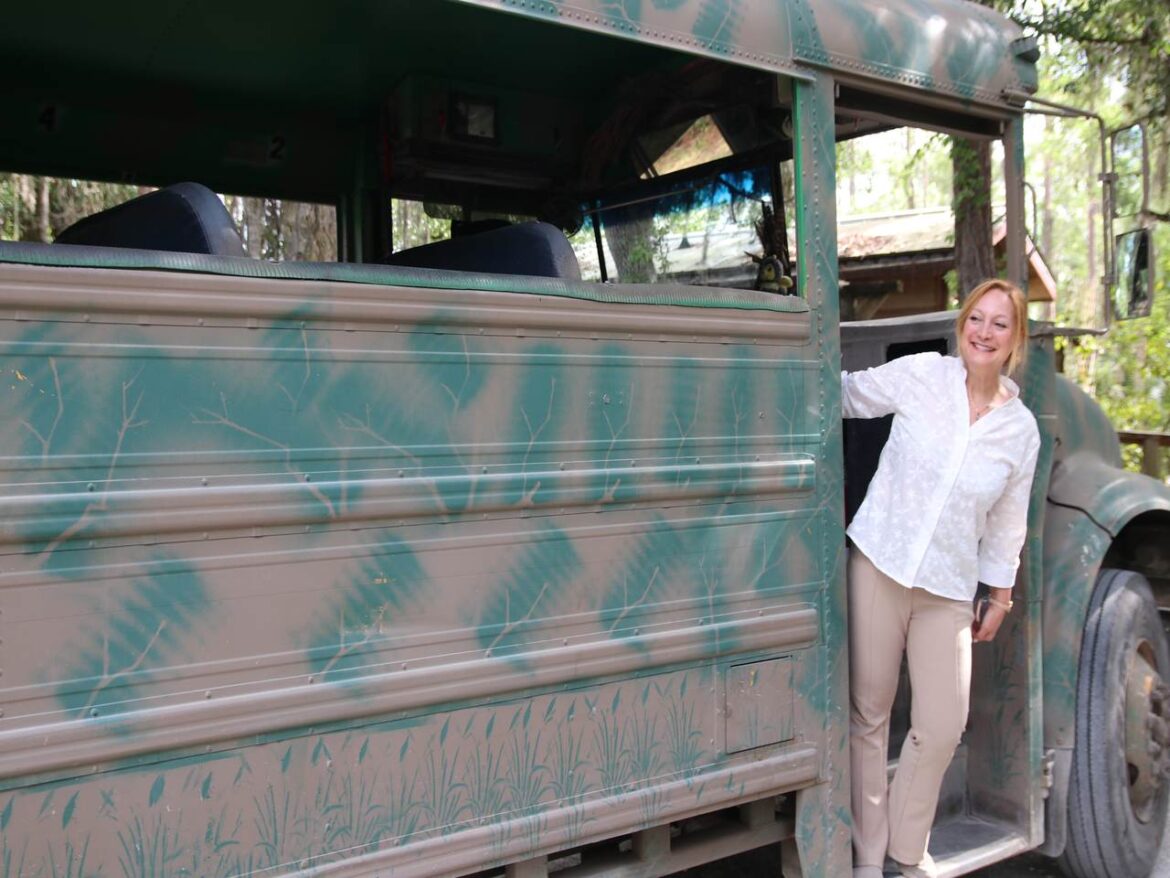
The Babcock Ranch Tour Eco Tours offers a Swampy Buggy Eco Tour that takes you through a 90 minute narrated tour of the waterways that shares some of the ecological and environmental characteristics of Florida’s Everglades. Transport is an old school camouflaged with the hues of nature. As you pass through the swamps you get to see working cattle, alligators furtively still in the water and local birds. The narrator brings a couple of tiny baby gators on board, which I enjoyed petting.
Historic Punta Gorda Train Depot
Englewood Beach
Getting to Punta Gorda, Englewood Beach
Punta Gorda Englewood Beach is located between Tampa and Naples. The nearest airport is Punta Gorda Airport (aka Charlotte County Airport), located about 3.1 miles east of the city. Other major airports within driving distance include Southwest Florida Regional Airport in Fort Myers is about 30 minutes south, Sarasota-Bradenton International Airport is about 50 minutes north, and Tampa International Airport is about 90 minutes north.
The post Why you should make Florida’s Punta Gorda your next holiday destination appeared first on The Travel Magazine.


