I Stayed in a Dome House in Colombia – and It Was Pure Magic
Bosko in Guatape offers geodesic dome cabins in a quiet, nature-immersed setting 2–2.5 hours from Medellin.
There are places that photograph beautifully, and then there are places that feel beautiful.
The kind that slow your nervous system down the moment you arrive. The kind that don’t ask for content – they invite presence. The kind that feel less like a stay and more like a small pause from the world.
That’s what it felt like staying in the dome houses at Bosko in Guatape, Colombia.
Bosko is a nature-immersed property set in the green hills outside Guatape, known for its geodesic dome cabins and quiet, romantic atmosphere. It’s the kind of place people book for anniversaries, honeymoons, and slow, intentional couples trips – and originally, that’s exactly how I had planned it.
I had planned to stay here with my partner. We broke up shortly before the trip, and I had a choice: cancel it, or go anyway. I decided to go alone.
What was supposed to be a romantic escape became a solo retreat – and unexpectedly, it turned out to be one of the most grounding, peaceful stays I’ve had in years.
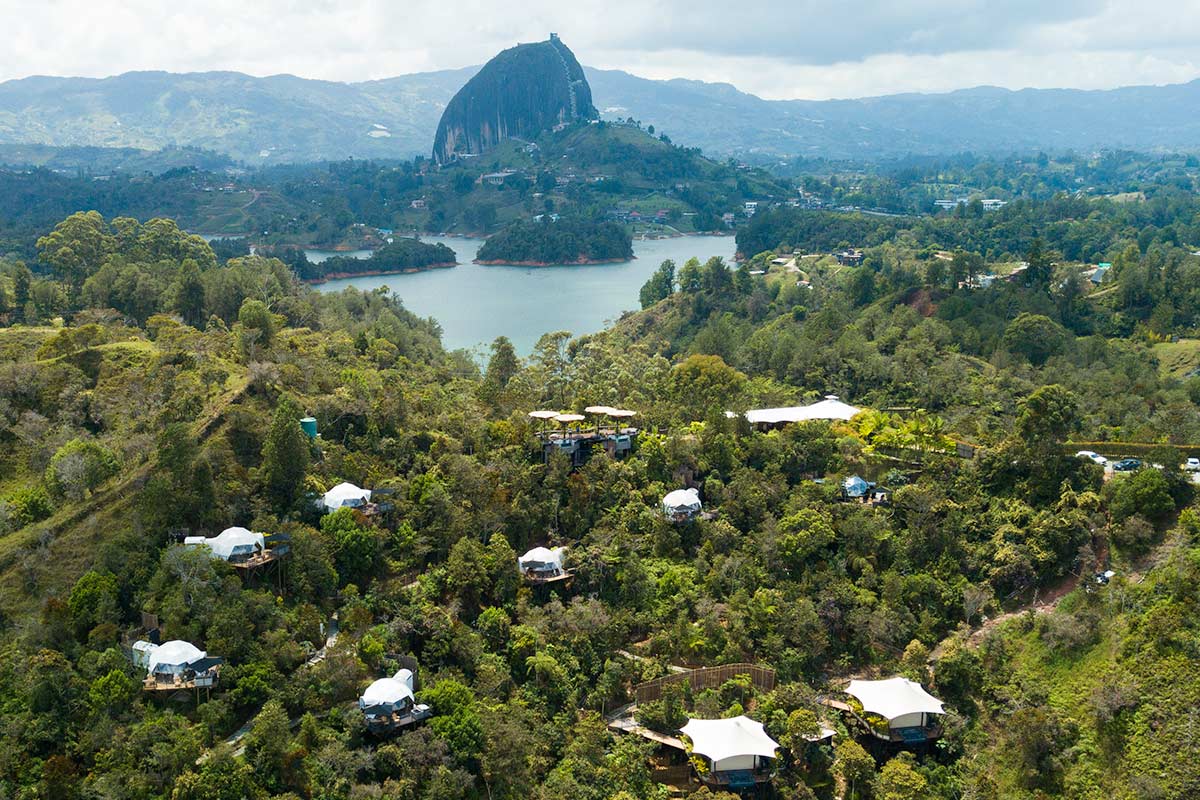
Where Is Bosko Located?
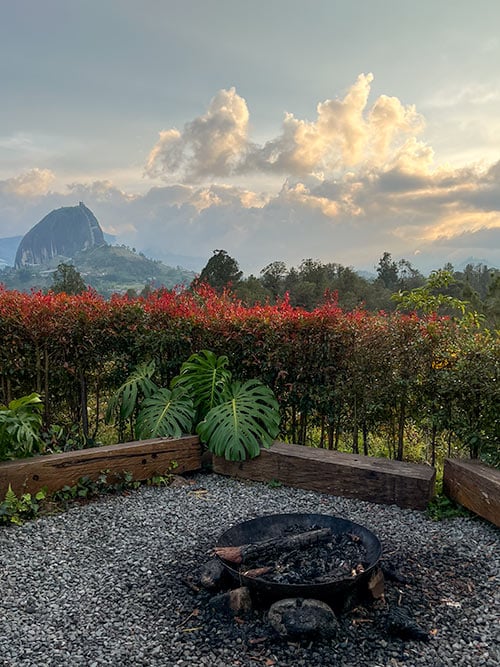
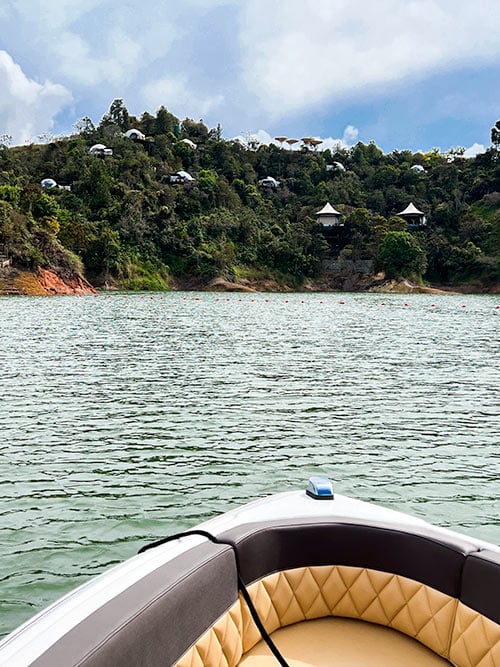
Bosko is located in the hills outside Guatape, Colombia, about 2–2.5 hours from Medellín by car. While Guatape itself is a colorful, lively tourist town, Bosko sits outside the main center, surrounded by greenery and valley views.
This location gives you two very different experiences in one trip:
- Access to Guatape’s restaurants, lake activities, and town center
- Total quiet and privacy at the property
It feels secluded without being isolated.
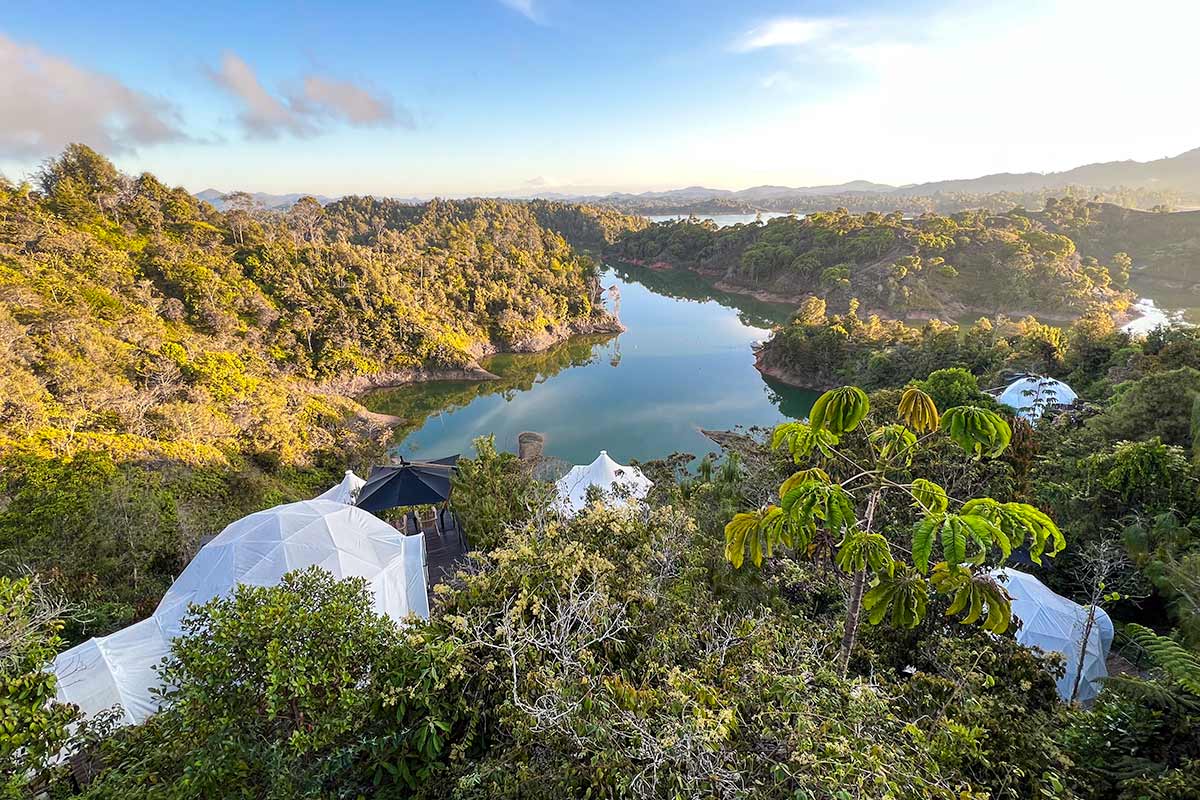
What Staying At Bosko Is Actually Like
Bosko feels more like a private nature retreat than a hotel.
There’s very little noise, no crowds, and no constant movement around the property. The domes are spaced apart, creating a strong sense of privacy. You’re not seeing other guests constantly, and you’re not surrounded by common areas or busy walkways.
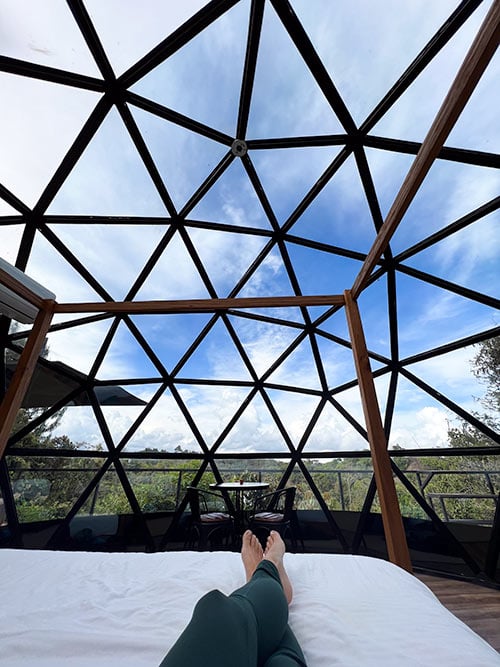
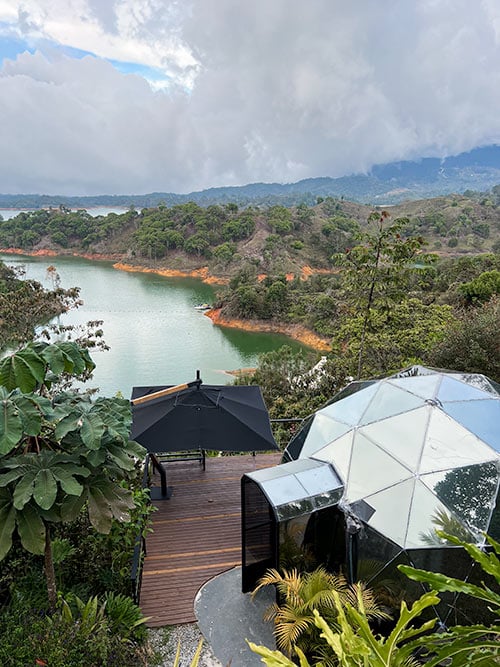
Inside the domes, the design is simple and intentional:
- Large windows that bring the landscape into the room
- Soft lighting
- Natural textures
- Comfortable sleeping areas
- A calm, uncluttered layout
Mornings are quiet. Evenings are still. The experience is centered around slowing down rather than doing more.
Another thing I appreciated about Bosko was how intentionally the property is designed around the landscape rather than imposed on it. The domes and cabins sit lightly on the hillside, preserving the natural terrain and surrounding vegetation instead of reshaping it. You feel like you’re staying within the environment, not on top of it.
Sustainability here feels practical rather than performative. The property minimizes environmental disruption, avoids heavy land alteration, limits light and noise pollution, and prioritizes low-impact operations. There’s also a strong focus on working with local suppliers and supporting the surrounding community, which adds to the sense that Bosko is part of the ecosystem — not separate from it.
Read more: The Most Photogenic Places I’ve Ever Visited
How Is The Breakfast At Bosko?
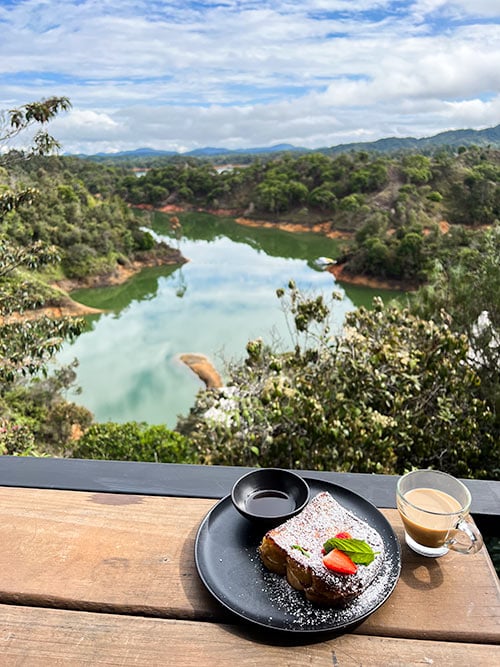
Breakfast at Bosko was delivered straight to my dome every morning — such a lovely treat! Each day, I found freshly prepared Colombian-style breakfast items waiting for me: coffee, fresh fruit, bread, and local specialties.
I usually took my breakfast out to my private terrace, sipping coffee while taking in the panoramic views of the surrounding hills. It was the perfect, slow way to start the day.
Tip: If you have any dietary preferences or special requests, I’d recommend letting the property know when you book – they’re happy to accommodate.
What Is The Pool Area Like At Bosko?
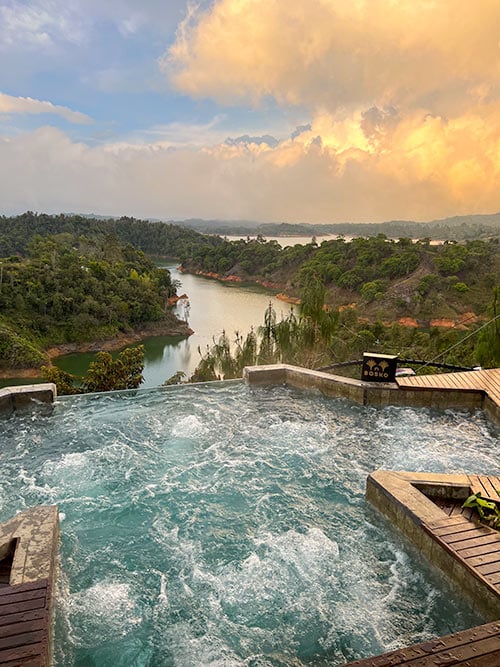
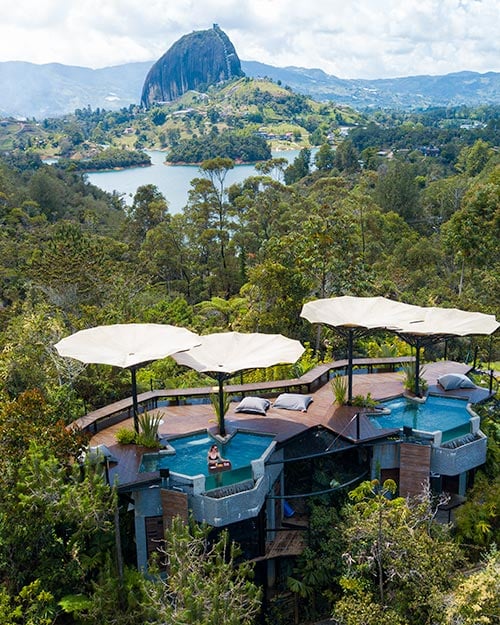
Part of the reason I booked Bosko was for its incredibly unique hillside pool and hot tub.

The pool area is terraced into the hillside, with multiple levels that blend seamlessly into the surrounding greenery. Swimming there felt completely private, like the pool was just for me, with panoramic views of the valleys stretching out beyond the property.
It’s not a social or crowded space – it’s meant for slow, peaceful moments, whether you’re taking a swim, reading a book, or just soaking in the scenery.
Can You Stay At Bosko Alone Or Is It Only For Couples?
Bosko is clearly designed with couples in mind. The privacy, atmosphere, and layout make it ideal for romantic trips.
But what surprised me is how well it worked as a solo stay.
It doesn’t feel performative or couple-centric in a way that makes solo travelers feel out of place. There’s no social pressure, no group activities, no shared spaces that create awkwardness if you’re alone.
Instead, the experience is quiet, introspective, and grounding.
My days were simple:
- Slow mornings
- Coffee with a view
- Stillness instead of stimulation
- Rest without guilt
- Space to think
It didn’t feel like a “trip” as much as it felt like a reset.
Read more: The Most Romantic Tropical Getaways For Couples
When Is The Best Time To Visit Bosko And Guatape?
Guatape and the surrounding region have a fairly stable climate year-round, but timing still matters.
Dry Season (December – March, July – August)
- Best weather conditions
- Clearer views
- Less rain
- Higher demand and prices
Shoulder Season (April–June, September–November)
- Lusher landscapes
- Fewer crowds
- More availability
- Occasional rain
Morning hours are typically clear even during rainy season, with showers often coming later in the day.
Read more: The Safest All-Inclusive Resorts For Couples
How To Book Your Stay At Bosko
I booked my stay here for the best rate. Nightly rates typically start around USD $250–$500+ depending on season and suite type, and many include breakfast. Booking early is recommended due to limited availability.
As a certified travel advisor specializing in romantic stays, I can help you plan your Bosko trip, select the right dome, and secure the best dates. Reach out here.
Important Booking and Stay Details
Age & Guest Policy: Guests must be 18 or older to check in; children and pets are not permitted at the property in many room types.
Check‑In / Check‑Out: Typical check‑in is mid‑afternoon and check‑out around late morning to midday (times can vary by booking platform/policy). Advance notice of arrival time is often requested at time of booking or in the reservation notes.
Taxes & Fees: Colombian VAT may apply at check‑in or check‑out; in some cases non‑residents can request exemptions if paying with a foreign credit card and meeting documentation requirements.
Cancellation Policies: Flexible vs. non‑refundable options vary by room type and booking platform – always check before confirming.
Sign up for my travel newsletter here and be the first to get my best travel advice and secret finds — so you can discover hidden gems, and travel like an insider (not just a tourist).
Flights: Going is the first place I check when searching for cheap flights. If you sign up for their email alerts, you’ll receive flight deals at up to 90% off. I have traveled all over the world using their flight deals.
Accommodation: Booking.com offers savings on hotels, apartments, and villas in 80,000 destinations worldwide. You can browse hotel reviews and find the guaranteed best price on hotels for all budgets.
Travel Insurance: I never travel without a travel insurance policy because it’s not worth the risk! I use and trust Visitors Coverage, which I have used for the past 10 years.
Let me book your trip! Looking for a Travel Advisor to help you plan your trip? Learn more here!
Pin for later!

The post I Stayed in a Dome House in Colombia – and It Was Pure Magic appeared first on Ordinary Traveler.


