According to UN Tourism, in the first quarter of 2025, tourist arrivals in Asia and the Pacific grew by 12%, reaching 92% of pre-pandemic levels. With rising demand and an increasingly wide network of flights, all signs indicate that Asia will remain a top choice for long-haul travel in 2026.
To help travellers choose the best time to visit, travel company WeRoad has compiled a guide to visiting some of Asia’s most beloved countries.
When to travel to Asia
Spring is an ideal time to visit Japan and South Korea for the cherry blossoms, while Vietnam, India, China and Malaysia offer dry and pleasant weather. In Thailand, it’s the start of island season, and an opportunity to experience Songkran – the traditional Thai New Year. Spring also sees Indonesia entering its best period to visit.
Summer is peak for trekking in Kyrgyzstan and enjoying the mountains. Japan, South Korea, China, Indonesia and Malaysia offer ideal opportunities for nature, sea and city trips; and Vietnam and Thailand are cheaper and less crowded, but with a few tropical storms
Autumn sees Japan and South Korea ideal for stunning foliage. Visit India for Diwali, and China & Indonesia are still great options. Thailand is gearing up for high season; and Malaysia is rainier – but perfect for travellers seeking a quieter destination.
Winter sun and beach seekers should head to Thailand, Vietnam, India, Malaysia and Bali, for cities, lights and festivities (from Christmas to Lunar New Year) visit Japan, South Korea and China. Kyrgyzstan now has harsh winter conditions.
Your country by country guide:
Thailand

Thailand
Thailand shines between November and February, when the weather is dry, sunny and perfect for beach life—this is also high season. In March and April, the country lights up with Songkran, the Water Festival that turns every city into a giant water fight: a unique and welcome experience as temperatures begin to rise.
From May to October it’s no longer high season: May is still fairly calm, while June to September brings tropical storms, dramatic but usually short-lived – the upside? flights are cheaper.
October remains a quiet month with improving weather.
For the perfect balance of ideal climate and local atmosphere, November and December are the top months.
Japan
Japan changes personality with each season. In winter (January and February), the experience is mostly urban: bright cities, museums and futuristic districts, without extreme cold in the main areas. The most iconic moment is cherry blossom season, from late March to April, drawing travellers from all over the world.
From May to September the weather is sunny and summery (rain doesn’t stop the fun), ideal for nature, islands and city exploration.
October and November bring autumn foliage, when temples and parks turn red and gold—a stunning yet underrated spectacle compared to hanami. Flights are cheaper in this period too.
In December, with Christmas lights and festive decorations, Japan becomes surprisingly magical, especially in the big cities.
Vietnam

Vietnam
The best season to visit Vietnam is January to April, with stable, dry and pleasant weather across the country.
From May to August, like many tropical destinations, sunny days alternate with tropical storms -but good weather usually returns quickly.
September is great for avoiding crowds, and October and November are the rainiest months, with possible typhoons – especially in central regions.
In December the weather varies, but the Christmas atmosphere in cities and coastal towns adds to the charm.
China
Winter (January and February) in China can be harsh and coincides with Lunar New Year—an iconic time to visit -but expect intense domestic travel and higher prices.
From March to May, China is at its best: pleasant weather making the cities more appealing—perfect for Beijing, Shanghai and the major cultural capitals.
From June to October the weather is mostly sunny and warm, ideal for exploring both megacities and natural landscapes.
November is perfect for those seeking fewer crowds, while December brings colder weather and festive vibes, especially in international areas.
China has also confirmed visa-free entry for 2026, a policy that boosted European tourism in 2025.
Indonesia
In January and February, Bali is the recommended destination, as many other islands are not ideal for beach activities.
In March, the island celebrates Nyepi, the Day of Silence: a unique experience with fewer tourists than in high season.
From April to October, Indonesia is at its best—sunny, vibrant and ideal for exploring most of the archipelago, from the Sunda Islands to lesser-known gems.
November is a quiet month, perfect for travellers seeking peace, while December is lively and festive, great for a warm Christmas.
India
India
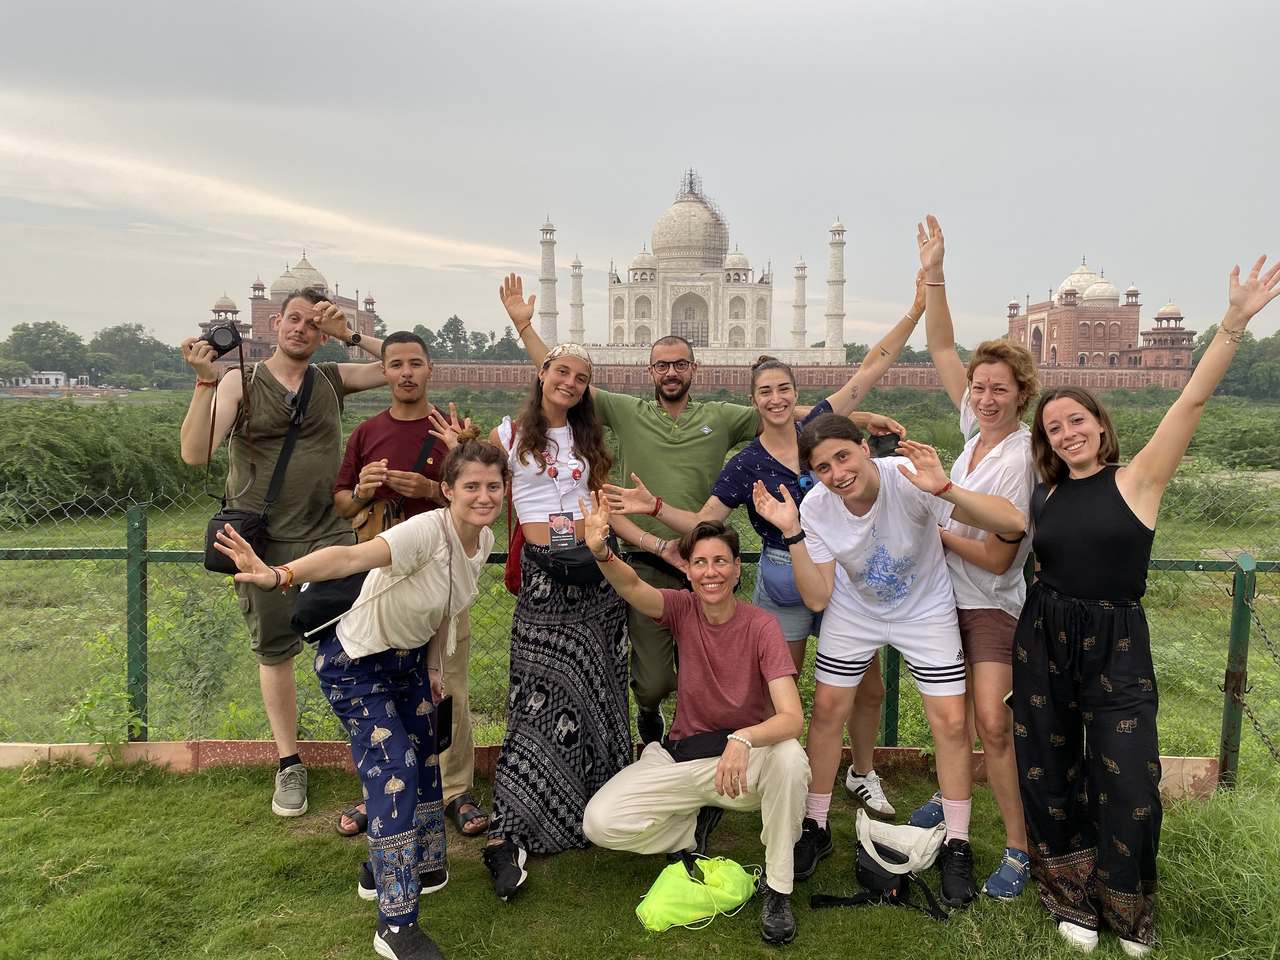
The best months to visit India are January to March, with clear skies and pleasant temperatures.
March brings Holi, the festival of colours, one of the most scenic and photographed events of the year.
April to September marks the humid season, with alternating sunshine and heavy rains—not ideal for pure relaxation, but fascinating for travellers seeking a more authentic, less crowded India.
In October and November, the country lights up with Diwali, the festival of lights, transforming cities and villages with decorations and celebrations.
From November to December, the true high season begins again, with perfect conditions to explore everything from Rajasthan to Kerala.
South Korea
In winter (January and February), the focus is urban—similar to Japan—with Seoul, Busan and other major cities offering cafés, museums and trendy neighbourhoods.
From March to April, cherry blossoms transform parks and streets into postcard scenery.
May to September brings sunny weather and ideal temperatures for mountains, beaches and vibrant cities.
October and November are the months of foliage, when red and orange hues color the country’s parks and hillsides.
In December, Korea embraces the holiday spirit with lights, installations and international-style Christmas markets, especially in big cities.
Malaysia
Malaysia is at its best January to April and July to September. During these months the weather is most stable both on the west coast (Penang, Langkawi, Kuala Lumpur) and in many areas of Malaysian Borneo—ideal for mixing futuristic cities, jungle, and postcard islands.
May and June bring higher humidity and tropical showers, usually brief and helpful in keeping crowds away.
October to December sees heavier rains on the east coast (Perhentian, Redang, Tioman), not ideal for beach life but appealing for those seeking a more authentic and quieter Asia.
In general: choose spring and summer for sea & snorkeling, and shoulder seasons for cities, food tours and nature with fewer tourists and softer prices.
Kyrgyzstan

Kyrgyzstan
Kyrgyzstan is perfect for mountain lovers, trekkers and outdoor travellers—a true “off-the-beaten-path” destination.
The best time to go is June to September, when alpine passes, high-altitude lakes and valleys are accessible, and temperatures are ideal for trekking and sleeping in yurts under starry skies.
July and August are the warmest and most popular months, especially around Lake Issyk-Kul.
June and September are great for quieter trails and landscapes, shifting between late spring blooms and early autumn colours.
From October to April, the country enters a long winter: mountain roads become harder to navigate, and temperatures drop significantly, so travel is recommended only for those well-equipped and interested in winter activities.
For most travellers, summer remains the best season to fully experience Kyrgyzstan’s wild, nomadic soul.
Asia offers authentic experiences, nature, culture, food, and a favourable exchange rate between European and local currencies.
While Southeast Asia has always been among the top choices, 2025 saw a 30% increase in WeRoad travellers’ bookings toward both East Asia and Central Asia.
For further information re trips to Asia: www.weroad.com/asia-trips
The post Asia is a top choice for long-haul travel in 2026. When is the best time to go? appeared first on The Travel Magazine.

