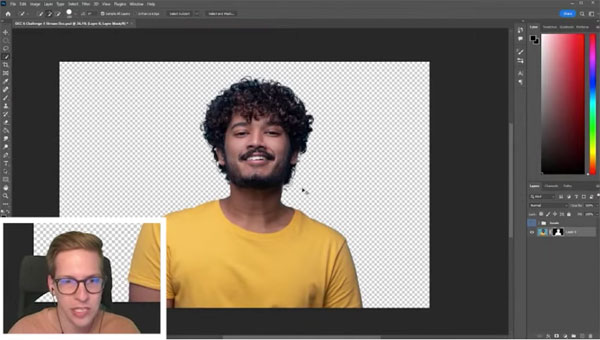
Photoshop Basics: How to Use Manual Selection Tools (VIDEO)
The latest versions of Photoshop include a wide array of tools that do tedious tasks for you automatically, one of which is an Auto Select function. This timesaver creates pretty accurate selections of objects within an image, with barely more effort than a click of your mouse.
Sometimes, however, you want to make selections yourself, and by doing so you retain control over the results. In the quick video below you’ll learn how easy it is to use Photoshop’s most popular manual selection tools to get the job done.
Instructor Sam Peterson regularly posts basic image-editing tutorials that help photographers confidently use the Photoshop toolkit with ease. In today’s episode he explains the ins and outs of using Photoshop’s Lasso Tool, Magic Wand, the Quick Selection tool and more.

In barely four minutes you’ll learn how these selection tools work, and gain important insight on choosing the most appropriate method for the specific task at hand. Peterson begins with the Lasso tool that he says, “is about as manual as it gets.”
Using this this tool is pretty much like drawing around the object you want to select—either with a mouse or the pen for a graphics tablet. If the result is a bit off, Peterson provides keyboard shortcuts for adding or subtracting from the selection, and refining or feathering the edges. As you’ll see, there are several variations of this tool that work in slightly different ways.
Another foundational selection feature is Photoshop’s very simple Rectangular Marquee tool. As the name implies, this one simply lets you create square or rectangular selections that you can modify with the keyboard shortcuts he provides. There’s also a related Elliptical Marquee tool for making selections that are round or . . . well, elliptical.

Peterson demonstrates a few other manual selection tools, and they’re all very easy to use if you follow his advice. You can find more Photoshop tips and tricks like these by visiting his popular YouTube channel.
We also encourage you to watch the related tutorial we posted from another expert, explaining how to “auto-mask everything” in a photo with a new “hidden” tool in Photoshop.


