Photoshop’s UPDATED Gradient Features: The 3 BEST Ways to Use Them (VIDEO)
Adobe recently upgraded Photoshop’s Gradient capabilities with new versatile options, but this seven-minute tutorial isn’t a deep dive into everything these tools can do. Rather, we’re taking a targeted look at what one pro says are the “three best ways” to employ Photoshop’s updated Gradients.
If you already employ Gradients in your Photoshop workflow, well, all the better. But that’s not necessary for today’s lesson, in which you’ll learn everything necessary for taking advantage of this trio of awesome new techniques. And you don’t have to be a power user to create some really cool effects.
Instructor Brendan Williams has a popular, instructional YouTube channel with the simple goal of helping amateur photographer “level up their skills in less time.” And that’s exactly what he does in the seven-minute video below.

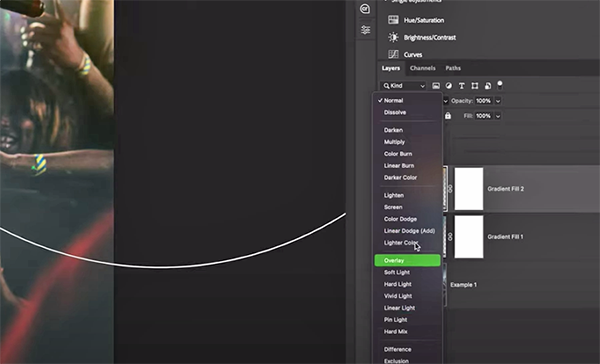
There’s a new Gradient mode within the Gradient tool, and at top of today’s list is a quick demonstration of how to use Gradients to create a variety of awe-inspiring lighting effects. Williams illustrates how it’s done using a performance photo captured in a dark venue where the lighting was less than impressive.
He selects the Gradient tool by tapping the letter “G” and goes up to the Options bar to make sure the Gradient mode is active. Then he navigates to the Gradient Preview and chooses the foreground-to-transparent Gradient within the Basics folder. Next he selects a Radial Gradient (that can be revised later if necessary) and walks you through the rest of the process for transforming the image with some really special lighting.
Williams explains technique #2 like this: “Let’s say I want to have an image fade to transparency from the top of the image for a graphic-design project.” He makes this process really easy for the portrait in his example by using a Layer mask and a foreground-to-transparent Gradient.

It’s important to have the Gradient tool selected and the Gradient mode enabled, before proceeding further with the simple steps he provides, along with the recommended settings for various attributes.
Williams concludes the video with his third and final tip, which uses Gradients for color grading a very interesting landscape image with a solitary person silhouetted in the wet foreground of the scene. His original photograph looks pretty great as it is but watch what happens when he applies a bit of Gradient wizardry. Like WOW!
There’s much more to learn on the Brendan Williams instructional YouTube channel, and we strongly recommend taking a look. And don’t miss the tutorial we featured recently from another image-editing expert who explains how to upscale photographs like a pro with a variety of effective apps and quick A! secrets.


