Why do professional photographers rely on AI-powered culling, AI-automated editing and AI-guided cataloging apps in their daily workflow? What are they gaining? With the help of my counterpart at Aftershoot, I reached out to two well-established pros to get some answers.
Artificial Intelligence has been hogging the news lately, and strong opinion leaders have been debating the pros and cons. In our little corner of the world, the photo industry, most of the conversation has involved creative editing techniques that are, to one degree or another, powered by AI — Adobe Firefly, for instance.

Pros Have Different Needs
But for professionals and prolific amateurs who process a thousand or more images every week, AI has been harnessed to streamline routine tasks like culling, removing duplicates and organizing collections. And many AI post-processing programs can learn the exact editing habits of pros and can replicate their editing actions with precision and accuracy.

One of the major players in the AI-assistance arena, one that we’ve read a lot about, is Aftershoot. So I contacted the person who handles their public relations and external communications, Liliia Onkhonova, and asked her to present some specific questions to a few of their customers. Two high-profile pros responded very eloquently, and we report their answers here.
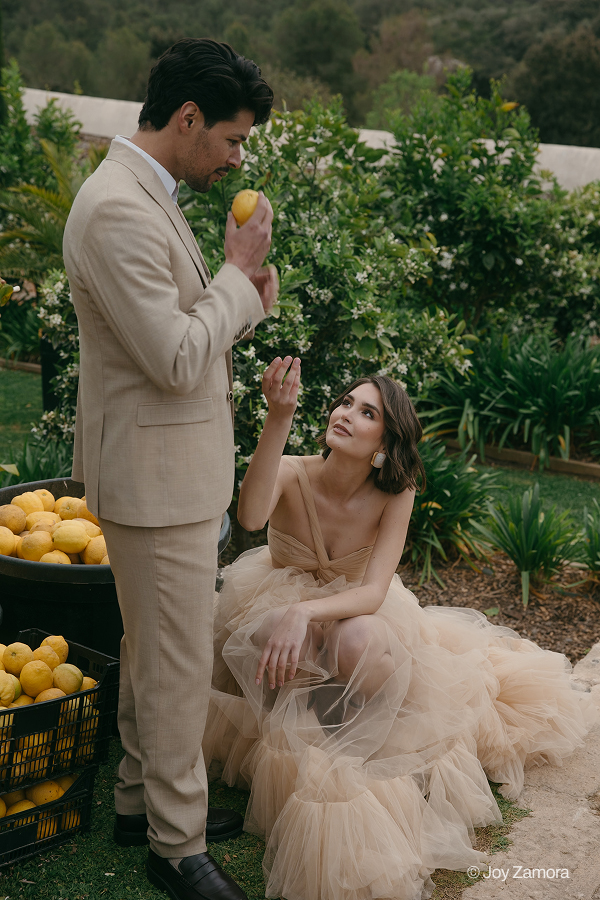
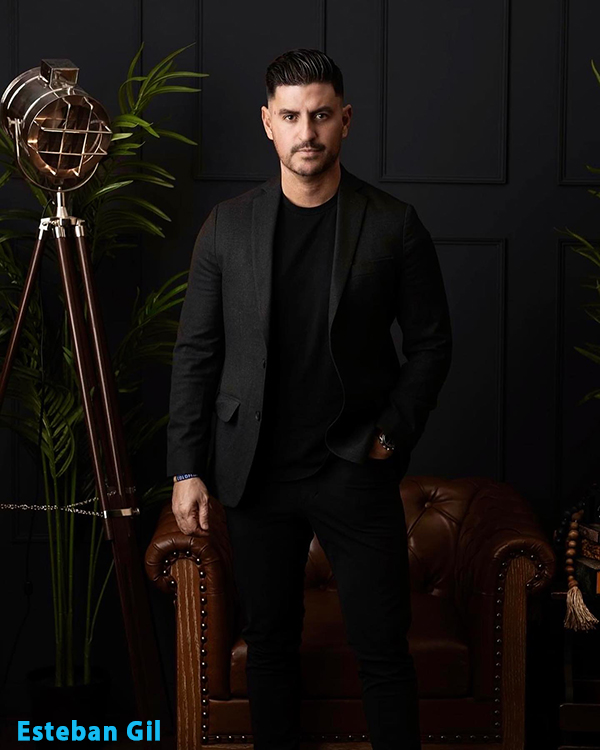
Esteban Gil, a Connecticut-based wedding photographer and educator based in Guilford, CT, and Joy Zamora, an award winning destination wedding photographer in Spain, Italy and elsewhere in Europe, provided detailed information about the benefits of AI-powered post-processing.
For both, the major benefit was the time they saved by eliminating routine tasks. We could have guessed this, but the earnest response from successful, seasoned pros is what we wanted to hear, in their own words. We also learned a bit about how they reinvested some of the time they save.

The single greatest benefit, according to Esteban Gil, is time allocation. He answered: “As a business owner, entrepreneur, and most importantly, a dad, I can honestly say the greatest benefit is not having to sit in front of a computer for 10–20 hours per wedding. I now have time to work on other aspects of my two businesses, be more present for my kids, and do so many other things.”
He added, “Time-saving has been the most significant change since I started using Aftershoot. Before I was introduced to it, the average time it took me to cull through roughly 5–7,000 images per wedding was around 8 to 10 hours. If you’re a wedding photographer, you know what a tedious task this can become. After being introduced to Aftershoot and training it to a point where I felt comfortable letting it cull images for me, those 8–10 hours are now more like 1–2 hours of work. In that time, I’m able to check the results from Aftershoot and correct them within the software so it learns from my decision-making.”

Joy Zamora agreed. He said, “Honestly, the biggest advantages are pretty obvious. On one hand, the amount of time you save is huge — you can use it to focus on other things, like growing your business and giving your clients the kind of high-quality experience they truly deserve. I get to stay close to them and really take care of their needs.”
Joy continued, “I’m saving around 80% of my post-production time because of AI, in this case, Aftershoot. It used to take me around 10 hours to fully edit a wedding, plus another two hours just to select the photos. But with my latest projects, I’ve only spent about two hours total — just enough to supervise, make sure everything looks good, and tweak a few settings so the AI keeps learning from my current taste and keeps evolving with my personal style.”
More Time Means More Opportunities
Both pros have been able to expand their businesses and pursue extended activities.
Esteban has participated in workshops and speaking engagements and, along with his girlfriend Mandy Wright, has started a podcast called Switching Lenses.
Link to Esteban Gil’s Instagram.
Joy also has been able to create a podcast as well as an online course for photographers and creatives.
Link to Joy Zamora’s Instagram.
AI Editor of Choice
This shouldn’t come as a surprise, since Aftershoot contacted these guys, but both favor that brand, and their reasons were strikingly similar. Both said they prefer Aftershoot because of the clear and reasonable pricing structure, ease of use, outstanding product support and, most important of all, superior results. Both also indicated that Aftershoot is actively engaged in learning more about professional photographers’ workflow and thereby improving their product.
Summary
Professional photographers can save time — and therefore money — by using AI to automate some routine editing tasks like culling and organizing. In most cases, the AI software learns their creative editing style and can apply it to batches of images, achieving the same effect as editing each image individually.
In the category of full-service AI editors that include batch retouching, culling and other operations required by professionals, Aftershoot is a major player, but there are other you may want to consider.
Here are a few of the names we hear most often (in alphabetical order).
Aftershoot
Excire Foto
Imagen
Neurapix AI
On1 Pro
Join the Shutterbug Community!
Sign up for an account—it’s easy and FREE. Subscribe to our FREE newsletter (find the sign-up form on our homepage) and bookmark Shutterbug as a Favorite on your browser.
Visit our Gallery section and spend five minutes or less uploading your best shots once a week. You might even become a Shutterbug Photo of the Day photographer!
In the Galleries, you’ll see the incredible work of thousands of photographers from around the world. We encourage you to add your own images to our ever-growing collection. It’s an excellent platform to connect with other photographers and share your knowledge and passion for photography.
(If you’re worried that submitting images to the Photo of the Day gallery might be complicated, it’s not. Check out these short 1-2-3 directions.)
—Jon Sienkiewicz
Find more articles written by Jon Sienkiewicz.


