
NEW Nikon Z5II: Big Features, Small Price
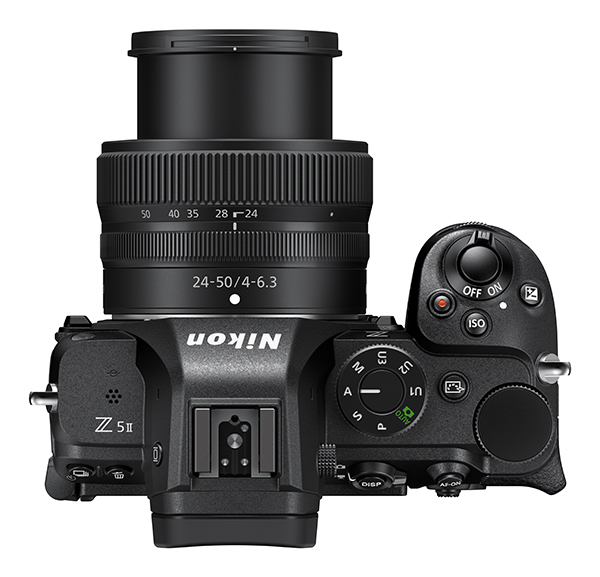
Nikon just announced the Nikon Z5II, a full-frame intermediate-level mirrorless packed with high-end, high-performance features and priced at SRP $1999.95 with Nikkor Z 24-50mm f/4-6.3 lens ($1699.95 body-only).

Certain to be a market disrupter, the new Nikon Z5II features film-inspired “looks” that instantly change the color characteristics of a scene and are conveniently accessible via a dedicated Picture Control button. To sweeten the pot, customers who purchase the Nikon Z5II and register their camera will also get one year of Lightroom + 1TB of Adobe Creative Cloud storage (Limited Time Offer). Note that Lightroom is typically billed at $11.99 per month, so this represents a significant added value.
Key Features of the Nikon Z5II
Front, back, top covers made from magnesium alloy
Full-frame (FX)
24.5-megapixel BSI CMOS sensor
EXPEED 7 processor (same as Z8 and Z9)
5-axis in-camera vibration reduction (VR) system
Focus-point VR function
OLED EVF with 3000 nits brightness (“nits” = cd/m2)
3.2-inch Vari-angle touchscreen LCD monitor
14-bit Raw
3D tracking AF
Auto switches from AF-S to AF-C when needed
Bird detection mode

Key Features of the Nikon Z5II (cont.)
14 fps burst (mechanical shutter) up to 30 fps (electronic)
Optional Pre-Release Capture function
Autofocus detection down to -10EV (up to +19EV)
ISO sensitivity 100 to 64,000, expandable to ISO 204,800
Extended shutter speeds up to 900 seconds (15 minutes)
Pixel Shift shooting options
Dual SD card slots, SDXC UHS-II compliant
Dedicated Picture Control Button
Full array of Creative Picture Controls
Compatible with Nikon Imaging Cloud
Extensive in-camera image editing, Raw processing
Robust weather-resistant seals
EN-EL15c Rechargeable Li-ion (accepts EN-EL15a & EN-EL15b)
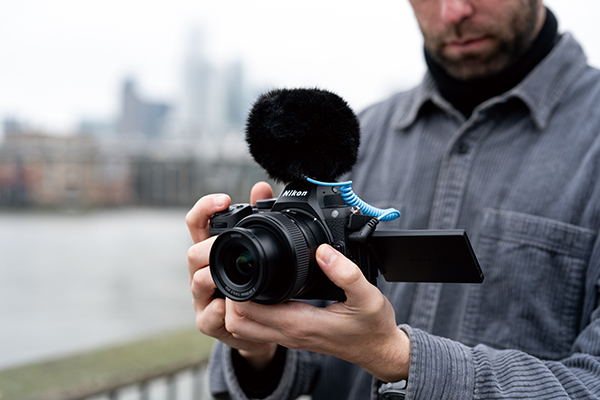
Nikon Z5II Key Video Features
4K/30 UHD video with no crop
12-bit N-RAW video (first camera to record N-RAW on SD)
N-Log
Full HD/120p
UVC/UAC-compliant USB port
Headphones & microphones port

Nikon Z5II Dimensions
5.3 x 4.0 x 2.9 inches (134 x 100.5 x 72 mm) WxHxD
24.7 ounces (700 g) with battery and memory card

Price & Availability
The new Nikon Z5II full-frame mirrorless camera will be available in April 2025 for the SRP of $1699.95 for the body only. Also available with a Nikkor Z 24-50mm f/4-6.3 lens for $1999.95 or a Nikkor Z 24-200mm f/4-6.3 VR lens for $2499.95.
Read our review of the Nikon Z6III here.
∞ Shutterbug Staff


