Winter is often regarded as the doldrums for nature and wildlife photographers here in Michigan. Despite the unusually warm weather this year, opportunities for outdoor photography have been quite limited, often resulting in gloomy two-hour long outings in the wild yielding little more than a few images of withered brown leaves, and maybe a squirrel or two.
Let’s face it: Processing images is often an arduous time-consuming task, regardless of the software you use. Another truth is that most photographers would rather be out shooting than sitting behind a computer.
Today’s Lightroom tutorial is designed to get you back out in the field as soon as possible by explaining how to take the adjustments you made to an image and copy them to one or more other photos in your Lightroom Library. It’s easy to do and will dramatically streamline your workflow.
Image-editing expert Anthony Morganti is a favorite among Shutterbug readers who appreciate his quick and effective lessons, and in this episode he demonstrates three different ways to get the job done in a hurry without sacrificing the quality of your results. There’s also a link beneath the video for downloading free keyboard shortcuts that will further accelerate every image you edit.
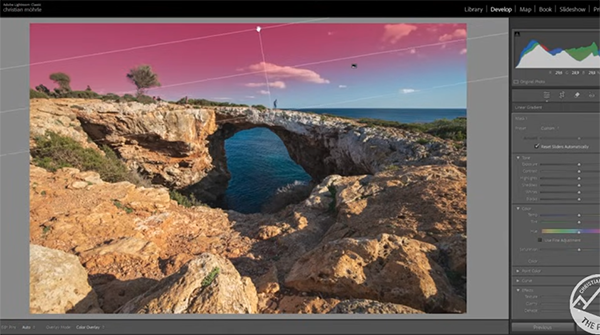
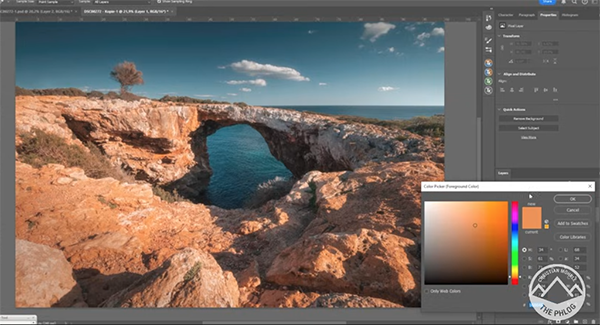
Morganti begins this lesson with his preferred method for copying edits from one image to others. You’ll see how this approach works by watching him edit a Raw file of a drab seaside shot before copying the enhancements. It’s worth watching what he does to transform the photo into a very compelling image. He bumps up exposure, opens the shadows, modifies highlights, adjusts Clarity and Texture, and significantly improves color.
With the edit compete, Mohrle looks at his filmstrip and says this: “I have a couple other images that are very similar and I’m pretty sure that the edits I did to this image can be quickly applied to the two other images as well.” This method begins in Lightroom’s Develop module by clicking on the image in the filmstrip to which you want to copy the previous adjustments.
Then all you need to do is click on the Previous button at the bottom right of the screen. Once you do that all your earlier edits are instantly copied over to the second shot you just selected. Couldn’t be easier right? There is one disadvantage, however, to this super-simple technique: It copies every single adjustment and you can’t pick and choose from among the various enhancements you made.
Sometimes this isn’t a problem, while in other instances you want more control over the specific adjustments that are copied to a second image. And that’s where Morganti’s slightly more involved two other methods come into play. Here’s an example: Let’s say your first edit involved cropping to straighten a crooked horizon, but that adjustment need not be copied, because the second image is perfectly straight.
Watch until the end so you can choose the best copy technique for the task at hand. Morganti’s instructional YouTube channel is full of other very helpful techniques, so be sure to take a look at what he has to offer.
Today’s portrait tutorial from the In Your Fayes YouTube channel borrows a popular landscape photographs technique that will supercharge your portraiture skills and enable you to capture beautiful people pictures that really grab attention.
The topic at hand is shooting during the soft, cool light at Blue Hour as the sun drops below the horizon. This behind-the-scenes episode from a Dutch pro known as Faye discusses every step of the process. It’s a foolproof method that’s appropriate for photographers of all skill levels.
Faye violates one of the “rules” that we preach often; namely the importance of careful advance preparation so you’re ready to shoot as soon as you arrive at a pre-determined location. In this case Faye’s intentional lack of forethought was for the sake of instruction, so you can see everything she recommends before snapping the shutter.
Other than choosing a model (that’s up to you), she hits the streets of Auckland, New Zealand before scouting a spot, determining her specific gear, and everything else that typically goes into a successful a professional session. We don’t recommend following this approach, but rather that you use Faye’s advice to check off all the key aspects for getting the job done.
Faye gets to the meeting spot early so she can spend a few moments contemplating the mood she wants to convey. It’s already 7:30pm when the model arrives, with Blue Hour looming, so they take a quick stroll to find a good place to start shooting. You’ll pick up some helpful tips for choosing a location that works particularly well when nighttime lights are about to transform the streets.
There’s plenty to learn as Faye freestyles the shoot, including a variety of compositional advice for employing car lights and sparkling cityscapes into the background of your portraits. You’ll also want to play close attention to how she directs the model while suggesting a number of flattering poses.
Faye’s goal is achieving a “cinematic look,” and the camera settings she recommends are part of the equation for achieving this compelling effect. She includes this information in captions on her images so you’ll understand exactly how they were captured. The right lens is important too, and you see the chosen focal length in the captions as well.
So find yourself aa willing subject (male or female) and do the advanced prep that Faye recommends. Then pack a minimum amount of appropriate equipment and hit the streets for a rewarding evening of Blue Hour portrait photography.
Coffee on the table, down jacket, and hat. In the room where I’ve just opened my computer, it’s barely 38 degrees Fahrenheit (3 degrees Celsius). The fire behind my back started crackling cozily just a few moments ago. Slowly and reluctantly, the spruce logs are beginning to release the solar energy they have been storing for decades through photosynthesis. Outside the windows, the newly born February has realized what January irresponsibly ignored and has begun to shower my cabin with large flakes of snow. The birds outside the windows are taking away, seed by seed, the sunflowers I have scattered for them. And I, at a pace similar to theirs, letter by letter, add to the first Photography News of the month.