Don’t DESTROY Photos by Misusing These 3 Editing Tools (VIDEO)
If there’s one overriding post-processing strategy it’s to avoid image-killing mistakes by apply enhancements carefully and with restraint. That’s because a heavy-handed approach often results in “overcooked” photos that have a strange relationship with reality.
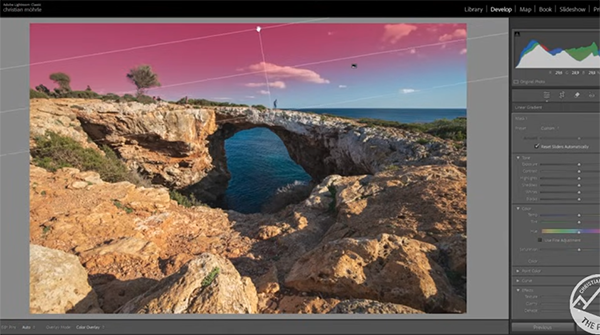
This episode from our friends at f64 Academy takes a deep dive into three specific sliders in Lightroom and Adobe Camera Raw (ACR)—Dehaze, Texture, and Clarity—that require very special care. And as instructor Blake Rudis warns, “these settings can potentially destroy photographs if overused.”
Rudis is a post-processing expert whose popular YouTube channel has this laudable motto: “We strive for the best Photoshop tutorials, and we pledge to leave no photographer of any skill level behind.” The goal of today’s how-to video is to help you avoid overly processed images and create balanced, professional edits with natural-looking results.
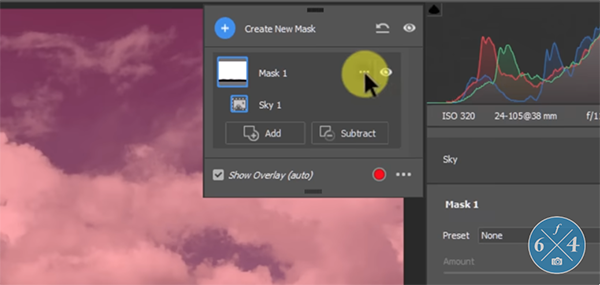
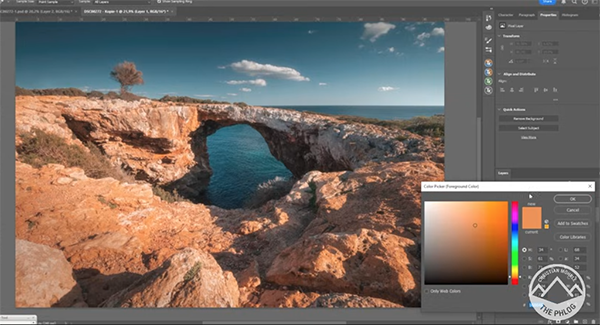
In the next 15 minutes you’ll learn when why the aforementioned sliders can cause problems when applied globally instead of selectively, and Rudis provides several effective alternative techniques for achieving superior results. He also demonstrates how to apply Dehaze, Texture, and Clarity enhancements locally to fine-tune these effects for more control and a much cleaner look.
Unlike most of the tutorials we post, this one begins with clear-cut advice on what NOT to do, and many of us—beginners and pros alike—could have greatly benefitted many times in the past by understanding these common errors.
With the mistakes out of the way Rudis turns his attention to what you really want to know; namely practical tips for using Dehaze, Texture, and Clarity tools to maximize image quality, enhance workflow, and take your photo editing to the next level. Bottom: use the proper techniques and do so with moderation. You can always go back and increase any of the effects after scrutinizing your initial attempt.

The popular f/64 Academy YouTube channel is full of very helpful tutorials like this one. So be sure to pay a visit when you have time to explore.
We also recommend watching a post-processing tutorial featuring another Adobe expert who demonstrates a powerful Lightroom technique for shifting colors to transform dull photographs into keepers with a much more attractive color palette.