
3 Photo Mistakes That Hold You Back & How to Fix Them Fast (VIDEO)
One difference between pros and amateurs is that the former make fewer mistakes and rarely commit an error more than once. This tutorial from one of favorite instructors reveals three common mistakes that you may be committing repeatedly, and how to fix them once and for all.
Instructor Pierre T. Lambert is an accomplished pro who set aside a hard-earned engineering degree to pursue his true passion for photography. In the next 12 minutes he reveals a trio of unforced errors he made when first starting out so that you can avoid them as your imaging skills evolve.
Lambert says that his goal for today is to eliminate the frustration of capturing unimpressive photos when the situation and conditions are ripe for great imagery. His tips will enable you to quickly solve these issues and come home with photos that “are emotionally interesting for us and our viewers.”
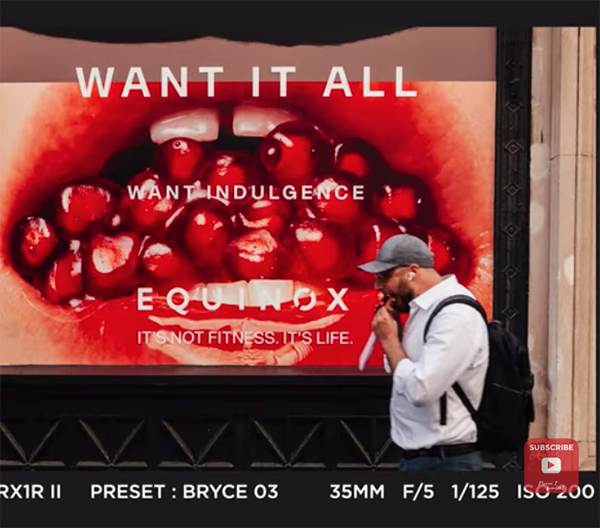
Avoiding this trio of errors doesn’t require any special equipment, but rather how you approach a given situation. His first suggestion involves how you perceive the world around you and “changing where you look.” This means choosing the best vantage point for the task at hand and considering how a minor shift can have a big impact on your results.
In short, Lambert recommends first taking the “obvious shot” and then experimenting with different perspectives that may provide a more compelling photo. Sometimes, in fact, the most interesting view may even be behind you. In his first example, looking up (rather than shooting straight ahead) entirely transformed the power of an image.
Another familiar mistake, related to the first, is simply “not moving enough.” Because this is a behind-the-scenes video on the streets of New York, it’s clearly evident how this faux pas can result in less than ideal photos. One recommended solution is to compose a scene with “juxtaposition in mind.” By this he means incorporating two elements with the frame that appear to interact with one another.
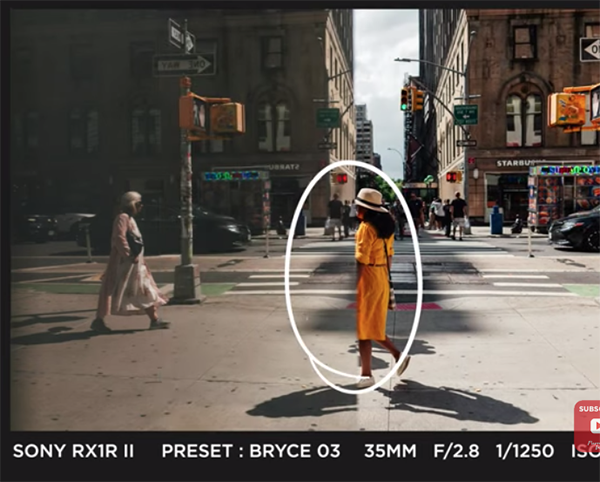
Here he provides striking examples of how he did this to perfection by including a person into a scene where this subject plays off another key object or the background in the frame. We’ll let Lambert provide more details on these two techniques, as well as a third that’s just as simple to accomplish.
Be sure to check out Lambert’s instructional YouTube channel—especially if street photography is one of your passions.
And don’t miss the tutorial we featured recently with another adept instructor who provides a six-minute beginners guide to using the Histogram in the camera and during post processing to consistently create photographs with perfect exposures.


