Utilizing a flash can be one of the best ways to take your photography to the next level. That said, I often see new photographers with a lot of potential become discouraged by the initial challenges of flash photography. Even experienced photographers make many of the same mistakes. That’s why I wrote this article – to share nine of the most common mistakes that I see photographers make when doing flash photography.
Last month we took a deep dive into Lightroom’s Tone Curves, explaining several advanced techniques. But there are also easier ways that less-experienced users can harness the power of these editing tools as you’ll see in the following video tutorial from the popular Signature Edits YouTube channel.
The instructor named Ryan demystifies the process so photographers of all skill levels can get in on the fun and significantly enhance images that need a bit of work to reach their full potential. As he says, “we’re going to make it super simple, super basic, and super practical so you can start using the Tone Curve in just about 20 minutes.
The episode kicks off with a quick overview of how Tone Curves work, and a helpful explanation of the interface. He also discusses the various options available, and why and how to use the different windows in the panel. You’ll also gain an understanding of why primary colors in digital imaging differ from those you learned in school as a kid when mixing paints for an art project.
With theory out of the way Ryan turns to specific techniques, and he quickly covers a lot of ground, so you may want to jot downs some notes for future reference. The first topic is an introduction to Lightroom’s Point Curves tool, and how to use it to make specific adjustments to different parts of an image. He includes the example of recovering contrast.
Ryan importantly compares the Tone Curve’s selective contrast adjustments to global contrast settings, and you’ll see how the former is much better approach. That’s because you’ll give photos much improved balance by limiting corrections to the specific areas that need to be enhanced.
Along the way Ryan provides helpful keyboard shortcuts to speed up the process, along with real life examples that you can download for practice. Other techniques include using red, green, and blue channels for selective color adjustments, employing the common S-Curve for better contrast and colors, and a helpful skin-tone correction for portrait photos.
The lesson concludes with directions for turning Tone Curve adjustments into presets for quick application, and a great recap of everything you learned. We recommend taking a look at the Signature Edits YouTube channel that specializes in lessons that simplify common tasks.
There’s a pretty big divide among photographers about the use of Photoshop’s innovative artificial intelligence (AI) tools when editing images. Some shooters are excited by the new technology, while other consider it “cheating” and question whether the resulting images can rightly be considered “photographs.”
Still other avoids AI simply because they feel images created with these tools just don’t look realistic. Regardless of where you stand on this ongoing debate, there are AI techniques that simplify the editing process and create photos that don’t look fake. Of course whether or not these image are, in fact, fake is a discussion for another day.
In today’s tutorial from our friends at the Mango Street YouTube channel, a great source of photo tutorials that “don’t waste your time,” you’ll learn 10 “mind-blowing” AI editing tricks to create “photos that actually look good.” These tips are easy enough for photographers of all skill levels and they take barely eight minutes to explain.
It’s possible to use AI tools in a way that merely speeds up common editing tasks that many of us accomplish manually—without too much of what naysayers refer to as visual trickery. Instructor Daniel Inskeep, founder of the channel, kicks off the eight-minute episode with a fast and effective method for changing the aspect ratio of photos. This trick utilizes what Photoshop refers to as Generative Expand.
Inskeep’s photo has a classic 4×5 “made-for-Instagram” crop. He then selects Photoshop’s Crop tool to bring up Generative Expand in the new contextual task bar. By simply choosing the 16X9 option from the dropdown menu that appears, the image is instantly stretched—with more headroom and footroom.
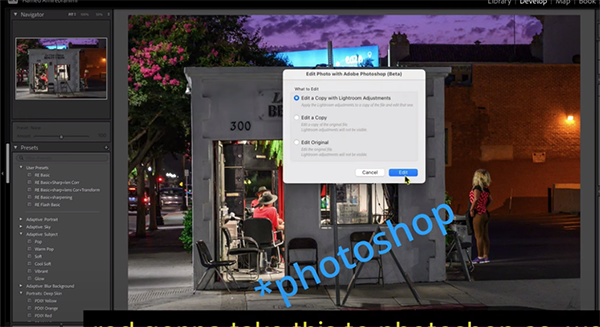
One task many of accomplish manually is removing distracting objects from the background of a scene. Inskeep demonstrates how AI accelerates this process with a studio portrait that has a light stand and a pipe intersecting with his subject’s head. Using Generative Fill, he types in “cloth backdrop” and the problem is immediately solved.
These are just two of the cool tricks you’ll learn while watching the video. Others include a quick way to remove people from an image, a precise method for colorizing photos, several helpful image restoration techniques, a foolproof technique for removing face shine from portraits, and much more.
The Mango Street YouTube channel is full of tips and tricks like these, so be sure to pay a visit to see what’s available.
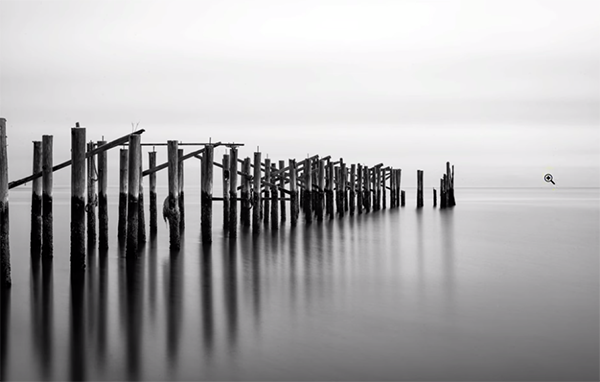
Adding a subtle vignette to an image is a great way to finish up an edit and an effective method for focusing a viewer’s attention on the central portion of your scene. But here’s the rub: While most processing software includes sliders that allow you to easily apply this effect, the results you achieve by taking this approach are often disappointing.
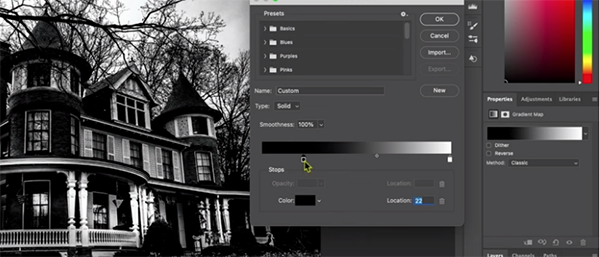
According to Utah-based landscape photographer Austin James Jackson, one of our favorite young instructors, there’s a much better way to get the job done, and you’ll learn what that is in the eye-opening tutorial below. James describes his technique like this: “I create a totally custom vignette in Photoshop that both brightens the center of my photos and darkens the edges.”
As you’ll see, this straightforward technique protects the bright spots in an image, and it’s totally customizable so you can easily dial in the perfect vignette for just about any photo you shoot—be it a landscape, a portrait, or even macro shot. This method is admittedly a bit more time-consuming that simply moving a slider, but if image-quality is your primary concern, the results you’ll achieve are well worth the nominal extra effort.
explains that a vignette is simply the darkening of edges in a photo, noting that “this is something I apply to every one of my images.” He further insists that the custom vignettes you learn to create, “will work on your images 100% of the time.”
The lesson begins with a demonstration of why the standard approach of dragging a slider is lacking in a number of ways, even if you utilize available options like protecting highlights, feather edges, and modifying the shape of the vignette. Oftentimes even adjusting the midpoint doesn’t help to deliver a look that isn’t more than just OK.
Iś you’re unwilling to settle for “decent,” a custom vignette for the specific image at hand is definitely the way to go. And the good news is that you can get the job done quickly without any expertise in Photoshop other than what you’ll learn by watching this video.
James walks you through the simple process with three different images, demonstrating how and why a proper vignette can make a world of difference to the impact of each of the shots. Rather than summarizing the technique here we’ll let the expert explain everything you need to know.
If you’ve never considered applying vignettes to your photos this lesson will quickly change your mind. And if you’ve tried the conventional approach in the past, and were displeased with the results, you’ll now understand the best way to add this compelling effect.
There’s much more to learn about shooting and editing landscape photos on James’ popular YouTube channel, so elevate your skills by taking a look.