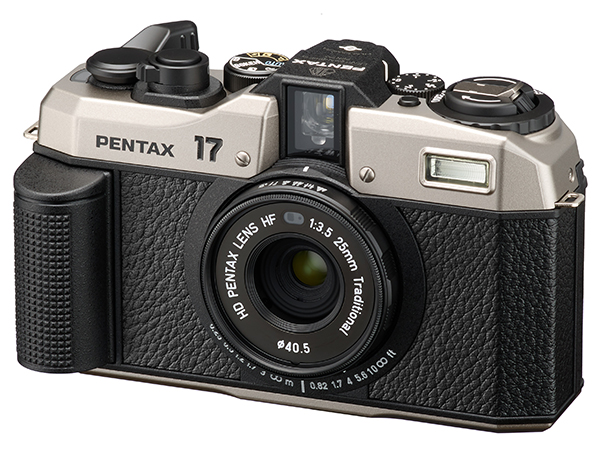
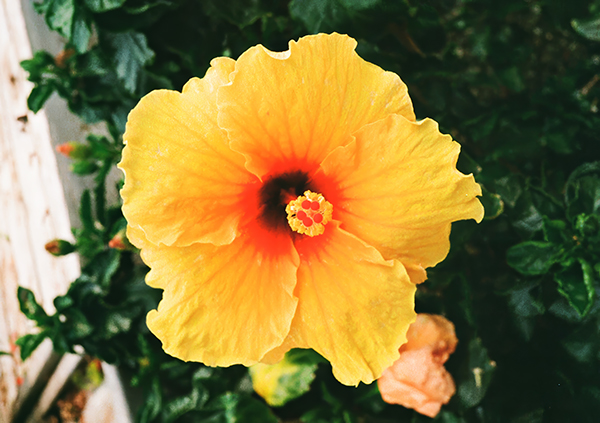
After months-long speculation and rumor, Ricoh Imaging announced the PENTAX 17 to the thunderous applause of legions of film shooters and dedicated Pentaxians. Shutterbug was fortunate to receive the loan of an early sample for evaluation. Here is our report.
Overview & First Impressions
A film camera in 2024—that’s news. Opening the shipping carton was fraught with intense anticipation. The PENTAX 17 sample enclosed therein did not disappoint. Felt like a real camera, and had many real-camera features, including a familiar film advance lever that won my heart immediately.

Obviously, a film-based camera cannot preview any of its capabilities the way a digital camera can, so I had to wait until I had charged it with film and had the celluloid developed and scanned. But for sure, the dry-firing was enjoyable, even though the tiny noise the shutter release made was underwhelming after my many years of experiencing multiple DSLRs and mirrorless camera ka-thunk their way through the exposure process; nonetheless, I was instantly sold.
Key Features & Specifications
• 35mm half-frame (17mm x 24mm images on standard 35mm film)
• Default vertical format
• Magnesium alloy top and bottom covers
• 25mm f/3.5 lens (equivalent 37mm) 61° angle of view
• Lens design has 3 elements in 3 groups
• Zone focus (6 focus zones)
• 25mm minimum focus distance

Key Features (cont.)
• Seven AE modes including Bulb and Slow Flash Synch
• Shutter range 1/350 to 4 seconds
• Albada-type optical viewfinder with closeup frames
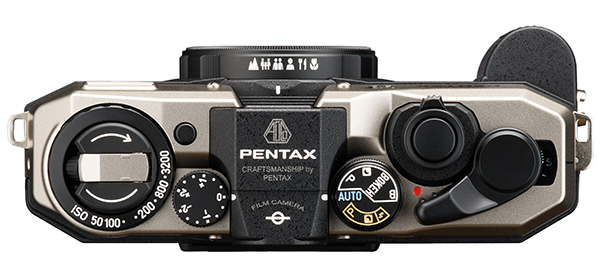
• Traditional film advance lever and manual rewind
• Selectable ISO plus Exposure Compensation (+2 / -2)
• Built-in flash, GN 6 (ISO 100 in meters)
• 40.5mm filter thread

Key Features (cont.)
• Film box top holder
• Three strap lugs to accommodate vertical or horizontal carry
• Compatible with optional CS 205 Cable Switch
• Requires one CR2 battery (not compatible with rechargeable CR2)
• About 10 x 72 exposure rolls per battery
• Measures 5.0 x 3.1 x 2.0 inches (127 x 78 x 52 mm)
• Weighs about 10.2 ounces (290 g) without film/battery

Focus & AE Details
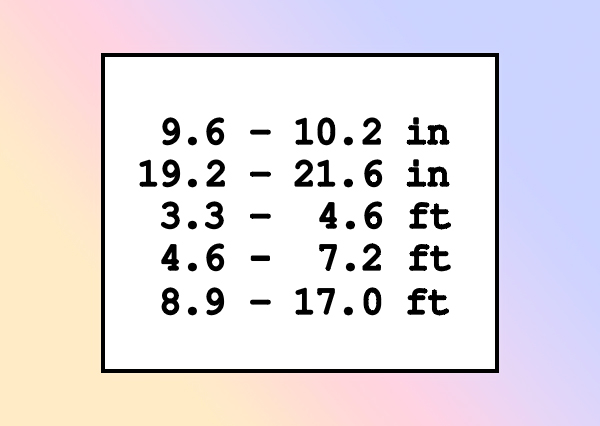
The PENTAX 17 compact film camera has six focus zones, 0.82 feet, 1.7 feet, 4 feet, 5.6 feet, 10 feet and infinity (0.25m, 0.5m, 1.2m, 1.7m, 3m, ∞). Although I didn’t find it in any PENTAX documentation, the supplied wrist strap is about 10 inches long, making it a handy measuring tool to establish the closest close-focus distance.
There are seven Auto Exposure modes:
· Full auto (Pan focus program AE, Auto flash)
· Standard (Program AE, Flash off)
· Slow-speed shutter (Slow-speed program AE, Flash off)
· Maximum aperture priority (Max aperture priority program AE, Flash off)
· Bulb (Bulb, Flash off)
· Daylight sync (Program AE, Flash on)
· Slow-speed sync (Slow-speed program AE, Flash on)

Exterior Construction, Fit & Finish
Nice! Excellent! Solid! These are just a few of the positive adjectives that popped into my mind when I unwrapped the PENTAX 17 and raised it to my eye. The viewfinder is very bright and the superimposed framing outline is easy to distinguish. The back pops open with an authoritative click when you pull up the rewind knob (just like in the old days) and the body is comfortable in the hand.
The PENTAX 17 screams “high build quality” throughout. You can’t ask for more than that.

Image Quality
Half-frame 35mm is not a new concept. Over the past 50 years or so, many camera manufacturers have produced half-frames, including the legendary and highly sought-after Olympus Pen series. The area of a 35mm 17 x 24mm half-frame negative is 408mm2, about 20% smaller than APS film’s 504mm2 area. Even if you don’t remember APS film, you can thank that monumental format failure for the size of an APS-C digital image sensor.
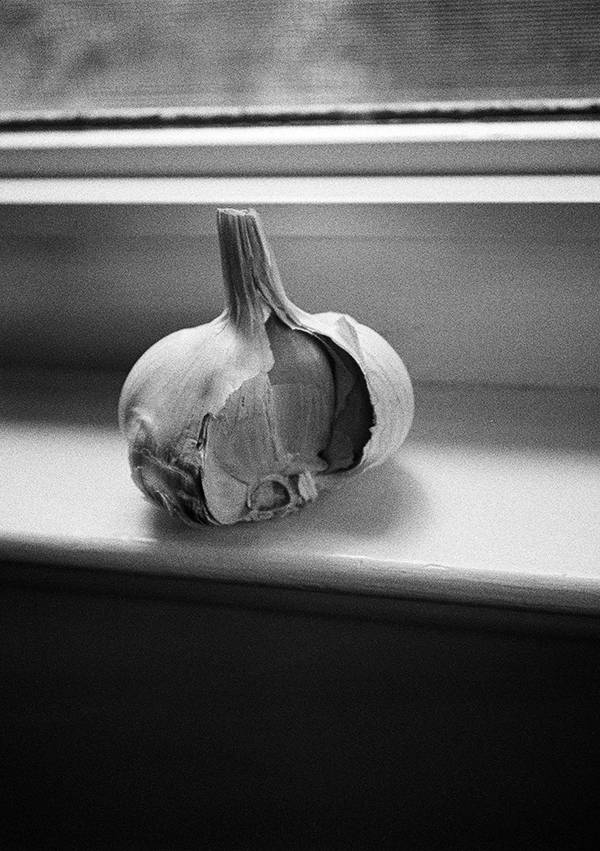
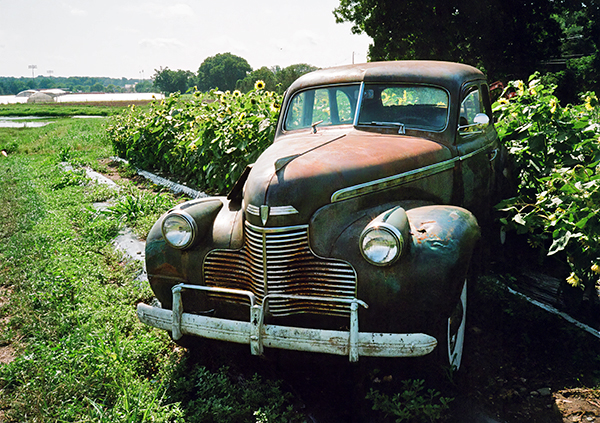
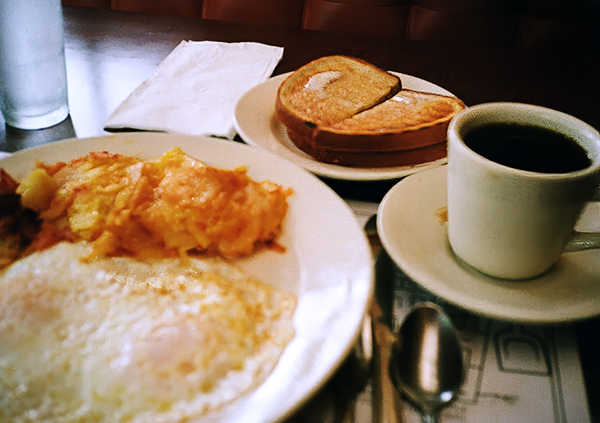
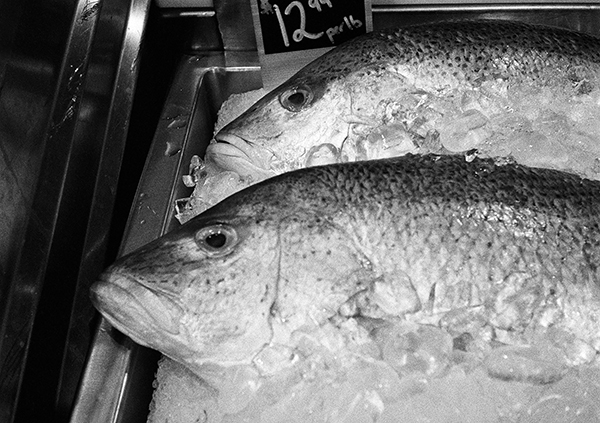
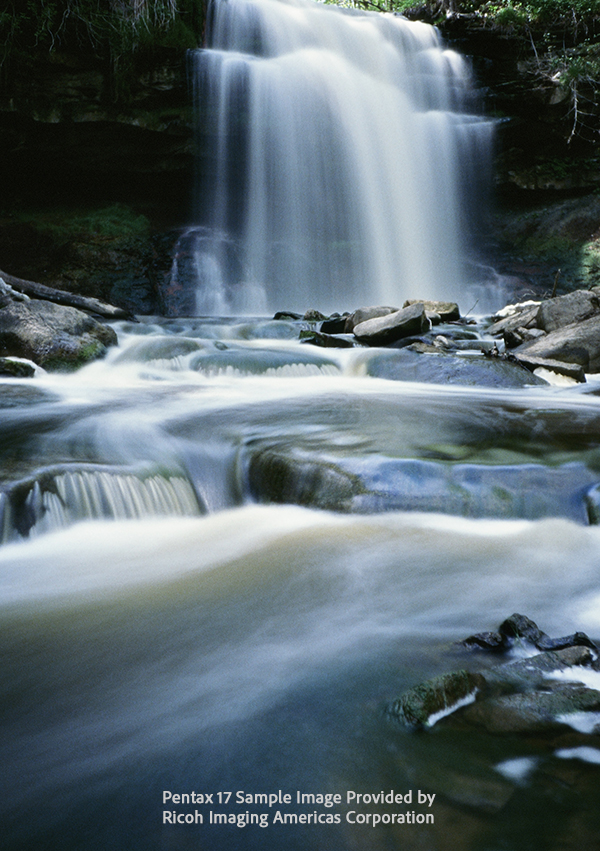
Evaluation of image quality must take the negative size into account. In general, the half-frame format is way more than good enough to produce excellent images. The PENTAX 17 squeezes every drop of quality from the film, despite its comparatively simple 3-element optical design. I was more than satisfied, even though I was mildly skeptical in the beginning.

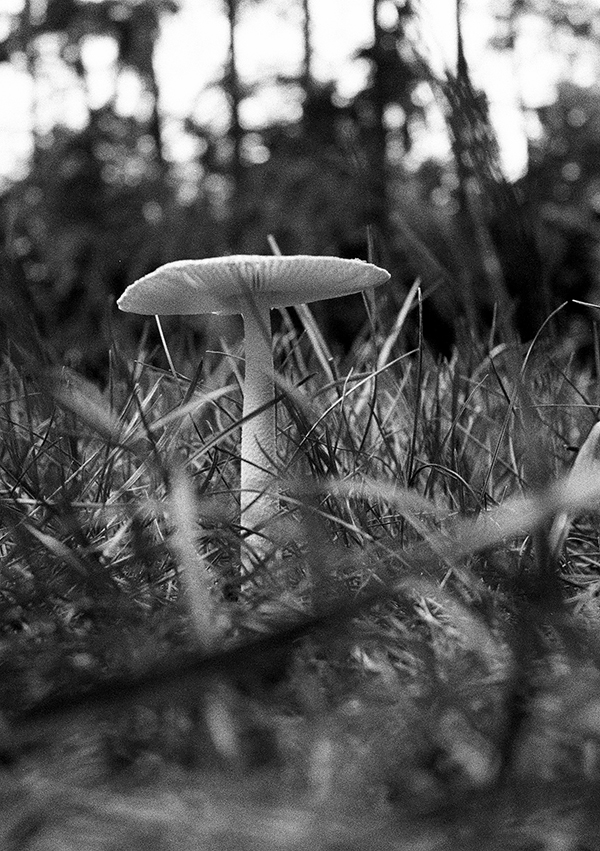
The monochrome image of the mushroom shown above is a great example of what this little camera can do. I’m glad I got down on my belly to sneak up on this bashful fungus, even though I’ll never get the grass stains out of my tee shirt.

Focus Cheat Sheet
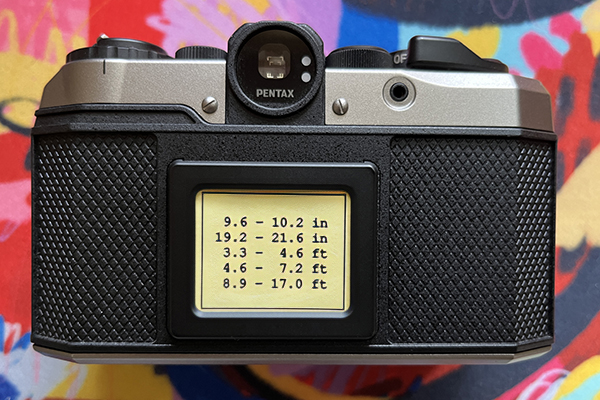
The film box top holder on the back of the PENTAX 17 is cool—just like cameras in the old days. But it’s doubtful that you’ll forget what kind of film you loaded. So instead of a box top, use the holder to display this cheat sheet. Copy this, or make one of your own. I omitted the ∞ Infinity setting because that one I can remember.

Film Processing
I sent the film to Roberts Photo Lab in Indianapolis, the processing arm of Roberts Camera (AKA UsedPhotoPro.com). It was easy—I just printed the order form and mailed the rolls off in a padded envelope. Actually, I used Adobe Acrobat to fill out the order form because I type more legibly than I print.
Roberts Camera is a great source for 35mm film, too. Take a look at this crazy Street Candy Psychedelic ISO 400 35mm color negative film.
Check out our recent story, Shoot Film? Here are 5 Labs that Develop & Print, for more information about having your film processed.
And for a comprehensive primer on getting started in film photography, read this: Start Shooting 35mm Film — Here’s a Complete Guide.

Conclusion
I can list five reasons why you want to buy this PENTAX 17 half-frame 35mm film camera.
1. It’s Film and it’s Fun
2. Exceptional build quality
3. Excellent overall performance under most lighting conditions
4. Scanned images are excitingly different than native digital images
5. Buying a new PENTAX 17 vs a secondhand film camera offers multiple advantages
Price & Availability
You can order a PENTAX 17 directly from Ricoh Imaging today for $499 or in a kit, offered exclusively at the Ricoh Imagining portal, that comes with one roll of Ilford HP5 Plus 400 black and white film, one roll of Kodak UltraMax 400 color film, two prepaid film processing coupons and 2-Year Extended USA Limited Warranty. The kit contains everything you need to shoot film today and costs $599 when ordered from Ricoh.
Currently, the PENTAX 17 is not available from Amazon, but that may change in the future. At any rate, you may want to check out the Official Pentax Store on amazon.com.

Looking for a great deal on a gently used, refurbished Ricoh/Pentax product? Visit Ricoh’s Product Outlet. At the time of this writing, you can land a refurbished HD Pentax-DA Fish-Eye10-17mm f/3.5-4.5 ED for under $300. [I own one of these fish-eye zooms and it’s awesome!]
Curiously, Ricoh Imaging’s website also hosts a totally separate Open Box/Refurbished section that features a wider range of available products, including a very desirable PENTAX 645z 3-lens (55mm f/2.8, 90mm f/2.8 and 28-45mm f/4.5) comprehensive kit identified as “trade show samples” at a steep discount from regular price. Inventory turns over quickly so check back often.

Scorecard
Pros
• Fantastic ergonomic feel, fit and finish
• Outstanding image quality under most conditions
• System of warning lights deters accidentally wrong settings
• Just the right size for a half-frame film camera
• Traditional film advance and rewind are nostalgic and satisfying
Cons
• $500 ($600 in kit) is strenuous
• Choice of zone focus settings overwhelming (see our workaround)
• Sadly unsatisfying “pip” sound when shutter pressed
• Lack of AF could stymie “Smartphone Generation”
• Film’s lack of immediate gratification (instant playback) will disappoint some
Want to Become a Better Photographer?
Begin by taking more pictures. Carry a camera everywhere you go (this PENTAX 17 is a great candidate!) and shoot even when you’re 100% sure the picture won’t turn out. Review all of your images with a critical eye and share them with others – and that includes posting the best on our Gallery. Subscribe to our newsletter (see sign-up form on our homepage) and bookmark Shutterbug as a Favorite on your browser so you can check back often. We’re in this for the same reason as you – we love photography, and we’re learning more about it every day.
—Jon Sienkiewicz
(As an Amazon Associate, Shutterbug earns from qualifying purchases linked in this story.)


