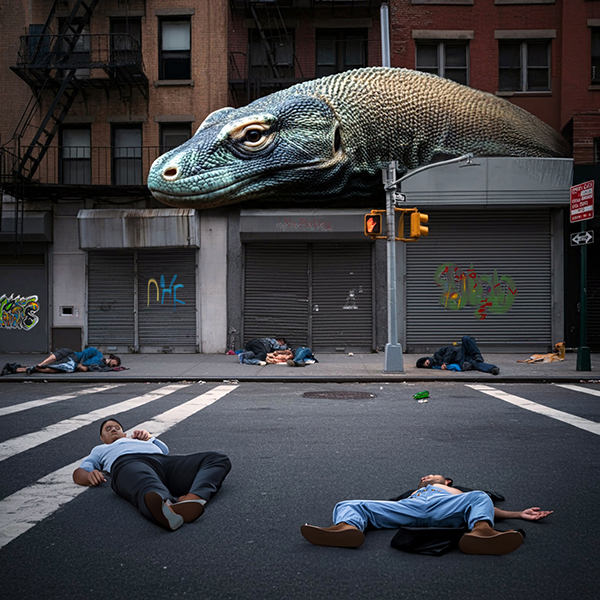
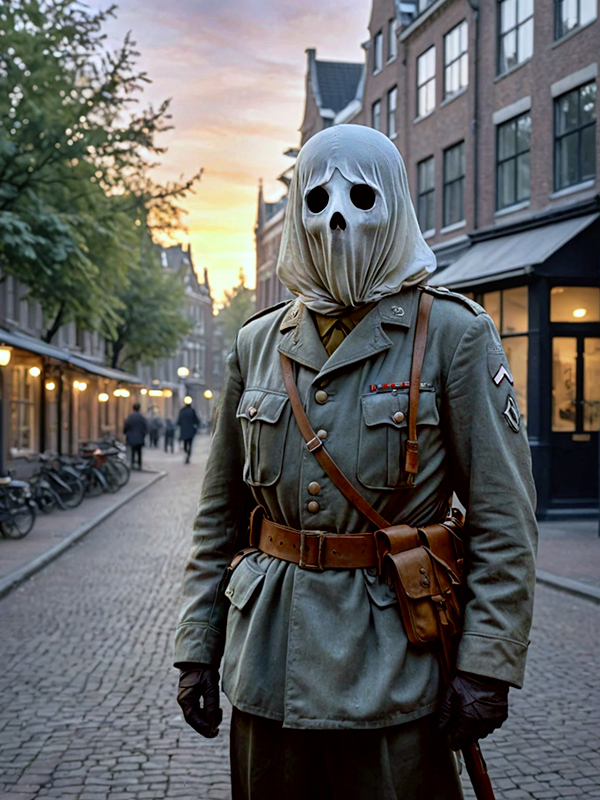
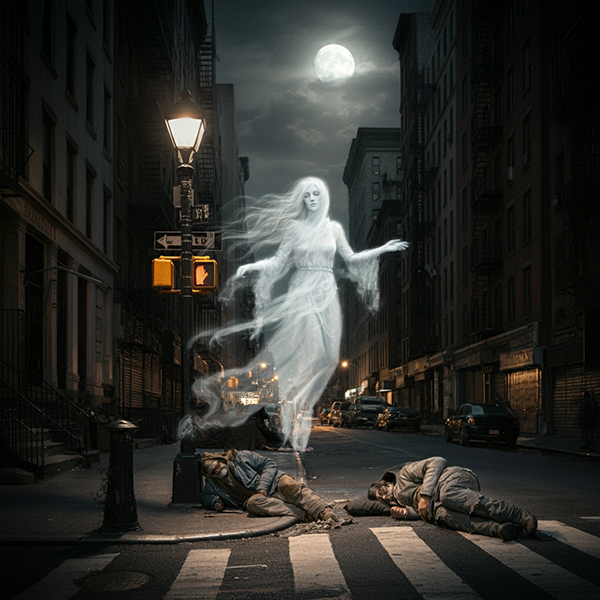
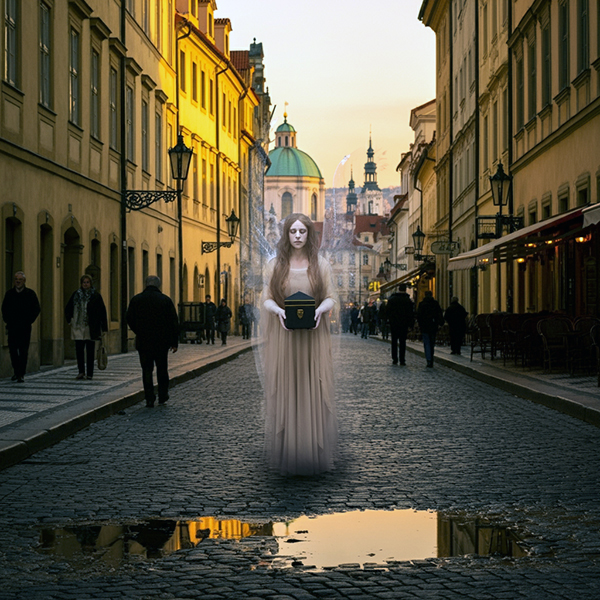
The Macabre AI World of Michael H. Stevens Makes Me Contemplate AI’s Legitimacy
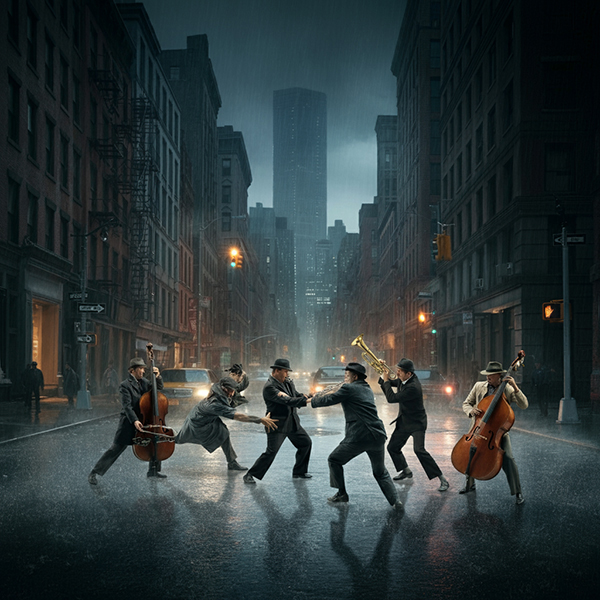
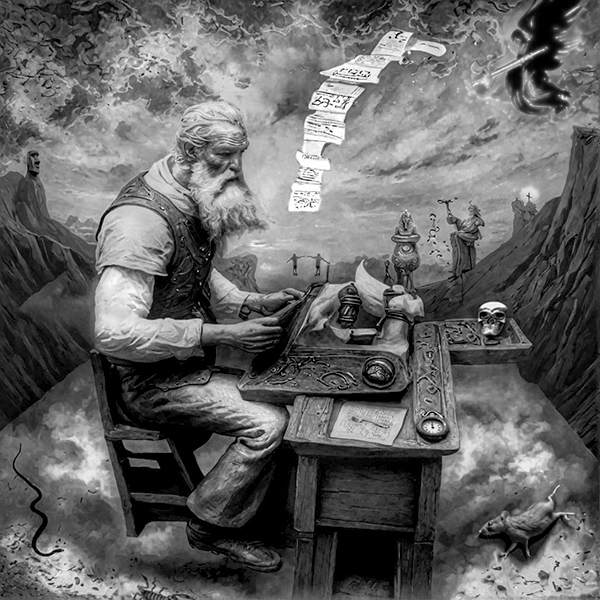
Can you call Michael H. Steven’s pictures photography? No — no way. In all but a few cases, no camera was involved. Creative imagery? Yeah, that label might work. But where does it fit? Somewhere near the intersection of Photography Parkway and AI Boulevard. Under the blinding neon sign of a mildly demented mind. But is it art?
So this guy Michael H. Stevens began showing up as a contributor to the Shutterbug Photo of the Day Gallery. (You can too—send us your best (non-AI) photos—click here for the 411.)
Michael clearly understands Shutterbug’s Photo of the Day rules—no AI creations allowed—and does abide thereby. Instead, he posts his more mundane offerings. He’s a photographer with unexceptional skills (his self-assessment is “pedestrian”); nonetheless, he sometimes submits something worth sharing with Shutterbug readers—this Faux Infrared image, for instance.
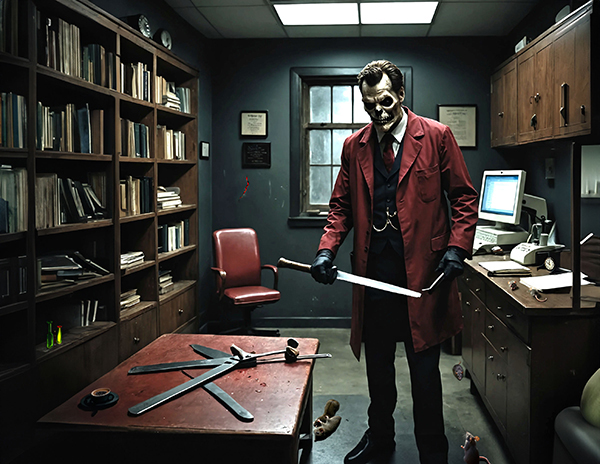
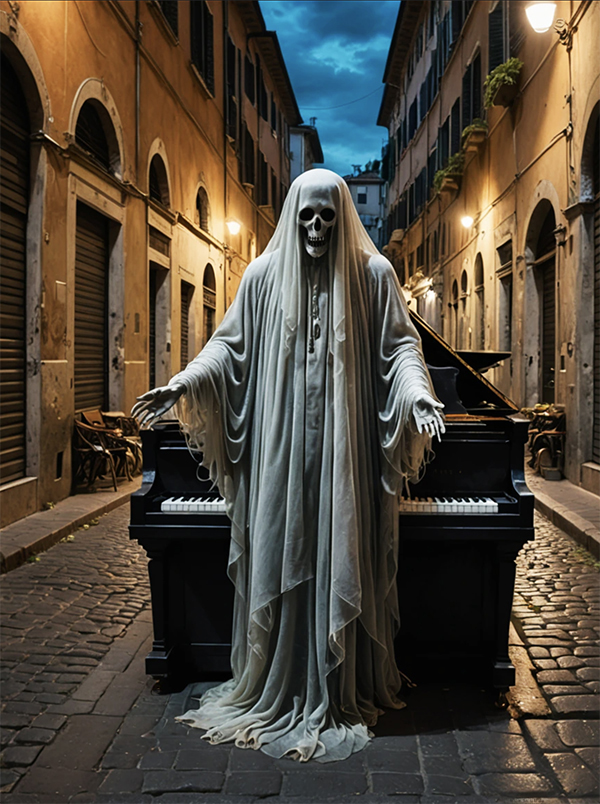
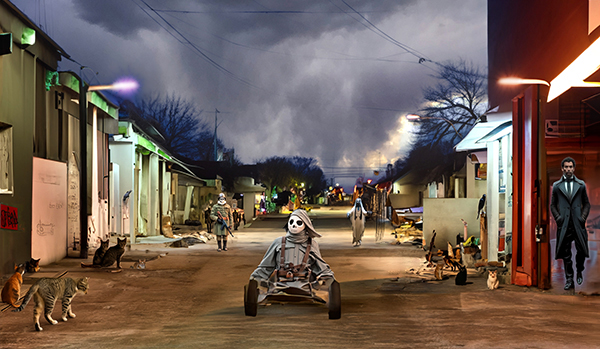
Turns out he’s a bit of an AI image maven. He uses AI tools with ballet-like choreography, always leveraging the unique feature of each particular AI engine to meld a text prompt into the perfect starting point, and thereafter spends days—sometimes weeks—adding individual bizarre elements to each creation. Every picture is unique, and each was created using more than one tool. He uses Photoshop and Adobe’s Firefly extensively, but also engages other digital image editors. He doesn’t say which, but you can guess.
Why?
“There was this kid in my high school class,” Michael told us. “He drew the most fantastic pencil sketches in his notebook during math class — and history class — and during detentions. Amazing stuff. So realistic. I was envious. Meanwhile, I couldn’t even draw a stick figure of a Hostess Twinkie.”
“Photography provided a partial solution for me. I could create things my abnormal lack of psycho motor skills prevented me from drawing or painting.”
“I still had a longing — I could visualize spectacular imagery, but too often, reality was unwilling to comply. So when the early AI engines appeared, I discovered that I was able to describe what I saw in my brain in simple language, and AI could manufacture my creations.”
AI Artwork Legitimate?
“I imagine that painters reacted to the arrival of cameras the same way photographers react to AI,” Michael said. “Not genuine — fake — rip-off — etc. And all were right. In an instant (plus develop and print time) a photographer could snatch a scene that a perceptive painter would reconstruct from agile memory, sketch, and then ultimately paint.”
“Fast forward to the 21st century and we find ourselves in a similar situation,” he continued. “You can paint a flower, and you can photograph a flower. And, without leaving the house, you can prod an AI engine to produce a flower from—well, there’s a lot of debate where the image actually comes from, but that’s all transparent to the user, so it’s not relevant to the creation process, providing it’s not stealing someone else’s intellectual property.”
You Cannot Copyright AI Art
“Is there a clear ruling on that?” Michael asked. “I read on Google that ‘…works created with AI may be eligible for copyright if they reflect the creative choices of a human user. For example, if a human adds content to an AI-generated image, it may be eligible for copyright.’ Google could be wrong, but this works for me.”
“Every image I complete includes dozens—if not hundreds—of altered and edited elements. Those edits certainly reflect my creative choices.”

My Personal Take on the AI Situation
I’m not speaking for Shutterbug here, I’m speaking for myself. AI is here to stay. It’s virtually impossible to use Photoshop without encountering AI at some level. Using the Remove tool seems innocuous enough, but it leverages AI, same as Generative Expand or Generative Fill. So love it or hate it, we’re finding a way to live with it.
Don’t let your camera get cold. AI image creation can be deeply hypnotic and alluring, but don’t let it dominate your photographic expression. Photography is about taking pictures, not making pictures.
I’ve said it before, and I’m saying it now. Our artistic goal is to get what we want. When we let AI do the heavy lifting, it’s often more a matter of wanting what we get instead.

Read other Shutterbug articles about AI:
Photoshop (Beta) Generative Fill Lets You Change Everything
Try Adobe Firefly for Free & Grasp the Power of AI
Adobe Adds Exciting Generative Expand Feature to Photoshop (beta)
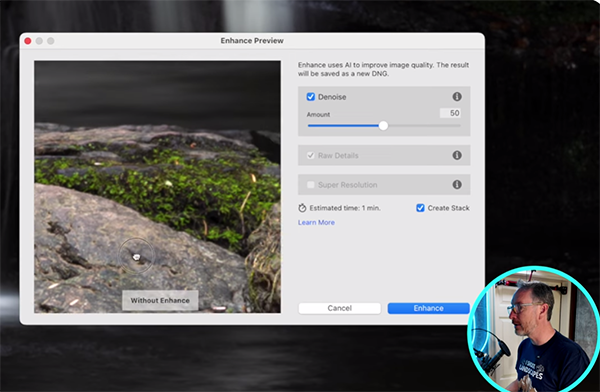
How Will AI Shape the Future of Photography? (VIDEO)
Want to Become a Better Photographer?
Begin by taking more pictures. Carry a camera everywhere you go and shoot even when you’re 100% sure the picture won’t turn out. Review all of your images with a critical eye and share them with others – and that includes posting the best on our Gallery. Subscribe to our newsletter (see sign-up form on our homepage) and bookmark Shutterbug as a Favorite on your browser so you can check back often. We’re in this for the same reason as you – we love photography, and we’re learning more about it every day.
—Jon Sienkiewicz