Why Pros Rely on Neurapix AI Plugin for LR Classic
Professional photographers are always on the lookout for reliable ways to streamline their workflow, automate tedious, repetitive tasks and bolster the consistency and clarity of their creative vision. Thousands of photographers worldwide have incorporated Neurapix into their post-processing procedures. Two highly successful pros tell us why they adopted Neurapix and how Neurapix has affected their businesses.
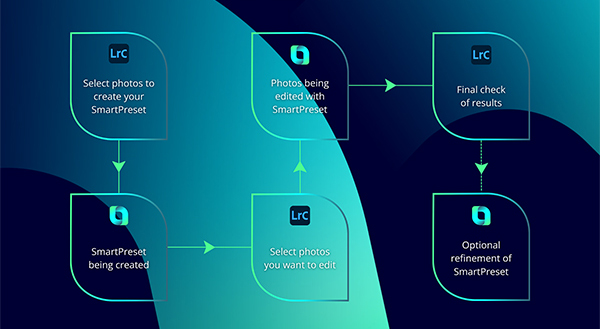
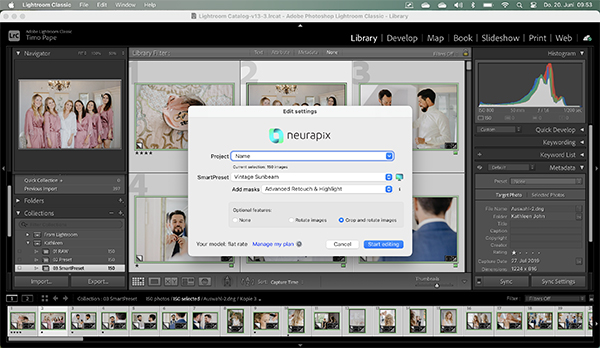
With more than 100 million processed images, Neurapix is a major player in the AI-based image processing arena. Their advanced technology analyzes how you process and edit Raw images and learns your individual style and preferences. It then generates dynamic, fully-adjustable SmartPresets that can be used as plug-ins in Adobe Lightroom Classic to replicate your post-processing patterns—automatically. Neurapix can edit hundreds of your photos in just minutes, applying your personal method and taste with consistent and excellent results.
![]() Meet the Pros
Meet the Pros
We interviewed two professional photographers to learn about their experiences with Neurapix.
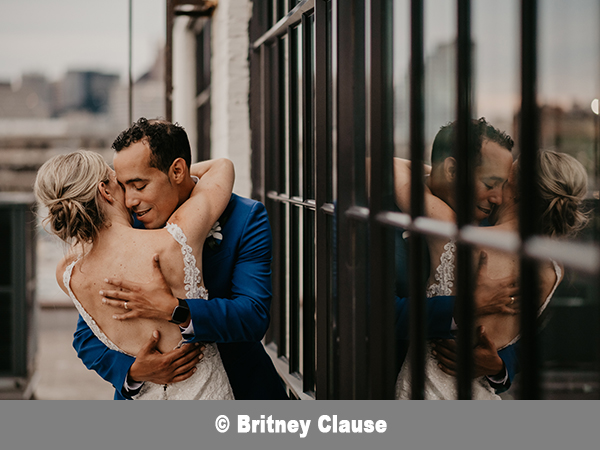
Britney Clause was a wedding and portrait photographer for 12 years and now works as a photographic solutions analyst. In this role she reviews photography programs that help photographers streamline their workflows and enhance overall user experience.
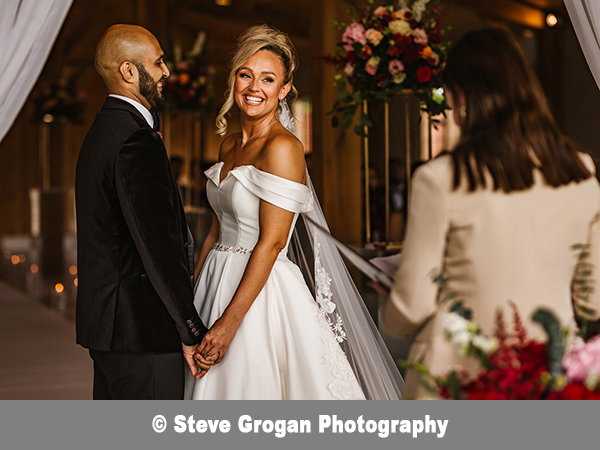
Steve Grogan is a documentary wedding photographer based in Manchester, UK. He describes his approach as “100% natural documentary, photographing real moments as they happen” and has been using Neurapix for about six months, having previously used another AI editing service.
What Neurapix Does for Photographers
When asked to describe the impact of Neurapix, Britney said, “Previously, I outsourced larger volume sessions and weddings, which gave me time to focus on marketing and shooting. However, the turnaround time was about a week, followed by me having to make corrections to the edits. With Neurapix, I can edit locally, and the AI closely matches my style, needing only minor tweaks here and there. In my experience, that streamlined workflow means I can get images delivered in just a few hours.”
To the same query, Steve told us, “Using Neurapix has reduced my editing time by around 50%. I’ve always taken great pride in my post-production work. I’ve never been the type to just apply a pre-set then move on; for me it’s super important to ensure each image is the best it can be before I deliver a gallery to my couples.”
“Neurapix has freed up countless hours of time for me to focus on the other areas of my business which have sometimes become neglected,” Steve added, “such as my marketing and social media strategies. Ultimately, having more time available in my working week to promote my business via social media and search engine optimization means I’m in a strong position to secure the wedding bookings I want each year.”
Neurapix Ease of Use
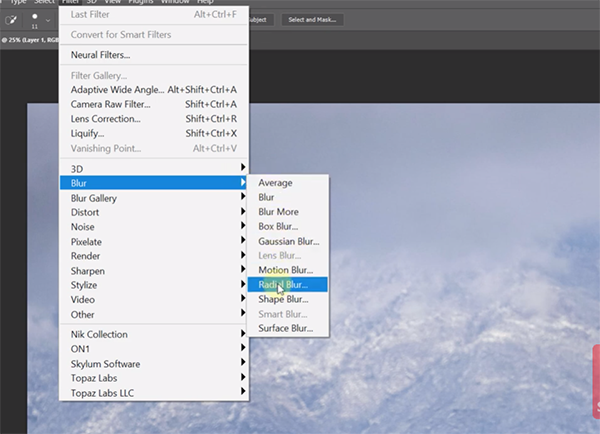
“Neurapix is incredibly user-friendly,” Britney said. “The tooltips and guides are clear and easy to follow. These helpful elements are integrated directly into Lightroom, making it seamless with my workflow. The speed of the Neurapix SmartPreset is incredible. The quick editing allows me to spend more time being creative and less time stuck behind the computer.”
“I love the fact that it’s integrated into Adobe Lightroom Classic,” Steve agreed. “It’s incredibly simple to use and I was up and running within just a few minutes of registering. I also love that it is always learning with each batch of freshly edited images that you submit to retrain the algorithm. Over time as I tweak my edits, Neurapix will adapt accordingly providing even more consistent results.”
Streamlined Workflow Means Time Saved
“For me it’s all about time-saving,” Steve went on. “The post-production part of being a photographer has always been very labor intensive, using technology to slash my editing times pretty much in half has been a game changer for me. I now have more hours available each week to commit to my social media channels as I was beginning to neglect these a little, particularly during the busier summer months of weddings.”

He continued, “What Neurapix does is give you a fantastic starting point for which to go on and make your own tweaks to your images. It saves you a huge amount of time whilst also providing the artistic freedom to make any tweaks or subtle changes if the AI doesn’t get it quite right. A little patience is required initially, as the AI learns each time you feed it more completed images, but patience is rewarded and soon you’ll wonder how you managed your workflow without it.”

“During testing, Neurapix edited 100 photos in under 10 minutes, a task that would usually take me over two hours,” said Britney. “The AI closely replicated my style, freeing up my time for more creative pursuits.”
Performance
Neurapix begins to learn your style after an initial batch of just 20 edited Raw images, but training with 500 edited images makes the dynamic SmartPresets even better. So far, photographers around the world have created more than 11,000 SmartPresets in aggregate.
How Much Does it Cost?
Plan starts as low as 3¢ per photo. Optional features, regardless of which and how many are selected, always cost an additional 1¢ cent per photo. Edits are performed on Neurapix’s servers under the Pay-per-Picture model. Neurapix manages and runs its own servers independently. They are located in Germany and ensure GDPR-compliant data protection.
Neurapix also offers a flat rate plan. At this level, editing is local and all upgrades and add-ons are included. If you edit 3000 or more images per month, the Neurapix flat rate plan is more cost efficient. The flat rate plan is priced at $49.95 per month as an annual plan, or $79.95 on a month-to-month basis. Probably the biggest advantage of local editing is the faster delivery time of the results: The first edited images appear after just a few seconds and can be checked immediately, while the other photos are finished in the background.
For a free trial of this amazing software, visit Neurapix and get 2,000 free edits instead of 1,000 via this special Shutterbug link.
—Shutterbug Staff