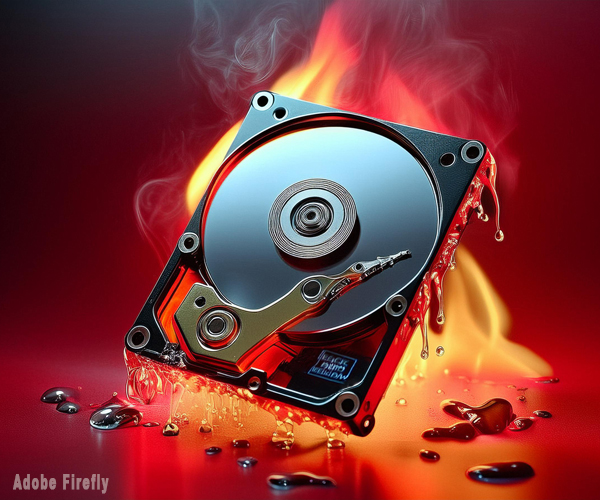
Somewhere in the world, a hard drive is failing at this very instant. Thousands of images, hours of video, document backups, tax records and back-to-school shopping lists are vanishing into the Cybervapor. A SanDisk Desk Drive external SSD will save your bacon. And your photos.
Sorry to sound like an alarmist, but denial is not a solution. And what’s worse than losing your photos and video clips? It doesn’t have to happen.
Paths to Protection
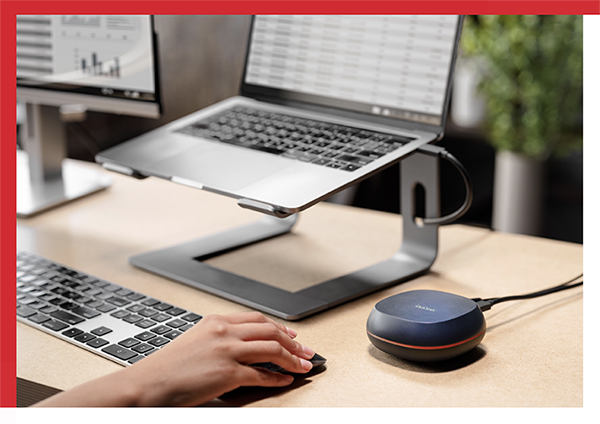
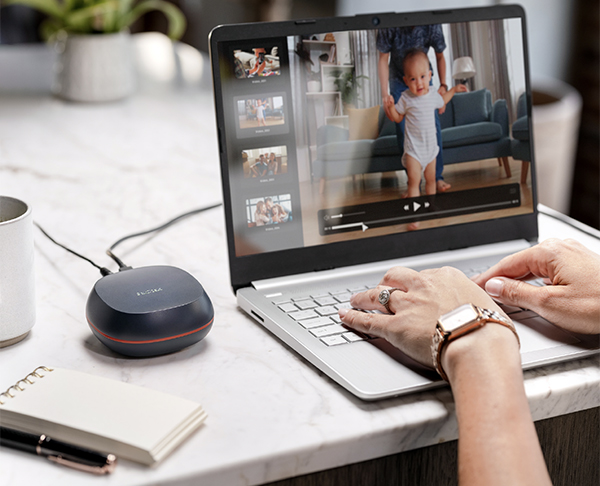
There are several paths to image file safety, but for a ton of reasons I recommend adding a SanDisk Desk Drive to your data protection arsenal. It sits quietly on your desk, performs regular backups automatically, and moves from computer to computer like a bee flower-hopping in June.
It’s small—about the size of a chubby PC mouse—and connects quickly and easily. It’s SanDisk quality, and for the millions of us who depend on the reliability of SanDisk SD and CF cards, that speaks loudly. It’s affordable, and comes in 4TB and 8TB capacities to suit your usage habits.
SanDisk Desk Drive Features
Solid State Drive (SSD)
4TB and 8TB capacities
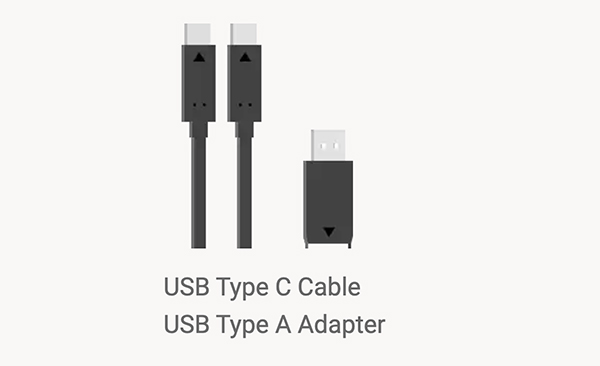
USB-C (includes USB-C to USB-A adapter)
Blazing fast Read speeds up to 1,000MB/s
Works with Apple Time Machine (preinstalled on all Macs)
Works with Acronis True Image backup software (access included)
Compatible with Windows 10+ and MacOS 11+
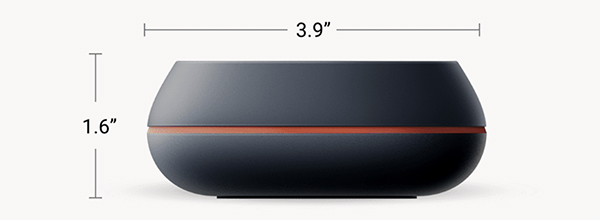
Very small desktop pawprint: 3.9 x 3.9 x 1.6 inches (99 x 99 x 40mm)
Weighs a scant 0.59 pounds (268g) or about 9.5 ounces
Includes Power Adapter, USB-C cable, USB-C to USB-A adapter
3-year USA Limited Warranty
SanDisk world renowned quality
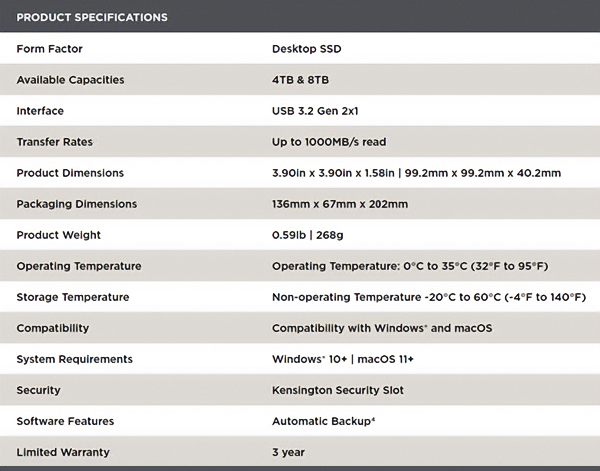
SanDisk Desk Drive Specifications
SSD vs HDD
SSDs (Solid State Drives) are similar in concept to memory cards, i.e., there are no moving parts. HDDs (Hard Disk Drives) are at the other extreme—they record data on spinning media. While I can’t cite scientifically-collected comparison data, common sense tells me that, all else equal, a device without moving parts is less likely to fail than one that’s dragging a pickup head over a rotating platter. I do recall reading that the AFR (Annualized Failure Rate) for SSDs is lower than HDDs, but I cannot remember where I read it because, unfortunately, I cannot backup my alleged brain.
SSDs are also faster—much faster.
As further testament, Apple began transitioning to SDDs instead of HDDs about 15 years ago, and today you cannot buy a new MacBook that contains an HDD.
Good Work Habits Always Beat Technology
Automate regular data backups; that’s Best Practice. The less you have to think about it, the safer your data remains. Sure, ad hoc backups are useful. Some people (like me) never format memory cards—that way an original copy always exists (although finding a specific file can be challenging, to say the least).
Automatic Backups
Drive a Mac? Buy a SanDisk Desk Drive and set up Apple’s Time Machine today. It takes only minutes and works in the background like an invisible, well-behaved minion.
If you’re a PC jockey, download the Acronis True Image for Western Digital backup software (free access is included with your SanDisk Desk Drive).
Cloud & NAS
Cloud storage and NAS (Network Attached Storage) are great solutions, too! RAID drives that save data and back it up simultaneously are likewise awesome. Neither are complete solutions, however. In fact, a single solution is two solutions too few.
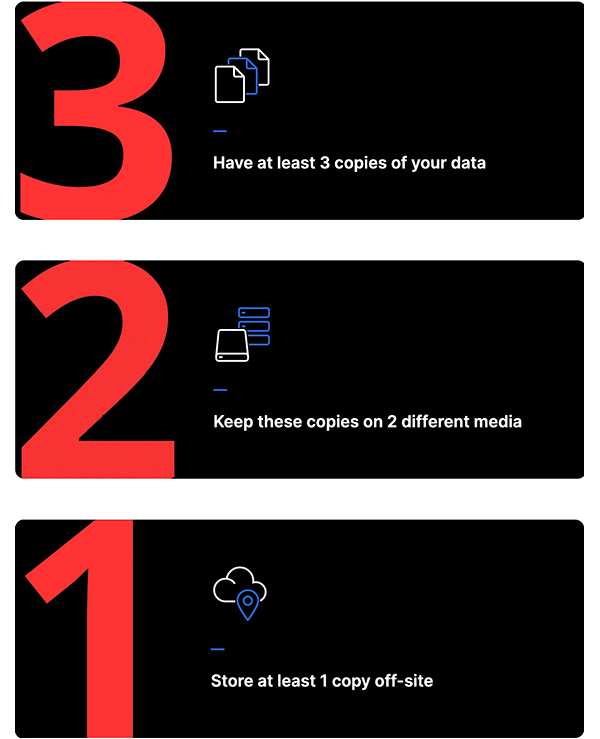
A three-step solution is best.
1. Have at least three copies of your data. 2. Keep at least two of these copies on different media. 3. Store at least one copy offsite.
Why Externally Powered is Better Than Bus-Powered
A storage device that’s bus-powered receives its juice from the host, no external charger or cords necessary. That’s cool, especially when you’re on the go. Much of the time, anyway.
Until you buy an Apple iPad Pro and try to mount a bus-powered drive.
An iPad cannot power an external drive. The drive must have its own power supply. At that moment you’ll have an entirely positive opinion of the external power supply.
Conclusion
Hard Drive failure is not a risk, it’s a near certainty. Back up everything that’s important to you, or better yet, let your system handle the backups seamlessly in the background. Use the time-proven three-step solution outlined above.
The SanDisk Desk Drive is a great value, complete with high-end specifications and top-tier reliability. Mine connected in seconds and backs up my Mac continuously. I partitioned the drive so that about one-third of the 8TBs are dedicated to Apple’s Time Machine and the remainder is available for ad hoc and transient file storage. And because it has an external power supply, I can connect it to my iPad Pro if I want to. I really like it, and I recommend it highly.
So if you lose your photos, don’t blame me.
Price & Availability
The SanDisk Desk Drive is priced at $379.99 for the 4TB capacity, and $699.99 in 8TB size, and you can order from Amazon today. Better yet, look at the Authorized Western Digital Resellers locator. Shop local if you can; support your community and neighbors.
SanDisk has an official Amazon Store where you’ll find SD cards, external drives, USB drives and other items.
Western Digital, parent company of SanDisk, also has an Amazon Store. Among other things, it’s a great source for internal drives, network drives and more.
Want to Become a Better Photographer?
Begin by taking more pictures. Carry a camera everywhere you go and shoot even when you’re 100% sure the picture won’t turn out. Review all of your images with a critical eye and share them with others – and that includes posting the best on our Gallery. Subscribe to our newsletter (see sign-up form on our homepage) and bookmark Shutterbug as a Favorite on your browser so you can check back often. We’re in this for the same reason as you – we love photography, and we’re learning more about it every day.
—Jon Sienkiewicz
(As an Amazon Associate, Shutterbug earns from qualifying purchases linked in this story.)