Make Great B&W Prints With a Home Printer That Has Let You Down (VIDEO)
Today we’re discussing an issue faced by photographers who output their work at home with an inkjet printer. Namely, color files look really good but b&w prints leave a lot to be desired. You’re not alone if this happens to you because this is a rather common occurrence.
Instructor Keith Cooper is a British architectural photographer and an output specialist who puts it bluntly: Most printers are much worse at black-and-white printing than they are with color.” In this episode he discusses the reasons for this disparity and provides a variety of effective solutions for making the best possible b&w prints.
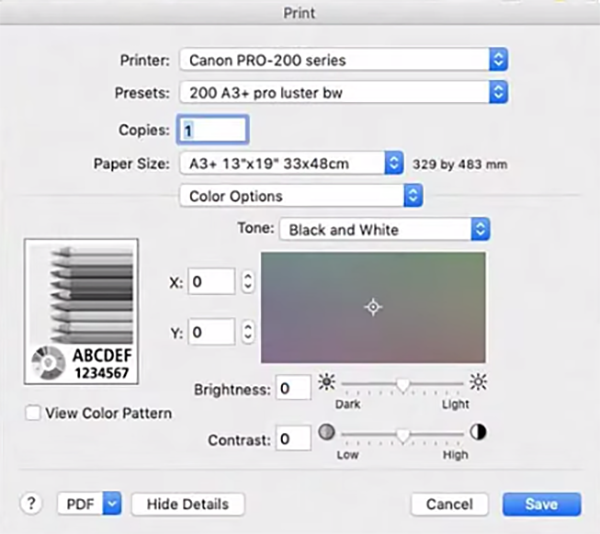
Cooper covers several key topics including how the software, drivers, and inks that you use may affect your results. You’ll learn how choosing appropriate paper and setting the printer according factors into the equation. He also addresses whether or not purchasing a newer (or better) printer will solve all your b&w woes.

So what’s the root cause of this problem in the first place? Copper responds with this unexpected statement: “Our visual system is much more sensitive to small tints and tone in b&w prints than it is in color prints. He notes further that our eyesight tends to adapt quickly to slight flaws in precision when viewing images in color.
In short, our eyes are less forgiving when evaluating images outputted in monochrome—even if you make adjustments to the ambient lighting where your prints are on display. One simple solution is to try a different type of paper than what you use with success for making prints in color.
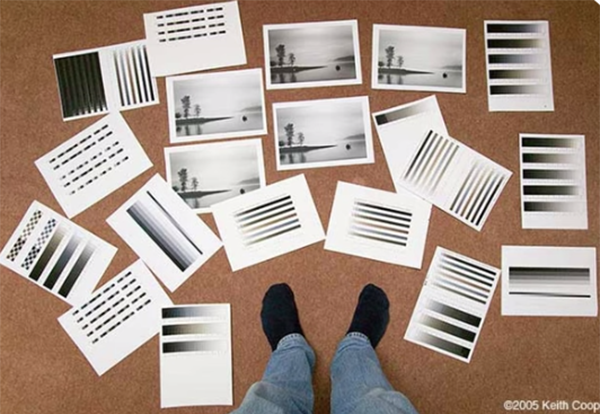
Cooper pulls up some prints he made on a pro-level printer to illustrate potential snafus, with a variety of solutions for getting optimum results with whatever printer you own. He also offers this interesting lament: Why don’t manufacturers offer printers optimized for b&w like the monochrome-only cameras made by Leica and Pentax? That could solve all the problems but there’s a two-word answer: demand and economics. So don’t hold your breath.

Yet, by watching this lesson and following Cooper’s expert advice you may notice a big leap in quality the next time you print in b&w. There’s a lot more to learn on his instructional YouTube channel, so take a look when you have time.
And on a related note, we recently featured a tutorial with a unique Lightroom technique for creating b&w photographs with more dynamic range by using color tools during the editing process, so be sure to check that one out as well.


