3 Easy Editing Techniques You Should Start Using Today (VIDEO)
It’s easy to become overwhelmed when editing photos in Lightroom because there are virtually endless tools and features one can employ. This beginners guide is designed to simplify your workflow with a trio of basic methods you can put to work now.
Unlike comprehensive guides for newbies that cover a wide range post-processing tools, this one is super simple because it concentrates on three straightforward tricks that will make a big difference in just about every image you open in Lightroom. And don’t be fooled by the word “beginner” because instructor James Feaver say he uses these methods every day—even though he’s a pro.
This is the latest episode of Feaver’s popular 2-Minute Tutorials series for novice photographers or experienced users looking for a more effective workflow. As you’ll see, sometimes this means dialing back the enhancements you make, rather than amping them up.

The first technique that Feaver can’t live without involves the use of Lightroom’s Clarity slider, but not in the way you may think. He says that “most of my digital image, especially with the lenses I use, are far too sharp,” especially for the natural look he prefers. That’s why he often drops Clarity a bit instead of moving the slider to the right. The result is a realistic, slightly softer look.
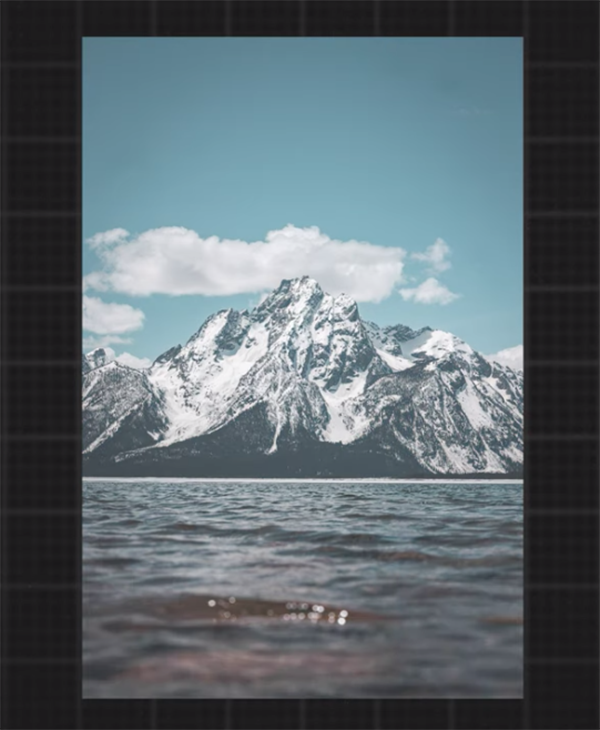
His second tip is to add a subtle vignette, especially when you want to accentuate subjects in the center of a shot. He illustrates the effectiveness of this technique, and how to do it, when highlighting the bride and groom in an outdoor photo he captured at a wedding. The slight vignette he applies draws attention to the couple but reduces exposure in the surrounding areas. This easy enhancement also works great for individual environmental portraits.
Feaver’s last technique is one he uses regularly when editing landscape photos, and it involves slightly raising the blacks in the darkest shadow areas of the image. Here he uses Lightroom’s Tone Curve tool by dragging upward on the bottom of the curve to a value of about 25. He strongly recommends giving this a try, especially when shooting under high-contrast conditions.
So there you have it: three effective techniques in two minutes—what could be easier than that? You can find past and future installments of Feaver’s 2-Minute Tutorial series by visiting his instructional YouTube channel.
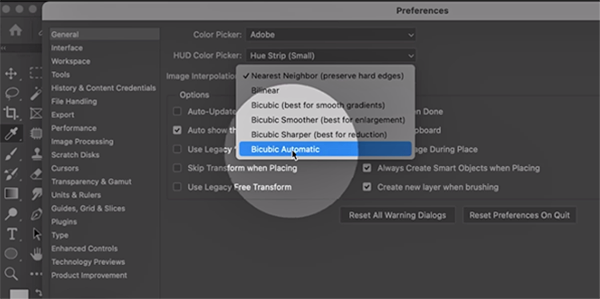
And don’t miss an earlier lesson we featured with another post-processing expert who demonstrates how Smart Objects work, and one oft-ignored setting that will eliminate the common problem of ugly pixelated photos with jagged edges.