This is a fun camera! The Leica SOFORT 2 is a 4.9-megapixel digital camera with a built-in printer. While not optimized for expert photographers, the SOFORT 2 is a crowd pleaser.
Overview
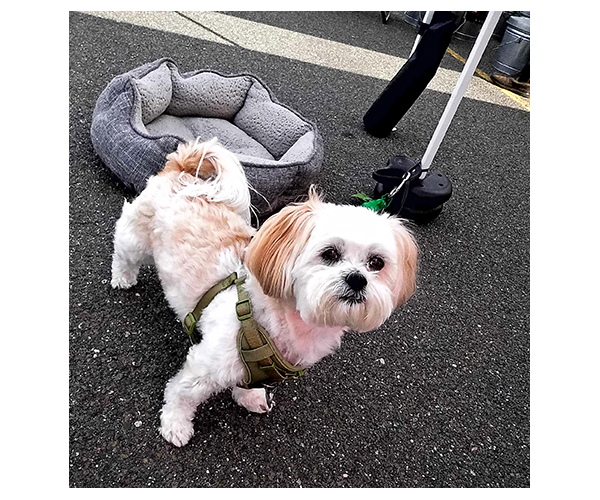
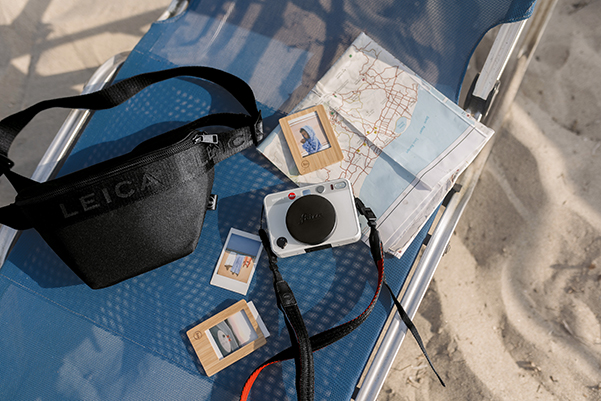
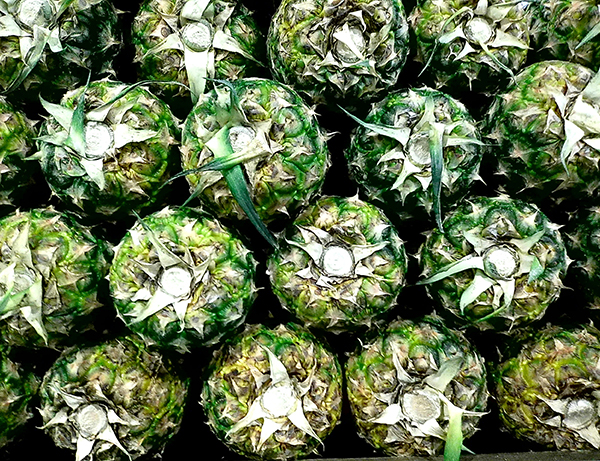
I took the sample Leica SOFORT 2 to a local Farmers’ Market and photographed about 15 people. 100% loved it at first sight and nearly all of them misidentified it as a Polaroid — understandable, since Polaroid is synonymous with Instant Print Camera in most American minds. Everyone said they liked the print I handed them. Some even shook it like we used to in the old days, hoping to speed up the lethargic Polaroid development process. One commented that on the back of the print it reads, “Don’t put in mouth.”
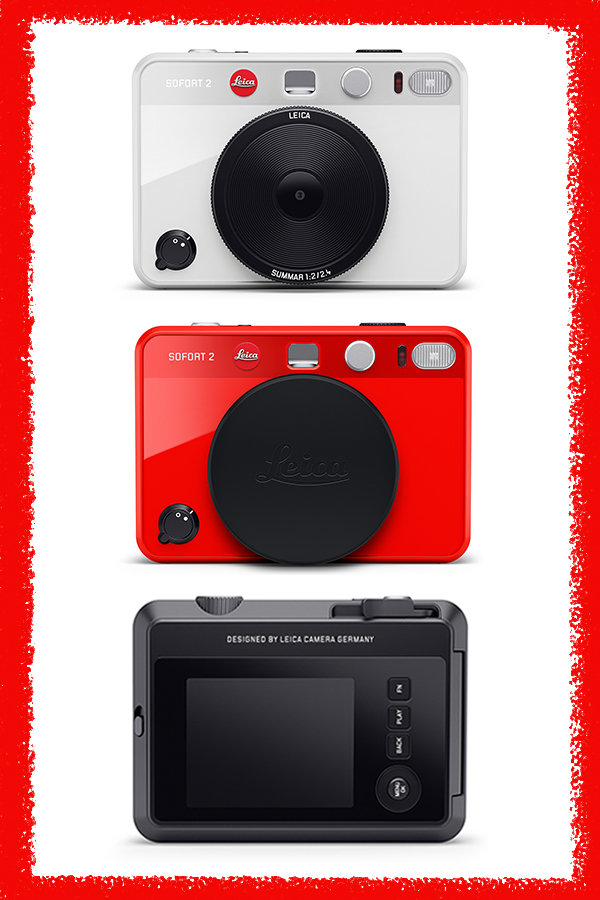
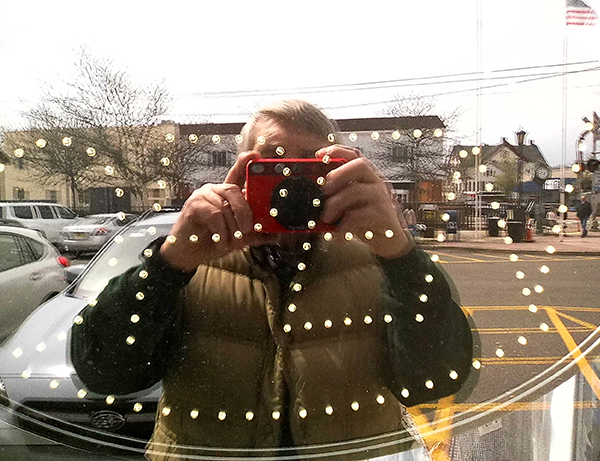
As a 4.92 (1920 x 2560 pixels) digital camera, the Leica SOFORT 2 is a fun (but big) toy. Image quality doesn’t match a modern smartphone, and the prints are very small. But the large (4.8 inches across) red camera attracted positive attention and broke the ice with shy subjects.
I can easily imagine the Leica SOFORT 2 being the absolute life of any party, delivering on-the-spot prints and making even the most recalcitrant participants happy. As a serious, or even semiserious photographic tool, not so much. But then again, it’s designed to be a Vulcan mind meld between digital and instant, so it exceeds its marketing goal.
Key Features
4.9-megapixel sensor (1920 x 2560)
Leica Summar f/2 lens (28mm equivalent)
3-inch TFT LCD (460,000 dots)
1⁄4–1⁄8000s shutter speed range
ISO 100 to 1600
Close focus to about 4 inches (10cm)
10 “Lensstyles” (creative modes)
10 “Filmstyles” (creative print modes)
Saves images on internal memory or MicroSD card
Compatible with the Leica FOTOS app
Rechargeable, nonremovable battery
About 100 shots per charge
Dimensions: 3.4 x 4.8 x 1.7 inches (87 x 123 x 44 mm)
Weight: 11.3 ounces (320 g)
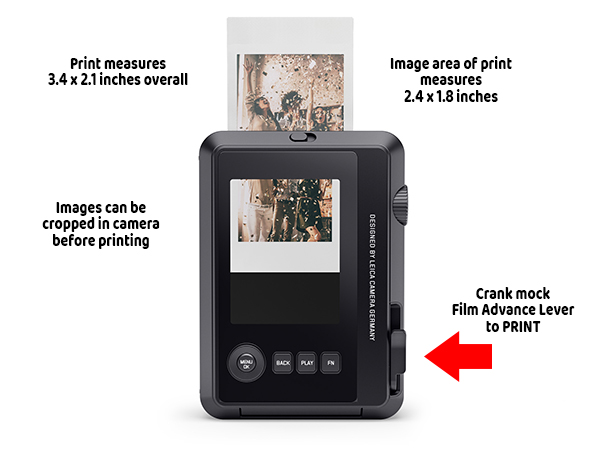
Size of image area on print: 2.4 x 1.8 inches (62 x 46 mm)
YouTube video here
 Operation
Simple and easy to use. Control layout is designed for vertical (portrait) orientation.
Frame the subject on the 3-inch LCD and press the button. Images are stored digitally. Printing is optional. To print, operate the lever that’s located on the back near the top — exactly where one expects to find a film advance lever on a 35mm camera. A few seconds later a print emerges.
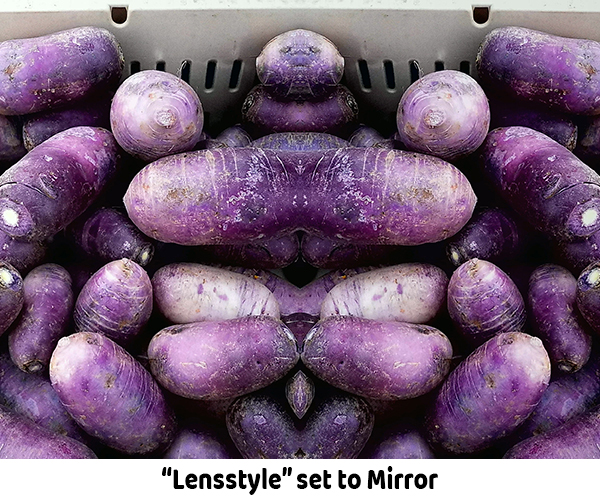
There are 10 creative modes (Leica calls them “Lensstyles”) that produce popular special effects: Vignette, Soft Focus, Blur, Fisheye, Color Shift, Light Leak, Mirror, Double Exposure, Half-Frame and of course Normal.
Similarly, there are 10 “Filmstyles,” namely: Normal, Vivid, Pale, Canvas, Monochrome, Sepia, Yellow, Red, Blue and Retro.
Users can transfer and print images via the Leica FOTOS App Gallery, even those captured with a different compatible Leica camera.

Image Quality
The digital images get an enthusiastic “not bad” from me, compared to other 5-megapixel cameras. The sample I borrowed for this review overexposed nearly every shot by about 1/3 of a stop. Fortunately, the camera allows manual over/under exposure bias adjustment.
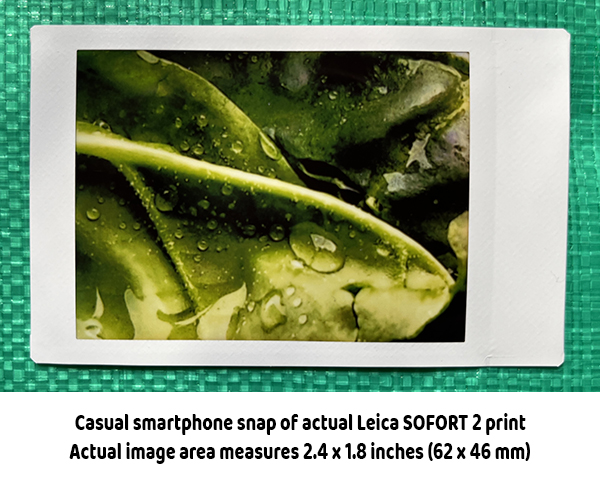
The majority of the digital images were overly contrasty, with blown highlights and blocked shadows. The printed images, of course, were also. The low-resolution print engine didn’t help matters much. Output (print) resolution is 1600 x 600 pixels (800 x 600 pixels for output via the Leica FOTOS app). Overall, print quality is on par with similar instant cameras.
Conclusion
Instant print cameras are popular with certain demographics and it’s easy to see why. Sharing hardcopy prints with your friends is a blast — provided you have the do-re-mi to pay for minimal-quality prints that run you roughly $1.50 each.

Birthday party? Family reunion? The Leica SOFORT 2 will be a smash hit. But the high cost of the consumables may limit its appeal.
Price & Availability
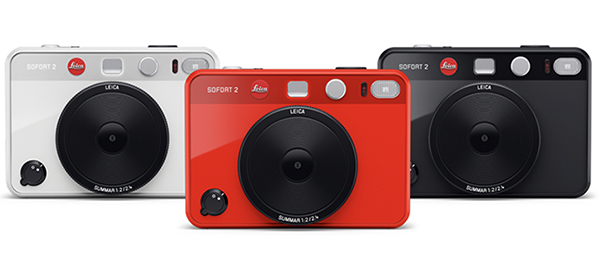
The Leica SOFORT 2 costs $389 and is available in black, white or red. Camera, film packs and accessories can be ordered directly from Leica or purchased from a Leica Store or Authorized Leica Dealer.
Scorecard
Pros
• Fun to use
• Reasonably good digital image quality
• Instant, on-demand printing
• Well made and thoughtfully designed
• Leica brand name panache
Cons
• Limited dynamic range
• Minimal exposure control
• High cost per print
—Jon Sienkiewicz