How to Shoot Amazing Photos with Entry-Level Gear (VIDEO)
We’d all love to shoot with the best equipment that money can buy, but most of us simply can’t afford that luxury. But guess what? According to one of our favorite outdoor photographers, “It’s possible to capture pro-quality images with entry level gear.”
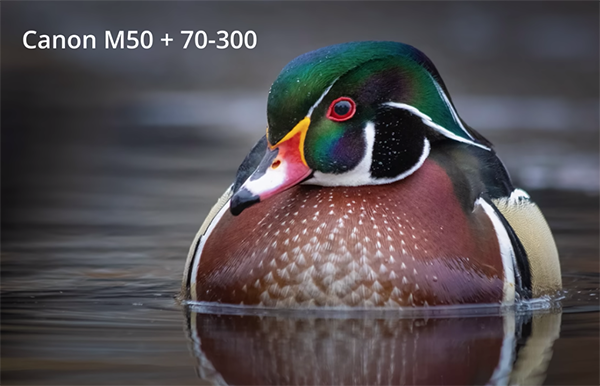
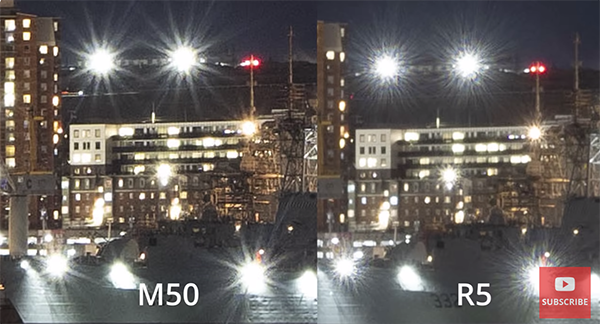
Instructor Simon d’Entremont is an acclaimed wildlife and nature photographer based in Eastern Canada. He takes a unique approach to this lesson by comparing results from a basic $700 kit to those captured a high-end setup that costs about $18,000.
Simon typically uses professional gear and doesn’t claim that photos from the budget setup are comparable to those shot with a pro-quality alternative, but he provides a variety of shooting tips that will enable money-conscious photographers to significantly close the gap. The interesting shootout also provides his answer to the age-old question, “Does gear really matter?”

According to Simon there are two answers to this question: First, “the amount of difference in results between pro gear and entry-level gear depends greatly upon the genre of photography you shoot.” And secondly, “in the right hands, the difference is less.” He offers the examples of wildlife and astrophotography as two genres that require specialized (and expensive) lenses to get the job done.
With other types of photography like portraiture, street scenes, and even landscapes, it’s possible to capture compelling images with the affordable gear you already own by incorporating Simon’s suggestions into your style of shooting. One drawback to keep in mind is that Simon’s budget system includes a slow 15-45mm f/4-6.3 kit lens that supposedly doesn’t deliver the goods if a blurry background is what you want.
Yet even in this scenario Simon explains a few ways that you can significantly soften distracting backgrounds when shooting with a cheap and slow lens. He explains how the distance been a subject and the camera greatly factors into the equation, as does the vantage point from which you shoot.

The foregoing is just one tidbit of everything you’ll learn in this eye-opening 14-minute lesson. We bet that by the time you’re done watching you’ll no longer be as envious of those who can afford top-tier gear. Then you can spend more time elevating your skills without spending a dime.
If you’re particularly interested in nature and wildlife be sure to visit Simon’s instructional YouTube channel where there’s much more to learn.
And don’t miss the tutorial we posted earlier, explaining the right way to using polarizing filters (and when they’re a waste of time when shooting in the field.


