We’re always looking for shooting and editing tips that provide a unique look and give Shutterbug readers ideas for creating a style of their own. If landscape photography is your thing and you want to try something different, the tutorial below is for you.
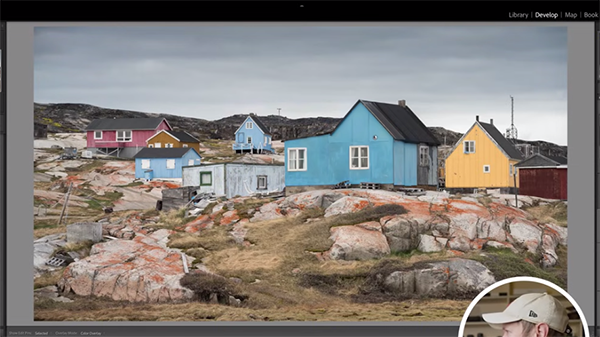
The typical goal when shooting outdoors is capturing images with bright and vivid tones—either in the camera with appropriate settings or during post processing. This episode from German landscape pro Christian Mohrle demonstrates a straightforward Photoshop edit for creating a dramatic “gloomy” effect instead.
Before clicking the “play” button we suggest you download the sample Raw file in the description beneath the video, so you can make the enhancements yourself as Mohrle describes the steps. Then be sure to watch until the end, where you’ll learn some important tricks for cleaning up the image by removing distracting artifacts.
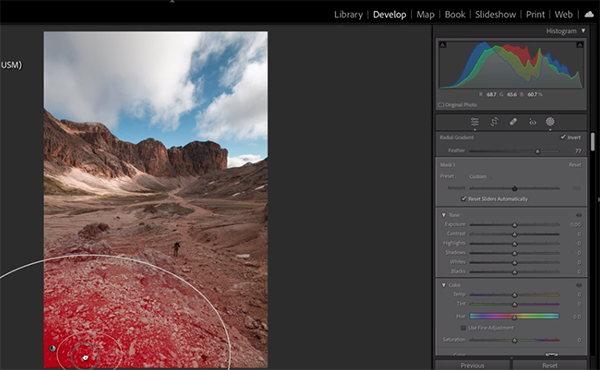
Mohrle begins, as always, with a few basic adjustments to make the image look as good as possible before jumping into the effect at hand. He changes the profile to Adobe Neutral which immediately reveals more details in the sky and opens up the foreground.
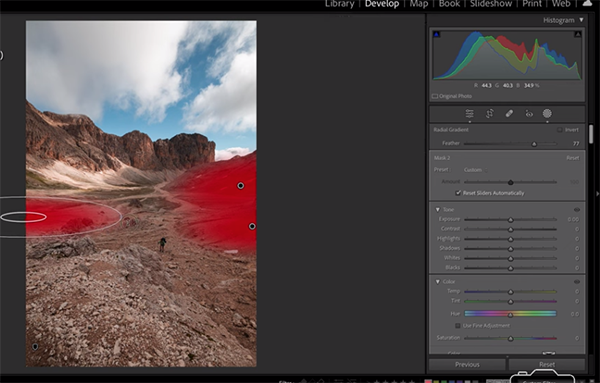
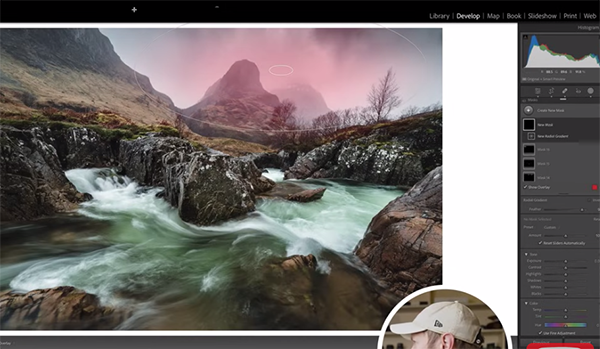
Other preliminary enhancements include bringing up color temperature, dropping highlights in the sky to enhance clouds, and further increasing the blacks. At this point the image is already much improved, and it’s time for a bit of masking. Mohrle places two linear masks over the sky; a large one to increase contrast, and a smaller mask at the very top for “adding interest.”
Next Mohrle turns Photoshop’s Color Mixer to modify existing tones for the specific look he’s after. He brings down the yellow hue, “to make the grass look fresher,” drops blue saturation, and pumps up the greens.
All that’s left to achieve a very compelling image is some careful sharpening and the aforementioned cleanup.
And if you’re just getting started in landscape photography be sure to check out the tutorial we posted from another expert, with five great tips for improving your skills.
Olympus just announced the M.Zuiko Digital ED 90mm f/3.5 Macro IS Pro for Micro Four Thirds systems. Shutterbug has obtained an early sample and is currently preparing a full review. In the meantime, here’s a rundown on this exciting new lens. You can watch Olympus’s video here.
Key Features
Macro 2X
A big step above most Macro lenses, the Olympus 90mm f/3.5 Macro provides 2X magnification (i.e., 2:1 instead of 1:1 macro or half-macro 1:2) which increases to 4X when used with Olympus MC-20 Teleconverter. Autofocus is active throughout entire macro range. Note that 2X in Micro Four Thirds equals 4X in 35mm full-frame equivalent.
Integral 5-axis Image Stabilization
When used with compatible camera body, axis synch-IS is engaged and delivers up to 7 stops of shutter speed compensation.
WeathersealingIP53 splashproof and dustproof performance is further enhanced with fluorine coating on front element. Fluorine is oleophobic and hydrophobic (sheds oil and water) and helps keep the front element free of fingerprints and easier to clean.
The Olympus 90mm f/3.5 Macro also freezeproof down to 14° F.
Lightest Weight in Its Class
Weighs 15.97 ounces (453g) making it the lightest among comparable Macros. Compact form factor: diameter 62 mm, maximum diameter of 2.75 inches (69.8 mm) and overall length of 5.4 inches (136 mm).
Price and Availability
Projected price is $1499, and it will begin shipping mid-March 2023. Price and deliver date subject to change.
Full Review Coming Soon
Watch for our full review of the Olympus 90mm f/3.5 2X Macro.
Whether you own a dog, cat, bird, or some other animal, we bet you shoot a lot of photos of your beloved pet. It’s rather odd that many pet photos taken by good photographers look more like snapshots than the real thing, and we’re going to put an end to that today.
Given how much everyone dotes over their pets, it’s surprising that photographers aren’t more thoughtful about capturing photographs that look more like animal portraits than quick-and-easy grab shots. Our pets deserve it, right?
Fortunately today is “Tutorial Tuesday” on the Park Cameras YouTube channel. As a leading photo retailer in the UK, they take all photography seriously—even when it comes to pets. So listen up: Watch the episode below, and shoot some real photos that will make you and your pets proud.
Exuberant instructor Gareth Evans explains how it’s done, and his tips are straightforward and will deliver great results. In fact, you may already be using some of the techniques that Evans describes when shooting other forms of “people” pictures, so think about that while watching this lesson. After all, pets are people too—right?
Evans offers a wide range of tips, from lighting to composition. And as a dog owner himself, he knows how to make pets happy and comfortable during a shoot. So listen up, take this task seriously, and start shooting awesome pet portraits, (either formal or casual) today.
Evans begins with tips on using natural light to illuminate your subject, whether shooting indoors or out. As he says, using flash can really put animals on edge. His candid pet portraits taken with window light, for example, are dramatic and really special. In other words, happy and relaxed pets in a familiar environment (like with human subjects) make for much better photographs.
The goal with all the techniques you’ll learn is to capture the personality of your pet. And you’ll be able to achieve that by following Evans’ simple advice—whether you’re shooting action shots on the beach or photos of your cat sleeping on the couch.
There’s much more to see on the Park Cameras YouTube channel, especially on Taco . . . I mean Tutorial Tuesday, so be sure to visit often.
Have you ever wanted to make money from your outdoor photography but don’t know where to begin? We recently tried out the Saal Photo Portal and found it to be an easy way to start selling our landscape images as high-quality photo products.
We often get requests from friends, family and fans on how to buy photos we share on social media. (You know, the ones that get all the likes.) Making prints at home and selling them to clients is one way to do it but it’s a big hassle and limits the type of products you can offer. You could partner with a local lab for print fulfillment, but the lab might not offer a seamless web experience for your customers. Not to mention, labs sometimes have hidden fees that cut into your profit margins.
With the Saal Photo Portal, you can store, share and sell your photos and photo projects easily online. There are a variety of options for how you can sell your images via the Photo Portal including as prints, posters, photo books, calendars, cards or as wall decor. You can also sell your images as digital files through the Portal.
Saal Digital produces the photo products for your customers and takes care of shipping. The best part is it’s free to open an account on the Saal Photo Portal and you don’t have to pay a commission on a sale. Along with increasing your profits, this will get you started right away with selling your work without any upfront costs. You will also maintain control over the rights to your images and can decide how you want to price them.
Here are four quick tips on how to use the Saal Photo Portal to make money with your landscape photos.
#1 Choose Your Best Outdoor Images
This might sound like a no-brainer, but you’d be surprised at how bad some photographers are at picking their best landscape photos to sell online. Don’t choose hundreds of images to feature thinking it will give potential customers more of a selection. All this will do is make it more difficult for someone to decide on what to buy. Select around twenty of your very best images whether it’s a gorgeous shot of the Grand Canyon at sunrise or Old Faithful blowing its top at sunset. If you can’t decide on what to include, show your friends your work and let them choose. After all, they could end up being your customers so it’s a good idea to get their opinion.
#2 Build Your Galleries
After you’ve signed up for a free account in the Photo Portal and picked out the shots you want to sell, create your first gallery by uploading your pictures. This part of the process will give you a nice overview of the images you’re trying to sell. You might consider grouping images in your galleries by theme. For instance, create a gallery of your best sunset photos, since these types of landscape photos are always crowd-pleasers. Or create galleries based on photos from specific national parks, such as images you’ve shot at Yosemite or Glacier National Park. Don’t forget to turn on ordering in your Photo Portal gallery so customers can buy the images they like.
#3 Set Pricing
Now this part might be the most difficult for photographers who are new to selling their images. You don’t want to sell yourself short by underpricing your photos, whether you’re selling them as a digital file, a poster, or a photo canvas. But don’t set the price so high that your customers won’t be able to afford your photo products. The good news is that Saal Digital gives you lots of flexibility on picking pricing including choosing the price per resolution when selling digital files. If you’re stumped, we suggest seeing what some of your fellow photographers are charging for their landscape images and setting your pricing accordingly.
#4 Share Your Shop
Once you’ve finished setting up your galleries, picked the photo products you want to sell and made your web storefront public in the Saal Photo Portal, spread the word about your new photography shop. Share the news via Facebook, Twitter, Instagram and other social media sites explaining that folks can now buy your images on a variety of photo products. If you have a photography newsletter or an email list of friends and customers, provide links and promotional material to your new web storefront and blast it out. You may be surprised at how many people have been clamoring to buy your landscape photos!
If you want more information about how to use the Saal Digital Photo Portal check out this helpful video explaining the process and how to optimize sales.
Conclusion
There’s a lot to like about the Photo Portal but our favorite thing is how easy it is to use, even for newbies. We had a similar experience while trying out Saal Digital’s simple and straightforward Professional Line Photo Book service. The web-based user interface for the Photo Portal is intuitive and most users should be able to get started with creating their galleries and online store in no time. To save time and space, the galleries let you upload low resolution versions of your images until they’re purchased.
We also appreciate that there are no fees or commissions. You can create your account and start selling through the Photo Portal without incurring any costs. Additionally, we found there’s lot of flexibility in deciding how to price your photo products, whether you’re selling a high resolution digital file of one of your gorgeous landscapes or an attractive Wall Decor of a one-of-a-kind wildlife photo.
Another great feature is the high level of safety and control you have over your images when sharing them through the Saal Photo Portal. You always retain copyright over your images no matter how you decide to share them in the Portal and you can check orders before they go into production for increased quality control over your photo products. There are also easy ways to protect your galleries with passwords to ensure privacy and you can add a personalized watermark to your images to add a layer of protection.
The best way to figure out if the Saal Photo Portal is right for you is to try it out for yourself. You can do that for free here.