Full frame. There’s a strange magic in that word that makes us feel like anything derived from the sacrosanct 36mm x 24mm format is a mere substitute… not full. But is that really the case? Let me try to shake off this mysterious air and look at full frame with sober eyes.
There has been a lot of great innovation in the continuous lighting space recently. I recently got the opportunity to check out two of Zhiyun’s newest lights: the G60 (a 60-watt capable cube) and the slightly larger X100. Are these lights worth adding to your kit? In this short review, I’ll break down my experiences with these lights after using them on a number of shoots.
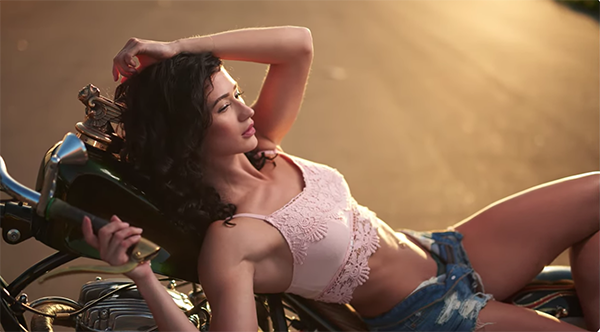
Regardless of the genre of photography you enjoy most, sooner or later you’ll be asked to shoot a few portraits of family or friends. Many photographers shy away from this task, either because don’t know where to begin, or they’re under the misconception that a studio and expensive/complicated lighting equipment is an absolute necessity.
One way to greatly simplify the task is to tackle the job outdoors and make use of available light to get the job done. If you’ve never considered this effective approach, today is your lucky day. That’s because in barely seven minutes you’ll learn five “must know” tips for capturing images that will make you and your models proud.
Instructor Kyle Kong is a professional photographer based in Vancouver, Canada who specializes in in shooting portraits on location. He sometimes employs simple strobes to augment ambient light, and he says, “For me portrait photography has always been challenging, rewarding, and most importantly fun.” You’ll be able to say the same thing yourself after giving his tips a try.
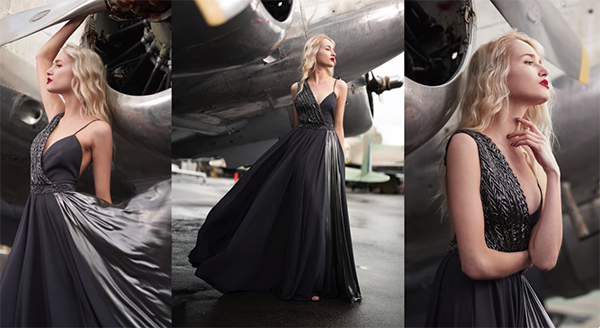
Cong’s goal with this straightforward tutorial is to help you capture flattering portraits “anywhere at any time,” and do so quickly and easily. Tip number one applies to many styles of photography including portraiture; namely, find a clean background so the subject stands out. That’s because, “your number one enemy is distraction.”
There are numerous ways to meet this goal when making outdoor portraits. Possibilities include shooting from a low angle with an interesting sky as the backdrop or using a high vantage point while pointing the camera downward with the ground framing the subject. Other viable options include taking advantage of a foggy day or sand on the beach.
Cong’s second suggestion is related to the first, as he demonstrates how to capture a variety of looks by shooting from interesting angles beyond those mentioned above. In other words, don’t just keep tripping the shutter from the same position, but experiment with altering your camera position for a variety of different looks. Even going from a vertical to horizontal perspective can make a big difference in how your portraits are perceived.
He also explains how to use natural light or a simple flash to separate a subject from the background and provide a 3-D effect, why adding interesting elements within the frame will add depth to an image, and how to employ subject movement to add a dynamic sense of motion to a shot.
Cong says, “these are the tips that I use on every single photoshoot, and you should too!.” After watching Cong work his magic pay a visit to his instructional YouTube channel where there’s much more to learn.
Back in the heyday of 35mm photography the task of developing film and making prints in the darkroom required good craftsmanship and plenty of knowledge. In today’s digital era, despite all of the sophisticated image-processing tools at our disposal, the same requisites apply.
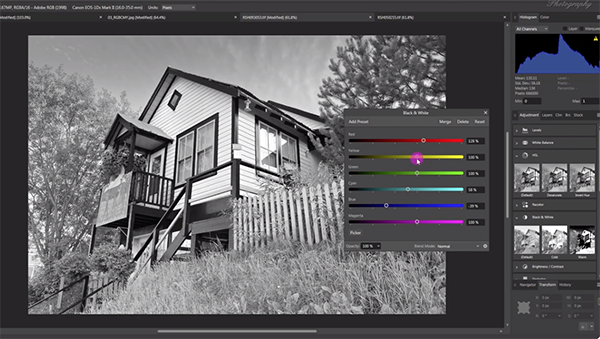
The quick tutorial below from German pro Rainer Hoffman is devoted to a single, popular topic; namely the best way to convert color images to b&w. After all, some scenes simply have more impact when rendered in monochrome.
Hoffman is a long-time professional photographer, author, and photo educator who often takes a unique and sometime controversial approach with the shooting and editing tutorials he posts. He says, he’s passionate about b&w photography and how stripping color from an image can often result in a more compelling “rendition of reality.”
In this episode he explains the method that works best for him, beginning with a few common practices he suggests you avoid at all costs. One warning he has for photographers interested n creating b&w imagery is pretty emphatic: “Don’t use your camera’s black-and-white setting to capture the photos.”
He explains that shooting with in-camera monochrome settings gives you “very limited control over how colors are converted into gray values.” Some cameras merely include classic b&w filters, namely yellow, orange, red, and green, while others provide a number of b&w film emulation modes. In either case, Hoffman insists there’s a better way; namely, making the conversion during the image-editing process.
Next on the list is a mistake that occurs during post-processing and it comes with another blunt warning: If you’re looking for great results, don’t take the easy way out by simply reducing saturation or using a Grayscale mode. Here he provides interesting graphics to illustrate the problems with this approach.
With the “don’ts” out of the way Hoffman moves on to important “dos”—which is what you really want to know, and the final six minutes of this episode is devoted to a detailed demonstration of how these editing techniques work. After watching the video pull up a few color images you shot in the past and apply your new-found knowledge to make high-quality conversions. You’ll be impressed by what you’re quickly able to accomplish.
The nice thing about this method is that it affords you plenty of control for achieving the specific look you prefer. Hoffman’s instructional YouTube channel is full of helpful lessons like this one, so be sure to pay a visit when you have time.