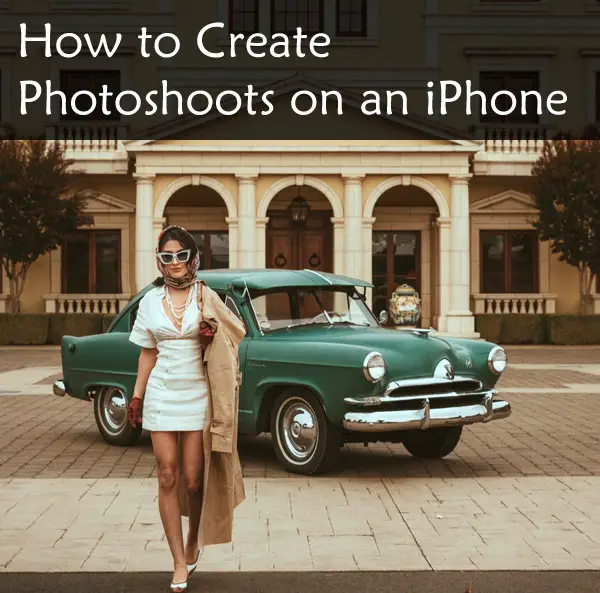
Create Stunning Photoshoots on an iPhone: A Comprehensive Guide
Ever held your iPhone, stared at its camera, and wondered how some folks make magic with the same device? Ever thought about having a DIY photoshoot on iPhone? Well, you’re not alone. We’ve all been there.
I remember the first time I attempted an iPhone photoshoot… My heart was pounding with excitement as my fingers danced around the shutter button. The result? Not exactly ‘Instagrammable’.
No fancy filters or heavy editing apps could fix it because I missed one crucial thing: knowledge of key photography techniques and settings that can transform ordinary iPhone snapshots into breathtaking visuals.
It’s all about mastering portrait mode to get stunning depth-of-field shots, using night mode effectively, and setting up your own home studio for DIY shoots.
Mastering iPhone Photography Basics
If you’ve recently acquired an iPhone and are seeking to take amazing pictures, it is critical to be familiar with the fundamentals of its camera functions and configurations. It’s not just about pointing your phone at a subject; there is so much more that goes into making an image visually appealing.
Unleashing the Power of Portrait Mode
One of the most impressive aspects of modern iPhones is their ability to shoot in portrait mode. This feature allows you to take stunning portraits with a shallow depth of field, creating a sharp focus on your main subjects while softly blurring out everything else in the background – giving professional photography feel right from your pocket device.
To use this function effectively, first select ‘Portrait’ from the various photo modes available in your camera app. Make sure that the subject stands within 8 feet for optimal results. You’ll notice a yellow box appear around them as soon as they’re correctly positioned.
Making Night Mode Work For You
Night time often poses challenges for photographers due to low-light conditions. But fret not. Your iPhone has night mode built-in for such scenarios where light isn’t exactly on our side.

This innovative feature lets you capture well-lit images even under moonlight without resorting to flash or other external lighting equipment which may disturb natural ambience. The trick lies in adjusting exposure settings accordingly by dragging the slider left or right after tapping the night icon appears once a dark enough environment is detected by the camera automatically.
Burst Mode: Moving Subjects Are No Longer A Challenge
Holding down the shutter button on iPhone will capture multiple shots in rapid succession, making it easier to get a great shot of moving subjects. This feature comes in handy while capturing moving subjects or for ensuring that you get at least one perfect shot out of many.
Moreover, iPhones offer a live photos option. This cool feature records a 1.5-second video clip with your photo, giving it an awesome sense of movement.
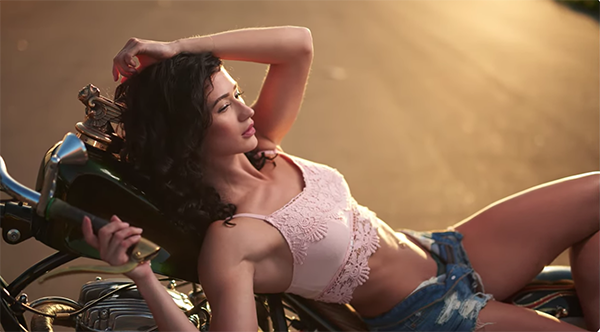
DIY Photoshoots with Your iPhone
Taking professional-looking photos isn’t limited to fancy DSLRs. Believe it or not, your iPhone can be a powerful tool for capturing stunning images right at home.
Setting Up Your Home Studio
The first step towards a successful DIY photoshoot at home with your iPhone is setting up the perfect environment. Creating a neat and illuminated space is all that’s needed, no need for extravagance. Natural light from windows works wonders, but you can also use lamps or other household lights if necessary.
Avoid using flash as it often results in harsh shadows and overexposed subjects. Instead, try adjusting the exposure settings on your camera app manually by tapping on the subject stand and dragging the yellow box that appears upwards or downwards until you get the desired brightness level.
You’d be surprised how everyday objects like chairs, walls, and plants could serve as great props for compositions in your shots.
Capturing The Perfect Shot
Your choice of photo mode plays a crucial role too. If you’re aiming for close-up portraits showing intricate details of an object or person’s face – portrait mode is ideal. This will create beautiful bokeh effects where background elements are blurred out while the main subjects stay focused sharply.
Moving subjects? Burst mode should do justice. By pressing and holding down either volume button (or on-screen shutter), burst shots capture multiple frames per second so you won’t miss any action-filled moments.
Bonus Tip: Camera Stability Is Key
To avoid blurry pictures due to camera shake, simply hold the phone steady against something stable like a wall or table edge when taking a picture; this tip applies regardless of whether you’re using an iPhone SE, Pro Max, or any other model.
Editing Your DIY Photoshoot Images
Taken the photos? Now it’s time to add that professional touch. Your phone comes with basic editing tools built-in – but for more advanced adjustments like precise control over exposure, contrast, and saturation – consider downloading Lightroom Mobile.
Instagram and Snapchat aren’t your only options. Discover other applications that enable you to give your photos a distinctive flair. These can range from simple color filters, to more complex effects like distortions or vintage film overlays. The right app for you will depend on what kind of editing tools you’re looking for.
Exploring Advanced Features of Your iPhone Camera
Your iPhone camera is not just a simple point-and-shoot device. It’s packed with advanced features that can transform your everyday snaps into stunning shots, rivaling those taken by professional cameras.
The Art of HDR Photography
HDR (high-dynamic-range) mode is one such feature you need to master. This setting balances exposure in scenes with both bright and dark areas, ensuring every detail pops out in your photo.

You might ask how it does this? Well, when the HDR mode is turned on, your iPhone camera automatically takes multiple shots at different exposures then merges them into one image – producing photos that show an impressive range of details from shadows to highlights.
Try switching on HDR when capturing a gorgeous sunrise or sunset – the sky will be brighter than the ground, and you’ll get more details from shadows to highlights. So next time you’re capturing a beautiful sunset or sunrise, don’t forget to switch on HDR.
Tapping Into Apple ProRAW Power
If you own one of the latest iPhones like Pro Max or SE models featuring Apple ProRAW format support – congratulations. You have got access to another advanced feature capable of bringing more depth and flexibility into your mobile photography game.
In essence, shooting in Apple ProRAW lets you capture all sensor data before any processing occurs which means much better control over adjustments like light levels during editing without sacrificing quality. Simply put, it gives freedom for fine-tuning edits later while retaining maximum detail within each shot captured.
Nitty-Gritty Details About How To Use These Features:
- To enable HDR mode manually turn on “SmartHDR” from Settings > Camera > HDR (High Dynamic Range).
- For ProRAW, go to Settings > Camera > Formats and toggle on Apple ProRAW.
Now you have unlocked the potential of your iPhone camera, don’t let it gather dust. Go out there and start capturing the world around you in all its high-dynamic-range glory or dive into raw editing with Apple ProRAW shots. Just remember – these features may consume more storage space. So make sure to regularly move images onto your computer or another safe location for optimal performance.
Self-Photoshoots with iPhone
If you’ve ever asked the question, “Can I do a photoshoot using my iPhone?” we’re here to tell you – yes, you absolutely can. Your trusty iPhone is not just for taking selfies or snapping food pics. It’s also your secret weapon for DIY photoshoots.
Your self-timer and other features make it easy to get professional-quality shots without leaving home. Let’s dive into some key tips that will help you take advantage of these tools and set up an impressive self-photoshoot with your iPhone.
Utilizing Self-Timer and Other Camera Features
The first step in setting up a successful at-home photoshoot with your phone involves understanding how to use its camera features effectively. This includes the self-timer function on your iPhone’s camera app.
You’ll want to start by setting up a spot where your phone can stay steady during shooting (pro tip: gimbals are great for this). Next, go into the settings within the camera app and set the timer; 10 seconds usually gives enough time to pose after pressing the shutter button. You might also want to try burst mode which takes multiple shots when holding down on-screen shutter button so you have more options later.
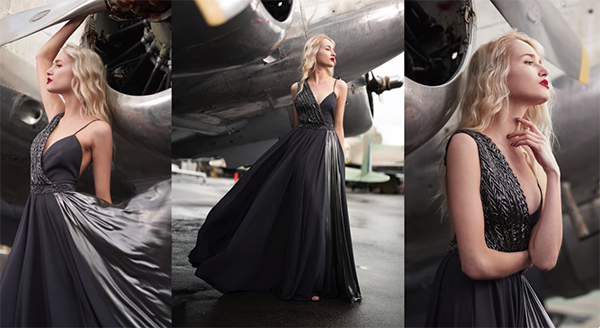
Pose Like A Pro
Nailing those poses is vital in any photo shoot including one done via an iPhone 12 or the latest iPhone Pro Max models. Here are some posing ideas.
- Sitting casually but elegantly
- Lying down while reading a book
- Gazing out of a window
Experiment with different poses until you find what feels most natural and appealing to you. Be daring and innovative.
Framing the Perfect Shot
Framing your shot is another important factor in self-photoshoots. Remember, not every photo needs to have the subject stand dead center. Play around with leading lines and grid lines on your iPhone camera settings for more visually interesting compositions.
When you’re focusing, the yellow box that pops up can be a big help. It’s designed to keep your main subjects crystal clear.
Editing and Enhancing Your iPhone Photos
Your iPhone is a powerful photography tool. Rather than just snapping shots, you can maximize the potential of your iPhone camera by utilizing editing apps. Editing apps for iPhones can help take your images from good to great.
Why should you edit photos? Because it’s proven that editing can greatly enhance their quality and appeal. It gives you control over various aspects of your image like exposure, contrast, color balance, and more.
Adjusting Exposure and Contrast
The first step in enhancing any photo is adjusting its exposure settings – this determines how light or dark an image appears on screen. Too much light washes out details while too little makes everything seem gloomy.
You also want to adjust the contrast levels which dictate how distinct different parts of an image are from each other. An easy rule-of-thumb: look for clear distinction between bright areas (highlights) and darker ones (shadows).
Precise Adjustments with Editing Tools
To make these adjustments precisely, use built-in tools like Lightroom Mobile. This app offers slider controls for both exposure & contrast allowing detailed tweaking until your picture looks perfect.
- In Lightroom mobile tap on the ‘light’ panel where there are sliders available for manipulating highlights/shadows/contrast/exposure, etc.
- Tweak these as needed but remember subtlety often works best when aiming for natural-looking edits.
Applying Filters and Effects on Photos
Once the basic adjustments have been made, it’s time to get creative and experiment with filters or effects for a unique look. Apply filters or effects for a stylized look. This can give your images an extra punch of color, add vintage charm, or even transform them into abstract art pieces.
Take care not to over-apply filters or effects, as this may detract from the original qualities of your image. They should enhance your image rather than overpowering its original qualities. Also, remember that some editing apps apply stronger effects than others, so experiment until you find what works best for you.
Understanding Different Photographic Styles on iPhone
Your iPhone is more than just a communication device. It’s a powerful photographic tool capable of capturing professional-looking photos with the right settings and techniques.
Different Photographic Styles on Your Fingertips
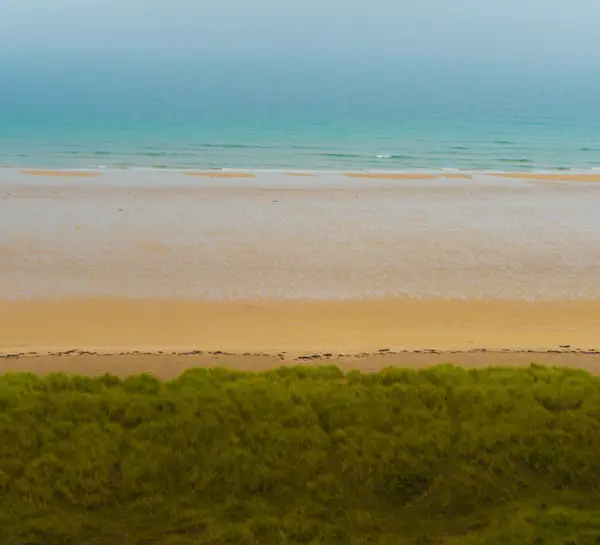
The advanced camera settings for more control in your iPhone open up an array of different photographic styles to explore. From stunning landscapes to captivating portraits, your creative possibilities are endless. You can experiment with these styles by adjusting exposure, using filters, or trying out new angles.
For instance, landscape photography shines when you use the rule of thirds – imagine your frame divided into nine equal squares and place key elements along those lines or their intersections. This technique gives balance to your image making it pleasing to look at. Learn about the rule of thirds here.
Comparing Different Models of iPhones for Photography
With the continuous advancements in technology, iPhone models are becoming more potent tools for photography. Let’s delve into some of the latest iPhone models, comparing their camera capabilities and features.
iPhone SE vs. iPhone 12 Pro Max
The iPhone SE is a budget-friendly option that doesn’t compromise on quality. It uses Smart HDR to adjust light and color beautifully, even though it lacks the night mode shots feature present in newer models.
On the other hand, we have the powerful 12 Pro Max with its superior three-lens system allowing diverse photographic styles from wide-angle to telephoto images. Plus, it’s equipped with an advanced Night Mode ensuring excellent low-light performance.
iPhone 11 vs. Latest iPhone: The mighty 13 Pro Max
The popular choice among photographers has been the bright star -the iPhone 11 due to its impressive dual-camera setup which takes great photos in various conditions including moving subjects where burst mode comes handy.
However, Apple raised the bar higher with their latest flagship model –the stunningly designed iPhone 13 Pro Max featuring Cinematic Mode and Apple’s new image format called ‘ProRAW’ making your edits feel pro-level while retaining high-quality details.
Here are some additional tips to leverage these cool features effectively.
Tackling Camera Shake: Is there any difference?
In terms of combating camera shake across different models — a common issue that can blur images — all recent iPhones come equipped with optical image stabilization (OIS). However, only premium versions like ‘pro’ or ‘pro max’ models include sensor-shift OIS which is even more effective, ensuring your phone steady while capturing those stunning shots.
Unlocking the Potential of HDR Photos
All iPhone models from X and onwards have HDR capability. However, only with 12 Pro Max and beyond can you manually turn on/off this feature by tapping the yellow box indicating the HDR icon on-screen.
Opting for a good editing tool is key. High dynamic range (HDR) photography provides an opportunity to adjust the illumination and shadows in a picture, without compromising any of its details.
FAQs
Is an iPhone good for a photoshoot?
Absolutely, iPhones boast high-quality cameras that can capture stunning images. Their advanced features make them a handy tool for professional-grade photography.
How to do a self photoshoot with iPhone?
To start a self-photoshoot, use your iPhone’s timer or remote control feature. Adjust the lighting and composition, then snap away.
How do I start photography on my iPhone?
Dive into your camera app. Experiment with different modes like Portrait and Night mode. Practice framing shots using the rule of thirds technique.
Can you take shutter pictures on iPhone?
You sure can. Use burst mode by holding down the shutter button in your camera app – it’s great for capturing action-packed moments.
Conclusion
Unlocking the magic of a photoshoot on an iPhone, it’s not just about owning the device, but mastering its capabilities. From utilizing portrait mode for stunning depth-of-field shots to harnessing night mode in low-light situations, you’ve got an arsenal at your fingertips.
Remember that successful DIY photoshoots can happen right in your living room! With natural light and props around you, transform any space into a studio.
Dive deeper into advanced features like HDR and Apple ProRAW to level up your photography game. Never forget: The editing phase is where good shots become great!
You have all the tools needed for self-photoshoots with iPhone – timers, remote controls and more. And yes, don’t underestimate different photographic styles waiting to be explored. Click the following link to learn how to take long exposure photos with an iPhone.