Real Estate Photography Editing Techniques: Enhancing Images for Maximum Impact
Real Estate Photography Editing Techniques: Enhancing Images for Maximum Impact
-
November 17, 2023
-
,
1:00 pm -
,
Uncategorized
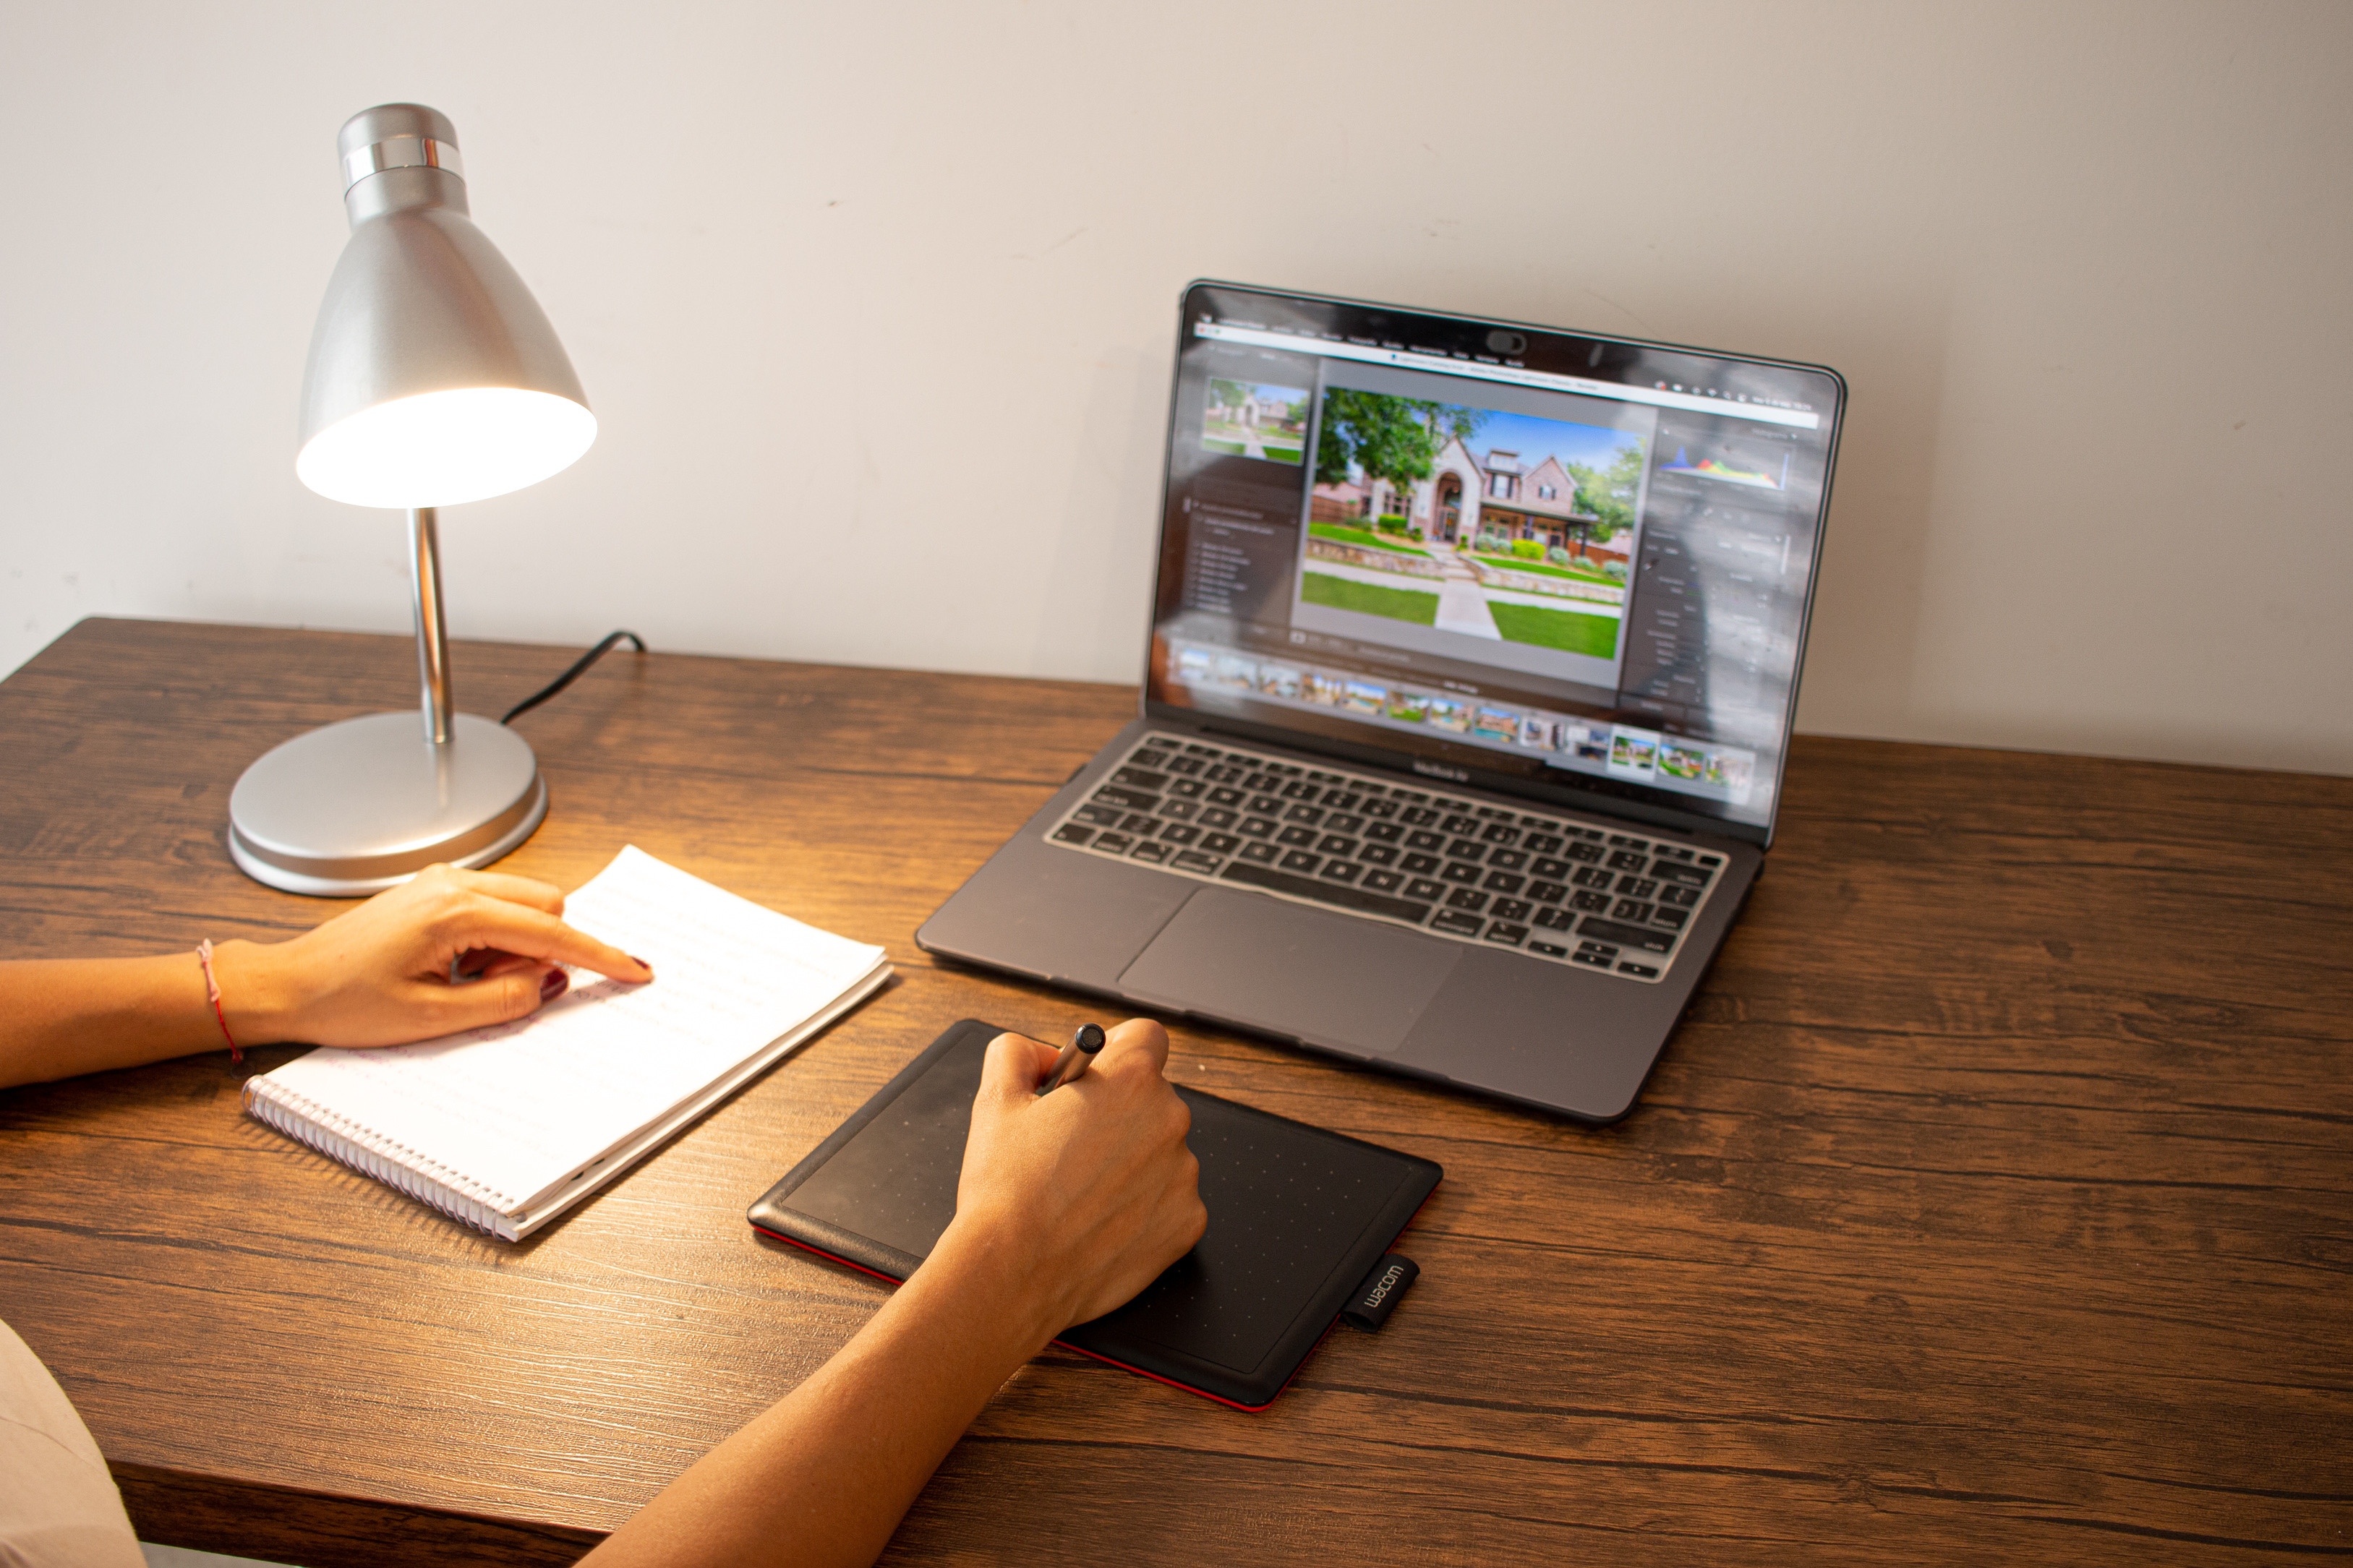
Welcome back to Sharp Frame Media, your trusted partner for all things real estate and commercial media in Dallas and San Antonio! In this blog, we’re diving deep into the art of real estate photography editing. You’ve captured stunning property photos, but how can you make them truly shine? Read on to discover the techniques that will enhance your images for maximum impact.
1. Perfecting Exposure and White Balance
Getting the exposure and white balance just right is crucial for real estate photography. Inconsistent lighting conditions can sometimes result in photos that appear too dark or too bright. Through careful editing, we can balance the exposure and white balance to ensure the property looks its best. This creates a more appealing and accurate representation of the spacee.
2. Enhancing Colors and Contrast
Vibrant, well-saturated colors can make a property pop off the screen or page. Real estate photo editing involves enhancing colors to make them more visually appealing. Additionally, adjusting contrast can add depth and dimension to your images, making them more captivating to potential buyers or renters.
3. Removing Unwanted Elements
Sometimes, a property may have minor imperfections or clutter that detract from its appeal. Real estate photo editing allows us to remove distracting elements such as power lines, trash cans, or unsightly objects, providing a cleaner and more polished look to the property.
4. Highlighting Key Features
Every property has unique features that set it apart. Through editing techniques, we can emphasize these key selling points. Whether it’s a stunning fireplace, a spacious backyard, or a luxurious kitchen, our edits will draw attention to what makes the property special.

5. Grass Replacement For Lush Green Lawns
A lush green lawn can significantly enhance the curb appeal of a property, but sometimes, lawns may not look their best due to various reasons such as weather conditions, wear and tear, or seasonal changes. That’s where grass replacement in real estate photo editing comes into play. Through advanced editing techniques, we can breathe new life into your property’s lawn. Whether it’s patchy grass, brown spots, or even snow-covered lawns in winter shots, it’s possible to replace or rejuvenate the grass to make it look vibrant and inviting year-round.
6. Day-to-Dusk Conversion
Day-to-dusk photo editing is a fantastic technique that can transform your daytime shots into captivating twilight or evening images. This adds a touch of elegance and warmth to your property photos, making them stand out from the competition.
7. Balancing Interior and Exterior Lighting
Balancing the lighting between the interior and exterior of a property is crucial for creating inviting images. Real estate photo editing ensures that the outside views are not overexposed while maintaining a well-lit interior, striking the perfect balance.
8. Virtual Staging: From Empty Spaces to Dream Places
Empty spaces can often leave potential buyers or renters struggling to visualize a property’s potential. This is where virtual staging, one of the most powerful real estate photo editing techniques, comes into play. It’s a game-changer that can transform vacant rooms into beautifully furnished, welcoming living spaces.

In real estate, image is everything. With the right real estate photo editing techniques, you can transform your property photos into captivating visual stories that grab the attention of potential buyers and renters. At Sharp Frame Media, we specialize in enhancing images for maximum impact, helping you showcase your properties in the best possible light.
Ready to take your real estate marketing to the next level? Visit Sharp Frame Media today to explore our range of services and see how we can help you create stunning property photos that leave a lasting impression. We work for your success!
Here are other related topics that might interest you:
How Real Estate Agents Succeed With Stunning Visuals
Get The Most From Your Free Property Website
The Power Of Virtual Staging For Realtors: Enhancing Property Appeal And Driving Sales
Sharp Frame Media is a 5-star rated real estate media agency servicing Dallas-Fort Worth, San Antonio and surrounding cities in Texas. Founded in 2017 on the values of craftsmanship, service, and partnership. As a veteran-owned company, our mission is driven by our commitment to unmatched service.
Want to Learn More About Sharp Frame Media?
Share this post
The post Real Estate Photography Editing Techniques: Enhancing Images for Maximum Impact appeared first on Real Estate Photography in Dallas-Fort Worth.