The 1 Lens Filter Every Landscape Shooter Needs (VIDEO)
Professional landscape photographers are known for carrying a wide array of filters in sizes to fit the lenses they use most. These range from those designed to enhance color, remove reflections, and add a soft glow and other special effects. Then there’s a collection of ND filters in various strengths, and a few graduated and split-tone filters to round out the expensive assortment.
But what if you’re new to shooting landscapes and don’t want to deal with the complexity and cost of some of the more exotic filters, but still would like to give your images a boost? This quick tutorial narrows down the choice to the powerful and easy-to-use polarizer that photographer Jalen Oban says is the “the most important lens filter you should have in your camera bag right now.”
In barely seven minutes you’ll learn how polarizers work, when and why you should use one, and how they can transform good photographs into great ones with a simple twist of their rotating front ring. You’ll also learn why the old school “linear polarizer” is not want you want and why a modern “circular polarizer is the one to get

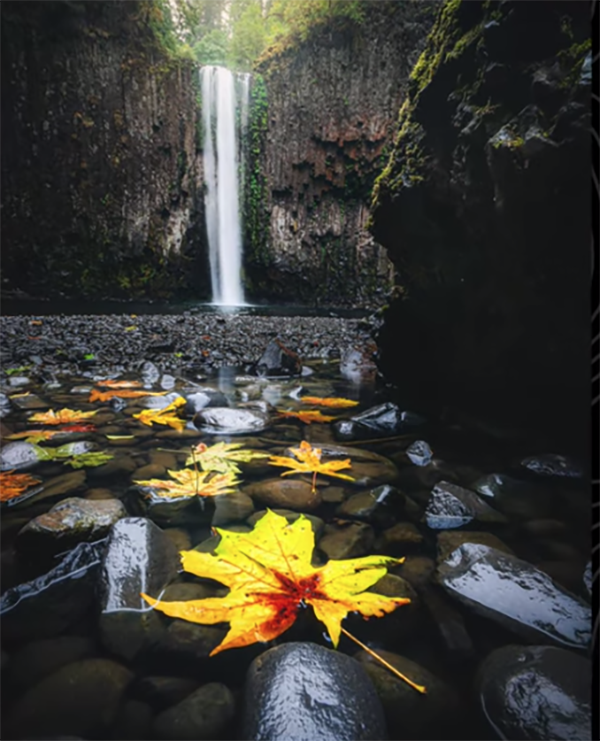
Polarizers work their magic by reducing glare and reflections from surfaces like water, glass and other shiny non-metallic subjects. They’re also very useful for darkening pale blue skies and increasing saturation of foliage that exhibits glare from the sun.
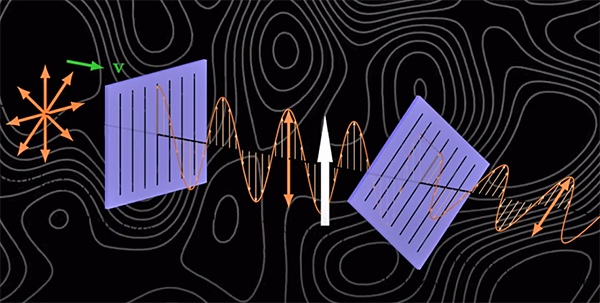
So how do these affordable filters accomplish these enhancements? Oban puts it like this: “A polarizer works by allowing light waves vibrating in a certain directions to pass through the lens, while blocking light waves vibrating in other directions.” In addition to the benefits mentioned above, the polarizer can greatly improve image contrast.
You’ll see the result through the viewfinder in real time as you rotate the filter’s front ring before pressing the shutter button, which raises an important point: its rarely effective to take things to the max by eliminating all reflections. That’s because doing so often makes images appear flat and lifeless.

Much the same occurs if you go overboard darkening a sky. In other words, your goal should be a realistic look. Oban walks you through the proper technique for getting the job done, and he provides before/after examples that illustrate everything you’ll learn.
Oban’s instructional YouTube channel is a great source of other landscape photography tips, techniques, and post-processing methods, so be sure to pay a visit.
And don’t miss the tutorial we posted last week in which another accomplished landscape photographer explains how to choose the optimum ISO setting for various conditions while reducing noise and maximizing sharpness when shooting in low light.


