Using an iPhone’s Night Mode to Shoot Long-Exposure Photos (VIDEO)
If you’ve never captured photos at night we’re going to help you change that today with a quick tutorial on using the iPhone’s Night Mode to shoot dramatic long-exposure images when your “real” camera is at home.
Those of you who’ve tried this technique with a DLR or mirrorless camera are already part way there, because the concept is pretty much the same when using a smartphone. You just have to understand a few settings and have a small tripod or other camera support at the ready.
Instructor Travis Whirley specializes in mobile photography and cinematography tutorials for users of all skill levels. In this episode he demonstrates how to shoot photos with exposures as long as 30 seconds, and his straightforward tips take barely two minutes to explain. The cool thing about tackling this task is that the iPhone’s sensor will automatically detect and turn on Night Mode based upon the brightness of your scene.
These techniques work well indoors or out, like when capturing portraits in a dimly-lit room—or shooting street scenes or landscape photos after dark. Cityscapes offer particularly great opportunities because scenes that look boring during the day are often transformed into sparkling tableaus once the sun drops below the horizon.

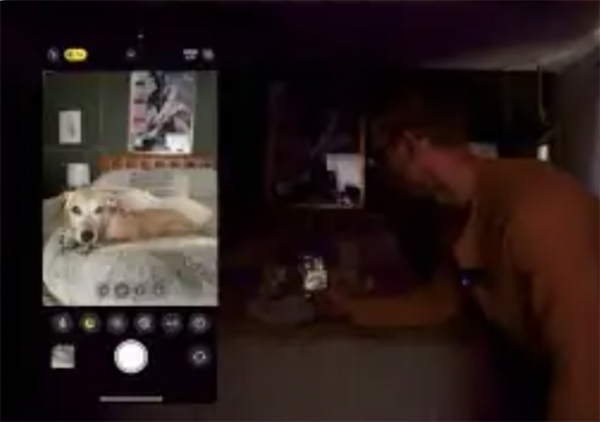
Whirley closes the blinds and turn off the lights in his room so that it’s virtually dark. And lo and behold, the iPhone automatically activates Night Mode and provides a half-moon icon for confirmation. There are off/on buttons on the left and right of the screen, and the iPhone lets you know the shutter speed required for the task at hand.
So what do you do next? Simply tap the shutter button and you’ve automatically captured a great shot. Whirley describes the portrait of his dog like this: “We have a pretty dynamic photo that actually looks great, and it’s bright in all the right places.”
If a photo doesn’t reflect the specific mood you have in mind, you can manually adjust the exposure up or down with a simple slider above the shutter button. And remembers that camera or subject movement results in blurry images, so be sure to support your iPhone and encourage your subject to remain still.
Whirley also has a workable tip for shooting handheld when the required exposure isn’t too long. Simply take a deep breath before snapping the shutter and don’t release your breath until after capturing the shot.
If you shoot stills or videos with your phone, make sure to visit Whirley’s instructional YouTube channel where there’s much more to learn.
And don’t miss the tutorial we posted from another accomplished pro who provides a variety of solid tips for shooting alluring portrait photographs of inexperienced models.


