Why You Should be Thankful for HDR Editing & How To Do It Right (VIDEO)
This is the time of year for personal reflection and gratitude, so we’re bringing you the following tutorial that demonstrates why you should be grateful for High Dynamic Range (HDR) editing. While photographic tips don’t compare to our feeling for friends and family, you’ll definitely appreciate how HDR processing will have a big impact on the look of your photographs.
Like with just about everything we do in Lightroom, Photoshop, and the kitchen, this technique should be approached with care and caution to avoid “overcooking” our images. When done right, your images will be tastier than ever.
Instructor Christian Mohrle is a fantastic landscape photographer and an equally adept image-editing expert. His goal for today’s 10-minute episode is to demonstrate “why HDR editing in Lightroom makes photos look so good.” And a meat thermometer isn’t required.

We recommend downloading the demonstration Raw file with the link beneath the video so you can make Mohrle’s adjustments yourself as the complete workflow is explained. You’ll also learn the basic global adjustments Mohrle makes to prepare his image for the HDR process that follows.
So what’s the big deal about HDR? Mohrle illustrates the answer by applying conventional edits to “fix” the under- and over-exposed areas in his shot. The histogram looks good but check out what’s apparent when you zoom in on the photo. All the information in the bright area is lost, “and there’s no way to recover it from this single Raw file.”
The shadows appear somewhat better, but they still they still appear “somewhat funny,” and they likewise can’t be significantly approved by just messing around with the sliders. Mohrle then explains that, “In order to get higher image quality what we want to do is merge and HDR file.” He notes further that, “luckily this is very easy to do in Lightroom” and he walks you through the simple steps for getting the job done.

All you need to do is to shoot an HDR sequence of scenes with a wide dynamic range—one image with a base exposure and a few others that are progressively brighter and darker. Then by following Mohrle’s advice for merging the files you’ll end up with one hero shot with a properly balanced exposure and nice details throughout the frame.
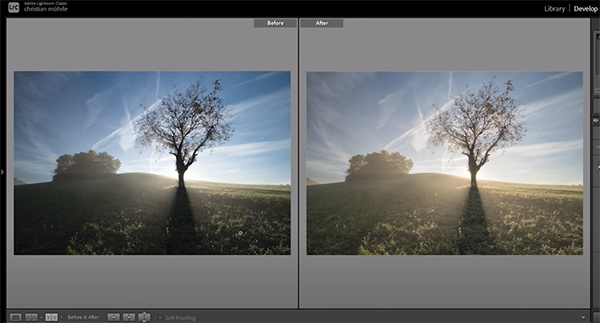
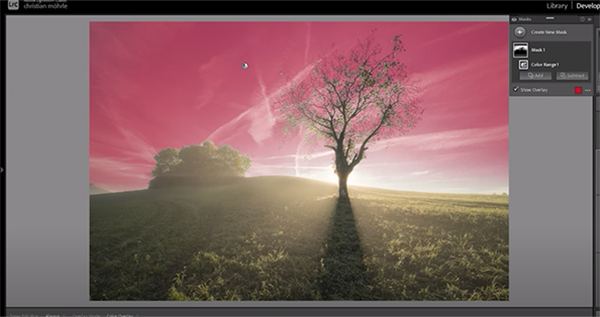
Mohrle demonstrates the initial global adjustments, demonstrates the masking procedure, and provides a few simple color-grading tricks that complete the transformation. A quick examination of his before/after images is all you need to be convinced.
After watching the video take a look at Mohrle’s robust YouTube channel for more great landscape photo editing advice.
You may also want to check out the tutorial we posted earlier from another accomplished pro, with a bunch of careless editing mistakes that will ruin your photographs, and tips for fixing them.


