Jamaica to Host 42nd Caribbean Travel Marketplace
Jamaica has been selected to host the 42nd edition of the Caribbean Hotel and Tourism Association’s (CHTA) Caribbean Travel Marketplace on May 20-22, 2024, the CHTA announced over the weekend.
Last week we featured a tutorial demonstrating how to customize Lightroom, so it works best for your specific needs. Today were following up with a related video that explains how to improve your workflow further by organizing photos with keywords.
Many Lightroom users avoid the simple task of keywording because they think it takes too much time, and they want to start editing their images right away. Unfortunately that strategy will eventually cost you frustration in the long term.
Landscape photographer Chrissy Donaldi regularly shares the techniques she employs to make Lightroom run as fast and efficiently as possible. In this episode she discusses five easy ways to organize Lightroom with keywords. With these practical strategies you’ll be able to find your photos fast.

As you’ll see, there are a number of ways to use keywords in Lightroom, and most of them work fine, as long as you remain consistent in the method you use. Donaldi notes, however, that some methods lead to inconsistencies, “and inconsistencies lead to lost photos when I sort and try to find them.” In other words, a careless approach is counterproductive.
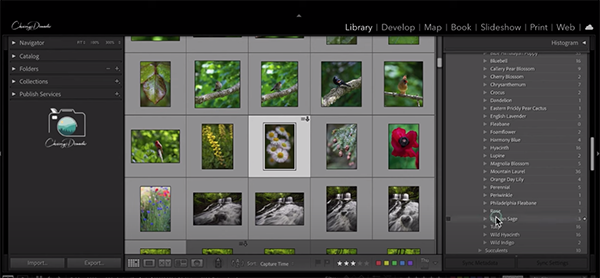
Donaldi’s suggestions apply to both beginners and experienced Lightroom users who want to remain organized, and the first method she explains is to organize photos using a “hierarchy system.” She demonstrates how easy this is to do by modifying the “laundry list” of keywords provided by Lightroom.
Another viable approach is to use synonyms properly when setting up your keywords. With images of flowers, for example, some folks have several similar keywords, like “flowers,” “flowers and plants,” and other similar nomenclature. This really needs to be resolved, and Donaldi shows you how.

As mentioned above, Lightroom’s complete list of keywords is really long, and there’s a simple approach for cleaning that up too. Part of this is that you can have keywords that export, and those that don’t and there’s a simple way to set up that distinction by changing a few settings. There are other ways to make the keyword list more usable, as Donaldi explains.
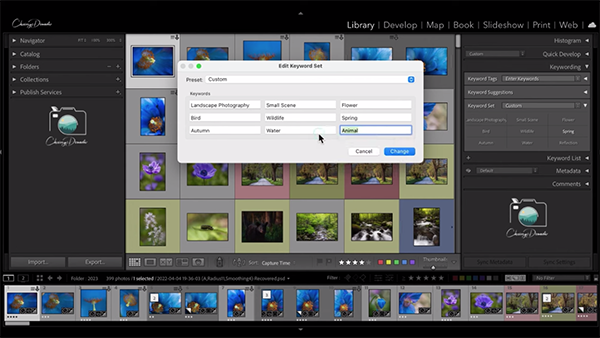
It’s also possible to create your own custom keyword set, and this can be really helpful. Donaldi notes that this approach enables you to choose nine of your most commonly used keywords and tailor them to your exact needs. These can be people, locations, unique subjects, or anything you want.
If you’re a Lightroom user, we strongly suggest visiting Donaldi’s YouTube channel where there are many more tips and tricks.
On a related noted we also suggest watching the tutorial we posted recently, explaining other ways to customize Lightroom so it works best for your particular needs.
When first getting started we all learn a bunch of so-call “rules of photography.” Some of these are more useful that others, and many are meant to be broken in certain situations. In the quick tutorial below, one of our favorite landscape photographers expresses his objection to the popular Exposure Triangle and he insists there’s a better way to get the light right.
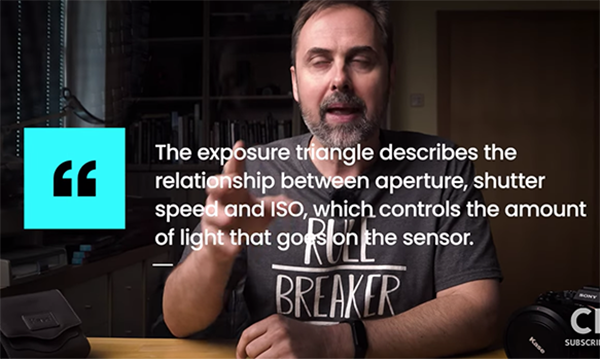
Christian Irmler is a German landscape photographer whose tutorials can be controversial, and this one is no exception. He kicks off this video with an emphatic warning: “Forget everything you’re heard about the Exposure Triangle— it’s holding you back from getting really great photos.”
Irmler goes on to explain that most photographers have learned this common rule “in a totally wrong way,” that’s why they struggle to get things right for months or even years. He acknowledges the important interplay been ISO, shutter speed, and aperture, and demonstrates how pros use the Exposure Triangle properly, or actually do something entirely different instead.

After reviewing how most photographers interpret the Exposure Triangle Irmler explains the dilemma, particularly as how it can confuse less-experienced shooters. He also discusses why this familiar rule may cause some photographers to select incorrect camera settings that cause them to miss the shot.
According to Irmler, confusion often results because the way you use the Exposure Triangle affects more than just exposure. That because “each of the three components leads to photos with a different style,” that you may or may not intend.
Irmler has what he says is a better option: A Stylistic Triangle whereby you manipulate the interplay between ISO, shutter speed, and aperture in a way that arrives at a correct exposure while creating the exact “look” you’re after depending upon the task at hand.

This may mean taking one approach when depth of field is the key variable when shooting landscape photos, another for maximizing shutter speed with sports/action shots, or doing something else when motion blur is the goal. Irmler also reveals how the foregoing contributes to “my most important stylistic Instrument.
After watching the video take a look at Irmler’s instruction YouTube channel where there’s much more to learn.
We also recommend watching the tutorial we posted earlier, explaining a composition trick from another accomplished pro that will transform your landscape photography.
